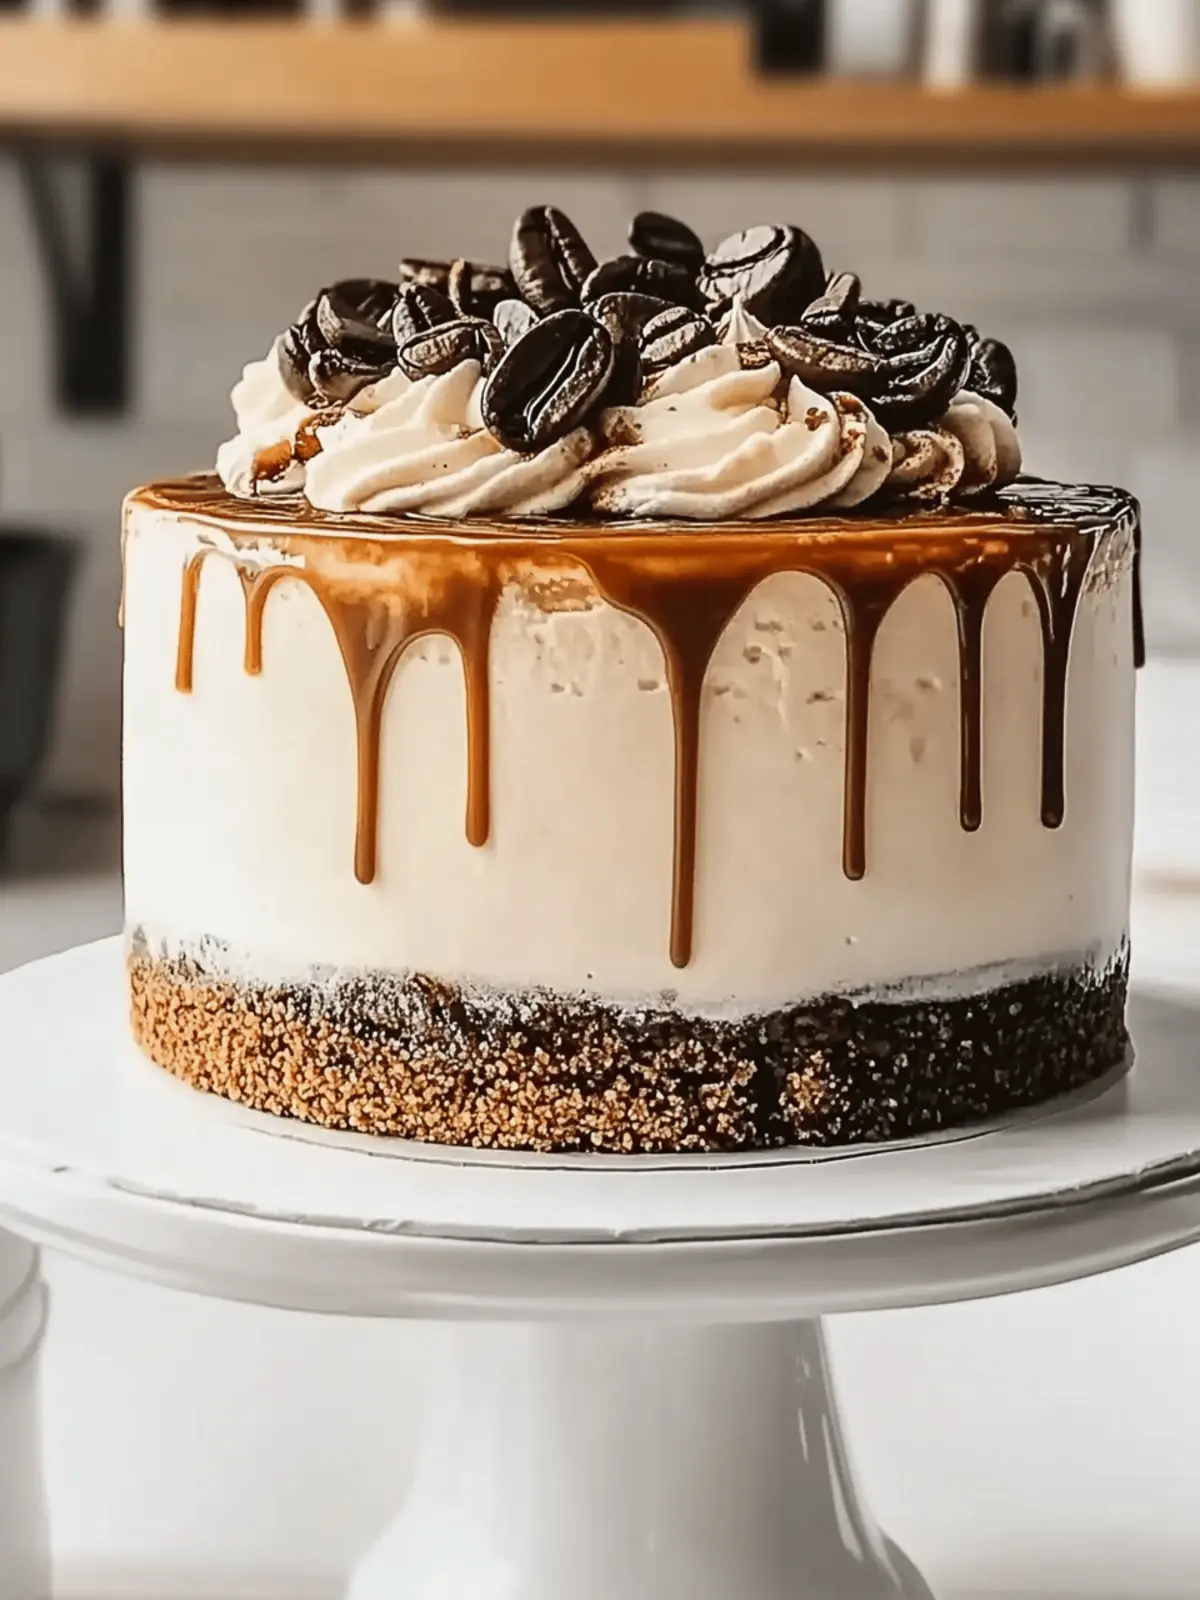
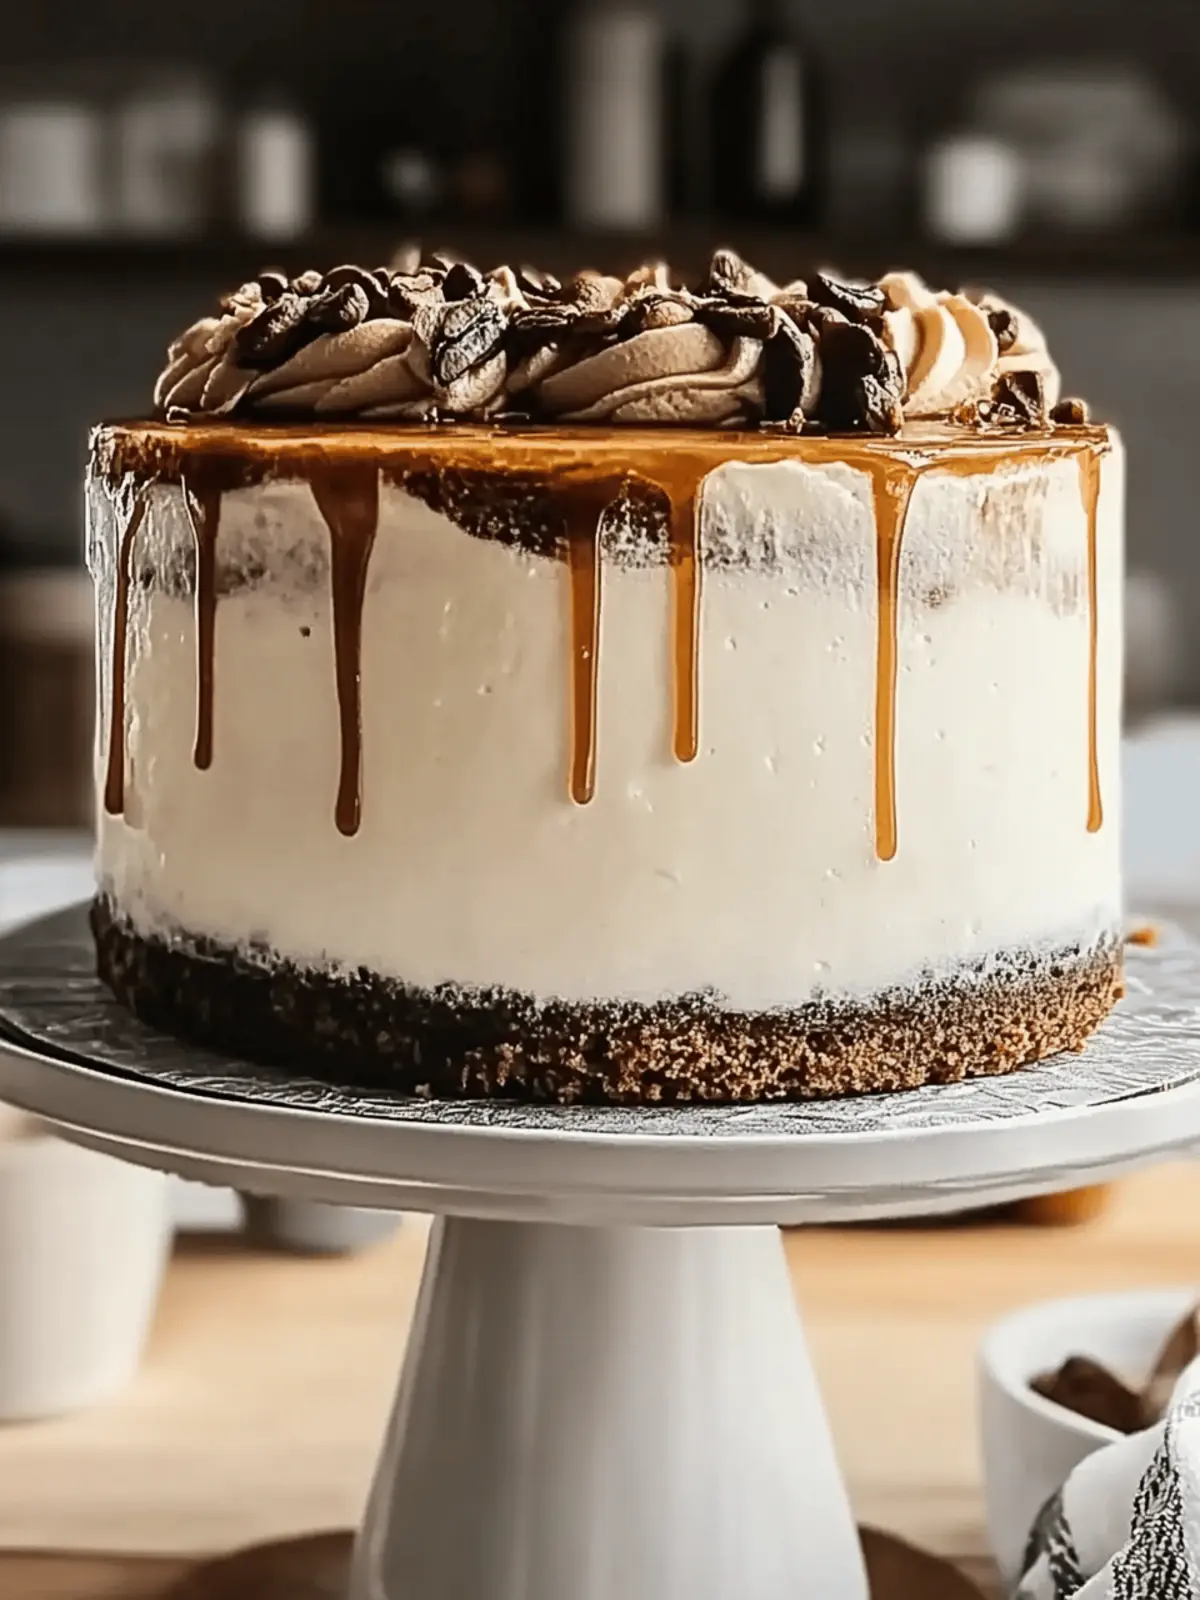
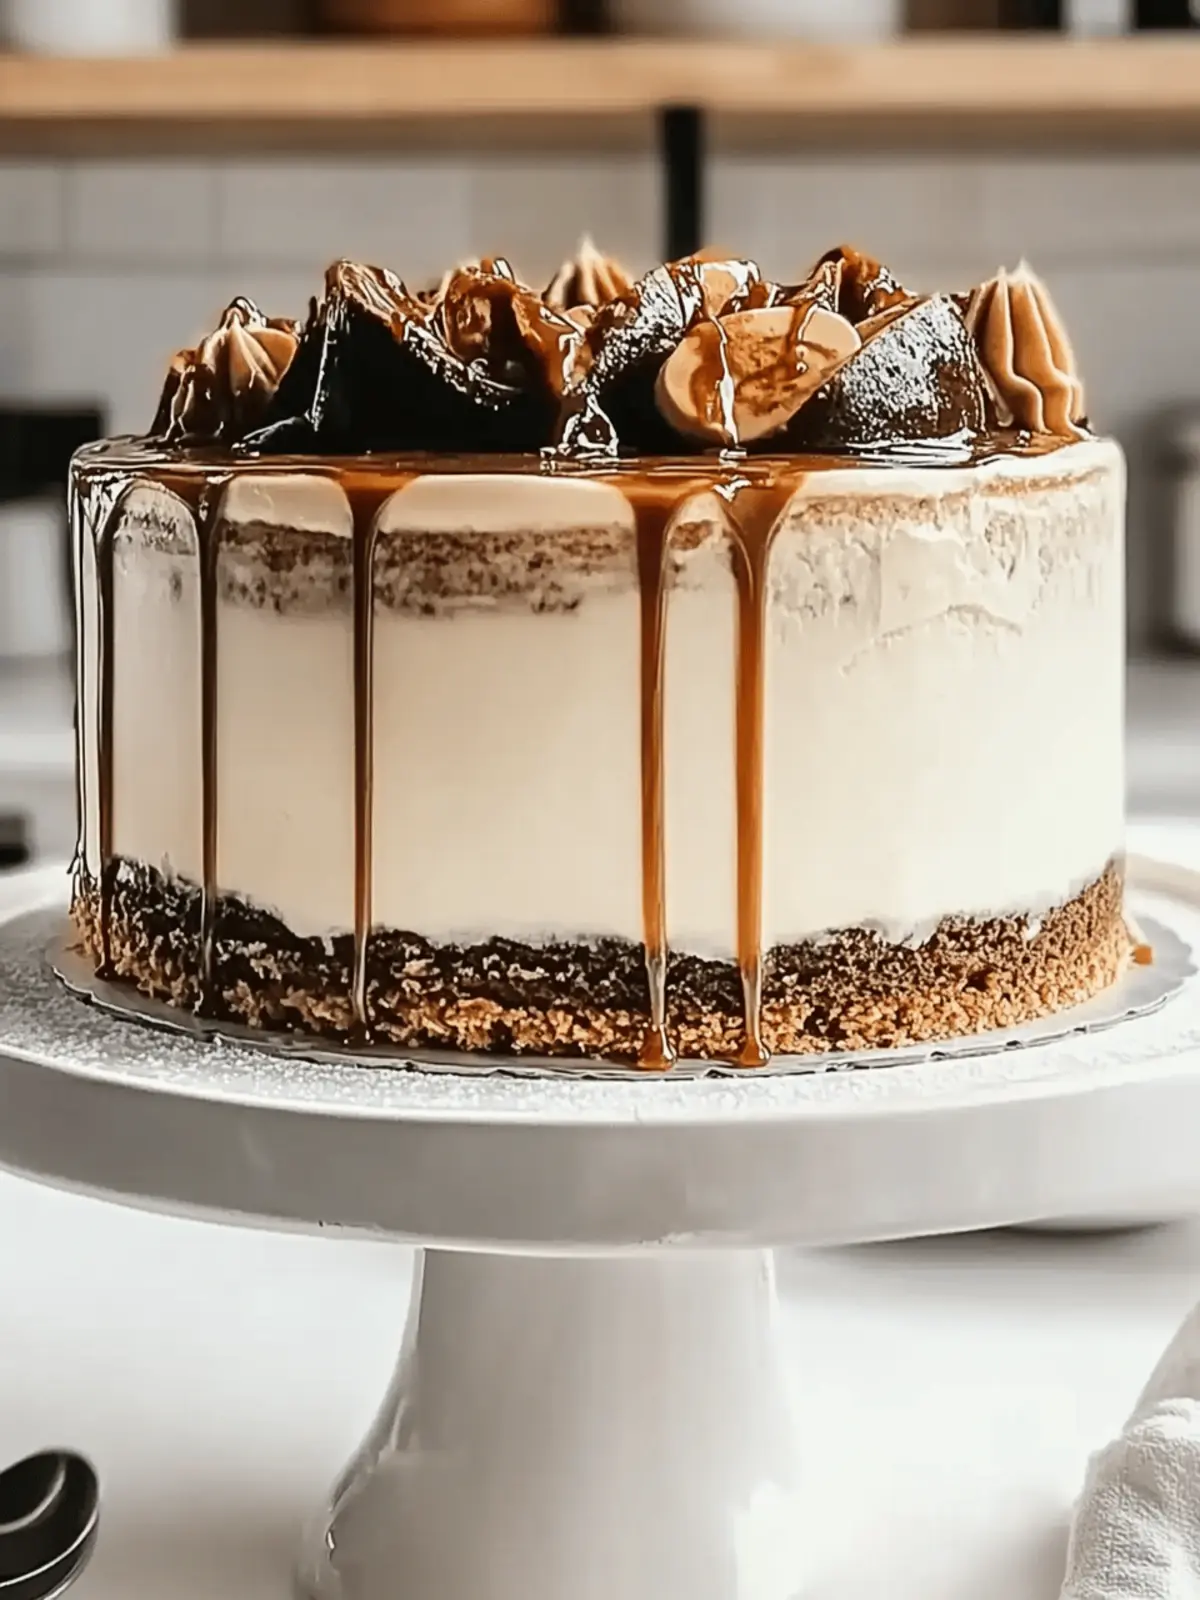
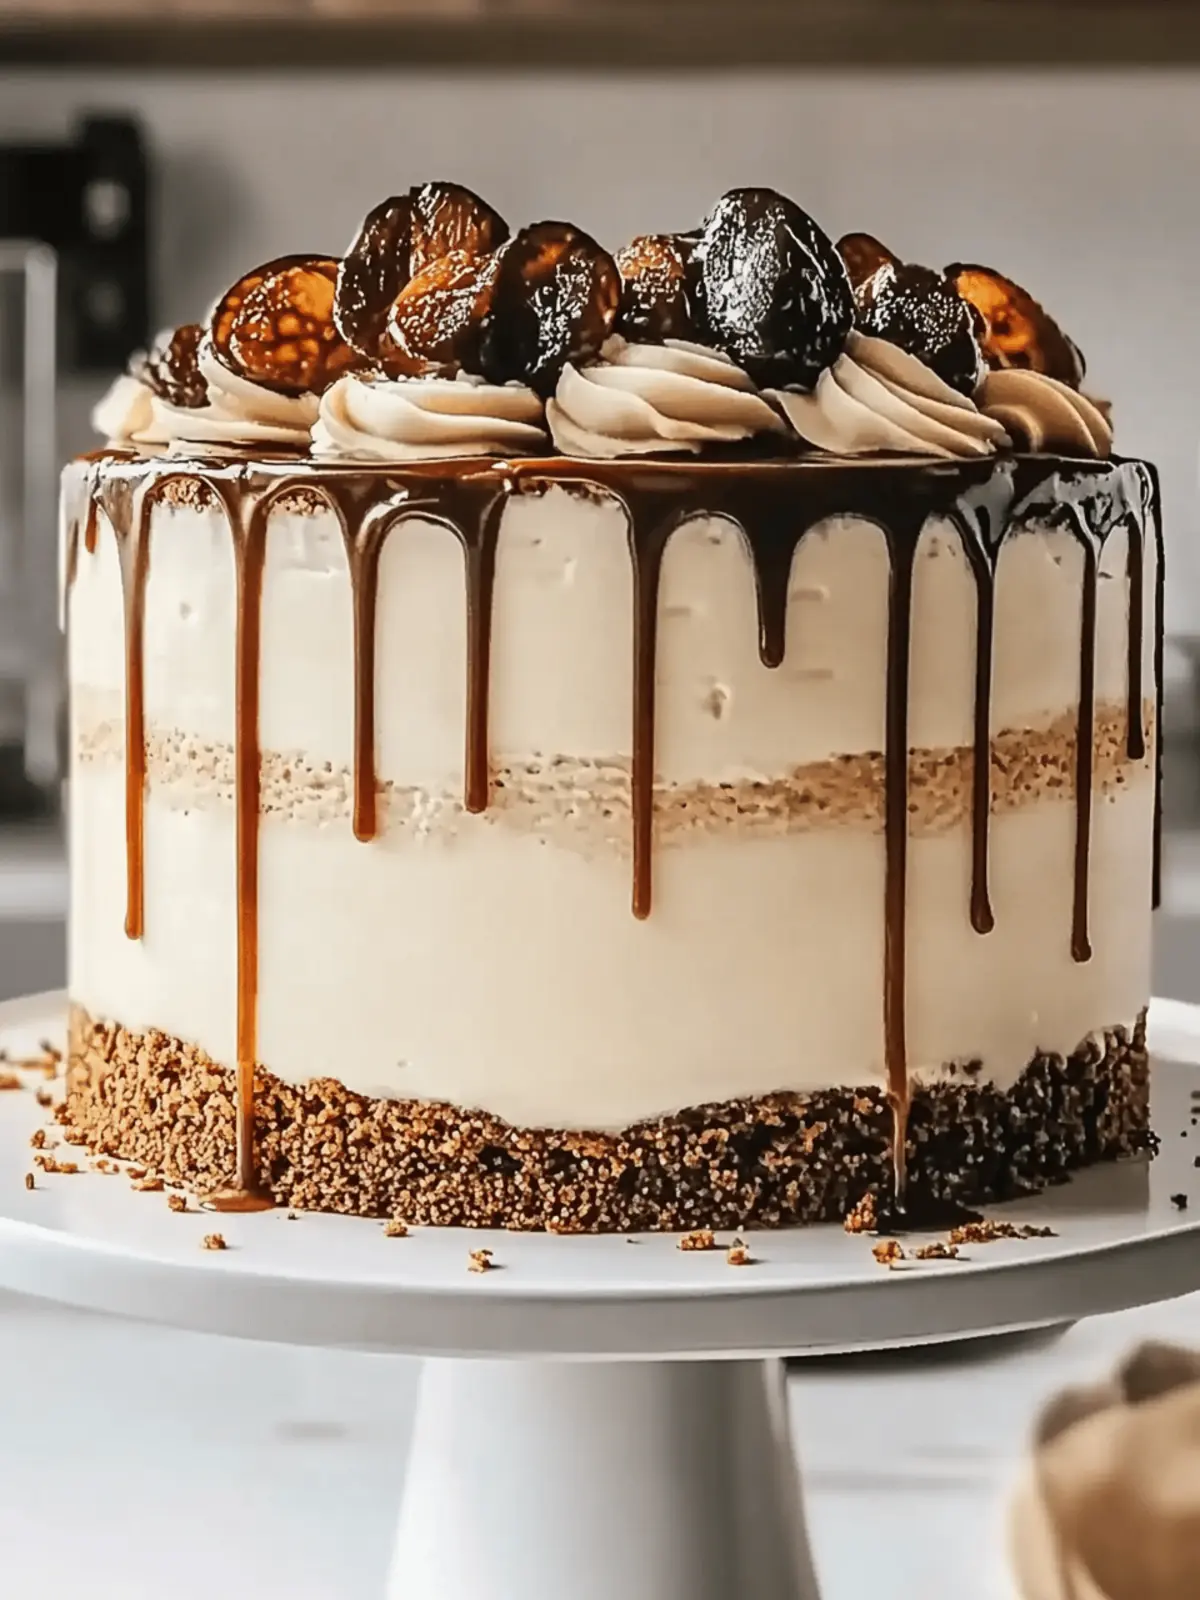
There’s a delightful charm in combining two of my favorite pleasures: coffee and cake. The moment I baked my first Vietnamese Iced Coffee Cake, I was transported to a cozy café filled with the rich aroma of freshly brewed coffee and the sweetness of condensed milk. This recipe brings that essence right to my kitchen, making it the perfect indulgent dessert for any gathering or quiet afternoon.
Every bite of this gluten-free marvel unveils a symphony of flavors, with mocha fudge swirls that are as visually stunning as they are delicious. Imagine serving this to friends as they sip on a chilled glass of Vietnamese iced coffee, or enjoying a piece as the afternoon sun filters through your kitchen window. With minimal prep time, you’ll find yourself captivated by the ease and luxury this cake offers. Ready to embark on a delightful baking adventure? Let’s dive into the world of Vietnamese Iced Coffee Cake!
Why is Vietnamese Iced Coffee Cake a must-try?
Indulgence at its finest: This gluten-free cake blends rich coffee flavor with the creamy sweetness of condensed milk for a decadent dessert experience.
Ease of preparation: With just minimal effort, you can whip up this showstopper for any occasion.
Visual appeal: The striking mocha fudge swirls make for an eye-catching dessert that’s sure to impress guests and family alike.
Versatile pairing: It’s perfect alongside a glass of Vietnamese iced coffee or even a scoop of vanilla ice cream for an indulgent treat.
Crowd-pleaser: Both coffee lovers and dessert enthusiasts will adore this delightful fusion of flavors!
Ingredients for Vietnamese Iced Coffee Cake
• To embark on this delightful baking journey, gather your ingredients and let’s brew some magic!
For the Cake
- Gluten-Free Flour – Provides a perfect structure while ensuring everyone can enjoy this delicious treat.
- Ground Coffee or Instant Coffee Granules – Adds a robust coffee flavor; you can use instant espresso for a richer taste.
- Baking Powder – A leavening agent essential for cake rise; always check its freshness for the best results.
- Baking Soda – This helps keep the cake fluffy; freshness here is crucial too.
- Kosher Salt – Enhances the flavor of the cake beautifully; table salt can be used as a substitute.
- Granulated Sugar – Sweetens the cake and keeps it moist; brown sugar can introduce a deeper note.
- Large Eggs – Binds cake ingredients together; using them at room temperature aids in better mixing.
- Pure Vanilla Extract – Adds a rich, aromatic flavor; steer clear of imitation for optimal taste.
- Sour Cream – Contributes moisture and richness; Greek yogurt can work as a substitute.
- Canola Oil – Offers essential fat for a delightful texture; vegetable oil is a handy alternative.
- Strongly Brewed Coffee – Infuses the cake with a bold coffee flavor; cold brew is recommended for best results.
For the Frosting
- Unsalted Butter – Ensure it’s at room temperature for smooth blending.
- Confectioners’ Sugar – Sweetens and helps in frosting stabilization; powdered monk fruit is a lower-sugar option.
- Sweetened Condensed Milk – Provides creamy sweetness; can be swapped for evaporated milk if needed.
For Decoration
- Chocolate Sauce – Adds a luxurious richness; consider making your own coffee fudge sauce for added flair.
- Strongly Brewed Coffee – Perfect for a glaze to elevate the flavor further.
Gather these fresh ingredients, and get ready to mesmerize your loved ones with this incredible Vietnamese Iced Coffee Cake!
How to Make Vietnamese Iced Coffee Cake
-
Preheat Oven: Begin by setting your oven to 350°F (175°C). Grease two 8-inch cake pans and line the bottoms with parchment paper to make release easy later.
-
Prepare Dry Ingredients: In a mixing bowl, whisk together the gluten-free flour, baking powder, baking soda, kosher salt, and ground coffee until well combined. This ensures your dry ingredients are evenly distributed.
-
Cream Mixture: In a large mixing bowl, cream the granulated sugar, large eggs, and pure vanilla extract together until the mixture becomes light and fluffy, about 3-5 minutes. This step incorporates air, giving your cake a lovely texture.
-
Combine Wet Ingredients: Add in the sour cream, canola oil, and strongly brewed cold coffee to your creamed mixture, mixing gently until just combined. This creates a rich, moist batter.
-
Mix Dry and Wet: Gradually fold in the prepared dry ingredients into the wet mixture. Be careful not to overmix; you want the batter to be fluffy and tender!
-
Bake: Divide the batter evenly between the two pans and pop them in the oven to bake for 30-35 minutes. They’re ready when a toothpick inserted comes out clean with a few moist crumbs.
-
Cool: Once baked, let the cakes cool in the pans for about 10 minutes. Then transfer to a wire rack to cool completely so they can hold their shape when frosting.
-
Make Frosting: In a bowl, whip the room-temperature unsalted butter until it’s smooth. Gradually add the confectioners’ sugar and sweetened condensed milk until the mixture is light and fluffy. This makes for a dreamy frosting!
-
Assemble Cake: Level the cooled cake layers with a serrated knife. Place one layer on a serving platter, frost between the layers generously, and then apply a crumb coat over the whole cake to seal in any crumbs.
-
Frost Generously: Cover the entire cake with your creamy frosting, then chill for about 30 minutes to let it set perfectly.
-
Decorate: Drizzle the top with chocolate sauce and for an extra touch, pipe any remaining frosting around the edges. Be creative with the decorations—this is where you can have fun!
-
Serve: Slice the cake and serve with a glass of Vietnamese iced coffee or fresh berries for an enviable treat!
Optional: Consider garnishing with chocolate shavings for an added touch!
Exact quantities are listed in the recipe card below.
What to Serve with Vietnamese Iced Coffee Cake?
Indulging in the luxurious flavors of this cake opens the door to a world of delightful pairings that will elevate your dessert experience.
- Vietnamese Iced Coffee: The natural marriage of flavors in this decadent coffee drink complements the cake perfectly, enhancing its rich coffee notes.
- Fresh Berries: Sweet and tart berries, like strawberries or blueberries, add a refreshing contrast to the cake’s sweetness and creamy texture.
- Vanilla Ice Cream: A scoop of creamy vanilla ice cream creates a heavenly blend of warmth and chill, transforming every bite into an indulgent moment.
- Chocolate Ganache: Pouring a warm chocolate ganache over each slice gives another layer of rich flavor, making chocolate lovers swoon!
Picture yourself sharing slices of this cake with loved ones, laughter filling the air as you sip on chilled iced coffee. Add a side of fresh berries for a burst of color and taste. Each pairing brings something special to make your gathering unforgettable!
Expert Tips for Vietnamese Iced Coffee Cake
- Check Expiration Dates: Always ensure your baking powder and baking soda are fresh; expired ingredients can lead to a dense cake.
- Use Room Temperature Ingredients: Taking eggs and butter out beforehand aids in better mixing and yields a fluffier cake.
- Fold Gently: When combining wet and dry ingredients, fold delicately to maintain the cake’s airy texture; overmixing can result in toughness.
- Cool Completely: Allow the cake layers to cool completely on a wire rack to avoid melting the frosting; warm layers can ruin the presentation.
- Chill Frosting: For easier application and a neater finish, chill your frosting for about 20 minutes before decorating your Vietnamese iced coffee cake.
- Creative Decorations: Experiment with different toppings like cocoa powder or chocolate chips for added flair; a beautiful cake makes for delightful memories!
Make Ahead Options
These Vietnamese Iced Coffee Cake layers are excellent for busy home cooks looking to save time! You can bake the cake layers up to 24 hours in advance; simply allow them to cool completely, then wrap tightly in plastic wrap and store in the refrigerator to maintain moisture. The frosting can also be prepared ahead and stored in an airtight container for up to 3 days in the fridge. When you’re ready to enjoy, just allow the cake and frosting to come to room temperature before frosting and decorating. This way, you’ll preserve the cake’s scrumptious texture while making your prep time smooth and efficient!
Storage Tips for Vietnamese Iced Coffee Cake
Room Temperature: The cake can be kept at room temperature for up to 2 days, covered lightly with a cake dome or foil to keep it fresh.
Fridge: For longer storage, refrigerate the cake in an airtight container for up to 5 days to maintain moisture and flavor.
Freezer: You can freeze individual slices of Vietnamese Iced Coffee Cake for up to 3 months. Wrap each slice tightly in plastic wrap, ensuring no air is trapped, and then place in a freezer bag.
Reheating: For a delightful experience, reheat frozen slices in the microwave for about 20-30 seconds or in a preheated oven at 350°F (175°C) for about 10 minutes, until warmed through.
Variations & Substitutions for Vietnamese Iced Coffee Cake
Feel free to make this delightful cake your own with these fun twists and swaps!
- Gluten-Free: Use a 1:1 gluten-free flour blend instead of all-purpose flour for a gluten-free treat.
- Dairy-Free: Swap sour cream for coconut yogurt or dairy-free cream cheese for a luscious, creamy texture. Your cake will still be rich and flavorful!
- Flavored Coffee: Experiment with flavored coffee grounds, like hazelnut or vanilla, to add a unique taste that elevates the classic recipe. Imagine unexpected notes dancing on your palate!
- Nutty Delight: Fold in some chopped walnuts or pecans into the batter for an added crunch and nutty flavor that pairs wonderfully with coffee.
- Choco-Coffee Fusion: Mix in chocolate chips for an extra indulgent layer of sweetness that’ll melt in your mouth with every bite.
- Spice it Up: Add a pinch of cinnamon or instant espresso powder to the batter for an enhanced coffee kick that livens up the flavors beautifully.
- Reduced Sugar: Reduce granulated sugar and add unsweetened applesauce for a lower-sugar alternative while keeping that moist texture intact.
- Layered Beauty: Create a two-layer cake by baking in three 8-inch pans; stack them for a stunning tall cake, frosting in between for that Instagram-worthy look!
With these simple variations, you can make the Vietnamese Iced Coffee Cake uniquely yours, ready to delight everyone at the table!
Vietnamese Iced Coffee Cake Recipe FAQs
What type of coffee should I use for the cake?
Absolutely! I recommend using strongly brewed coffee, and for the best flavor, consider using cold brew. Instant espresso can also elevate the richness, making each slice a delightful experience.
How long can I store the cake and what’s the best method?
The cake can be kept at room temperature for up to 2 days. If you want to extend its life, refrigerate it in an airtight container for up to 5 days. This will help maintain its moisture and flavor beautifully!
Can I freeze leftover slices of the cake?
Yes, you can freeze individual slices of the Vietnamese Iced Coffee Cake for up to 3 months! Here’s how: Wrap each slice tightly in plastic wrap, making sure no air escapes, then place them in a freezer bag. When you’re ready to enjoy, simply thaw in the fridge overnight or reheat in the microwave for 20-30 seconds.
What should I do if my cake turns out dense?
Very! A dense cake can often result from expired baking powder or baking soda. To prevent this, always check the freshness before you start baking. Another tip is to ensure you’re gently folding in the dry ingredients to maintain a light texture—overmixing can lead to a tough crumb!
Can I make this cake dairy-free?
Absolutely! For a dairy-free version of the Vietnamese Iced Coffee Cake, you can swap sour cream for dairy-free yogurt or coconut milk. Also, use dairy-free margarine for the frosting. Everyone can enjoy this delicious treat with these swaps!
Is this cake suitable for pets?
No, due to the presence of chocolate and coffee, this cake is not safe for pets. It’s best to keep it out of their reach and enjoy it yourself—your furry friends will thank you for sticking to their dog treats or cat treats instead!
These tips will help you make the most of your baking adventure with the Vietnamese Iced Coffee Cake!

Delicious Vietnamese Iced Coffee Cake That's Gluten-Free
Ingredients
Equipment
Method
- Preheat your oven to 350°F (175°C). Grease two 8-inch cake pans and line with parchment paper.
- In a mixing bowl, whisk together the gluten-free flour, baking powder, baking soda, kosher salt, and ground coffee.
- In a large mixing bowl, cream the granulated sugar, large eggs, and pure vanilla extract until light and fluffy, about 3-5 minutes.
- Add in the sour cream, canola oil, and strongly brewed cold coffee to your creamed mixture and mix gently until just combined.
- Gradually fold in the prepared dry ingredients into the wet mixture. Be careful not to overmix.
- Divide the batter evenly between the two pans and bake for 30-35 minutes.
- Let the cakes cool in the pans for about 10 minutes, then transfer to a wire rack to cool completely.
- Whip the room-temperature unsalted butter until smooth. Gradually add confectioners’ sugar and sweetened condensed milk until light and fluffy.
- Level the cooled cake layers and frost between the layers generously. Apply a crumb coat over the whole cake.
- Cover the cake with frosting, then chill for about 30 minutes.
- Drizzle chocolate sauce on top and pipe any remaining frosting around the edges.
- Slice the cake and serve with a glass of Vietnamese iced coffee or fresh berries.


