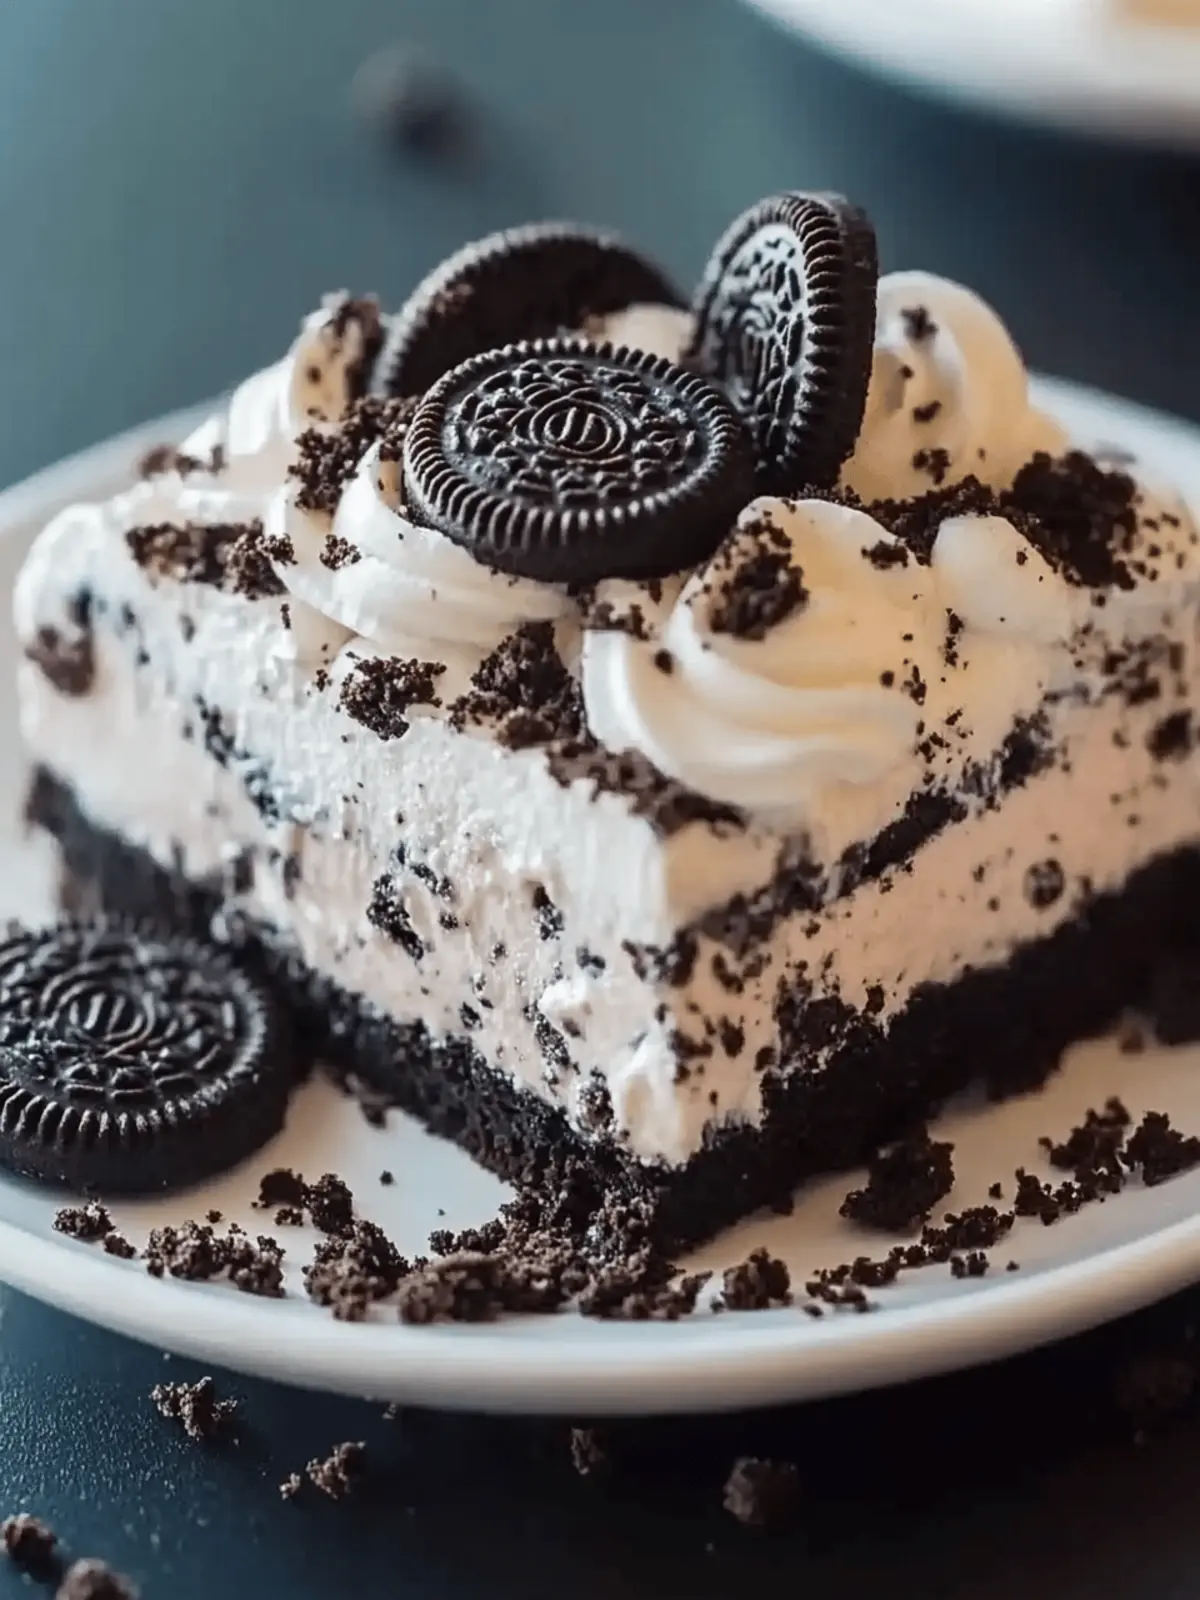
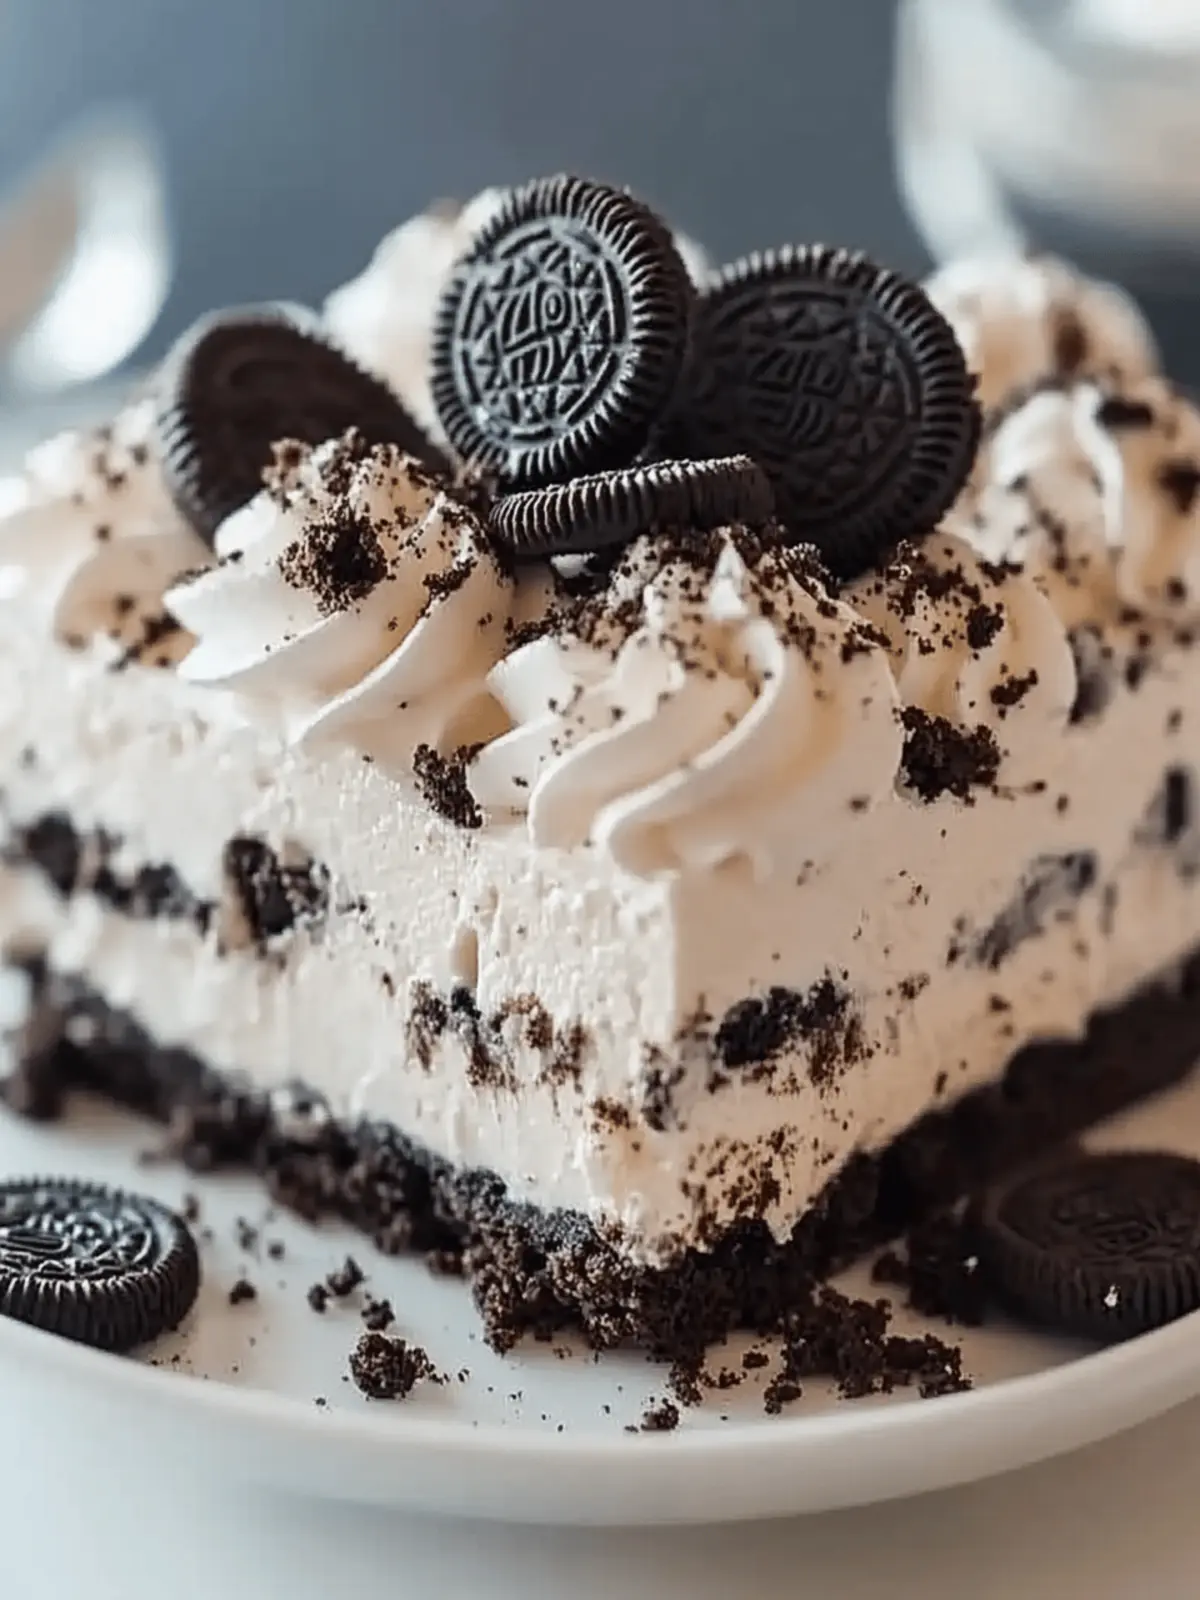
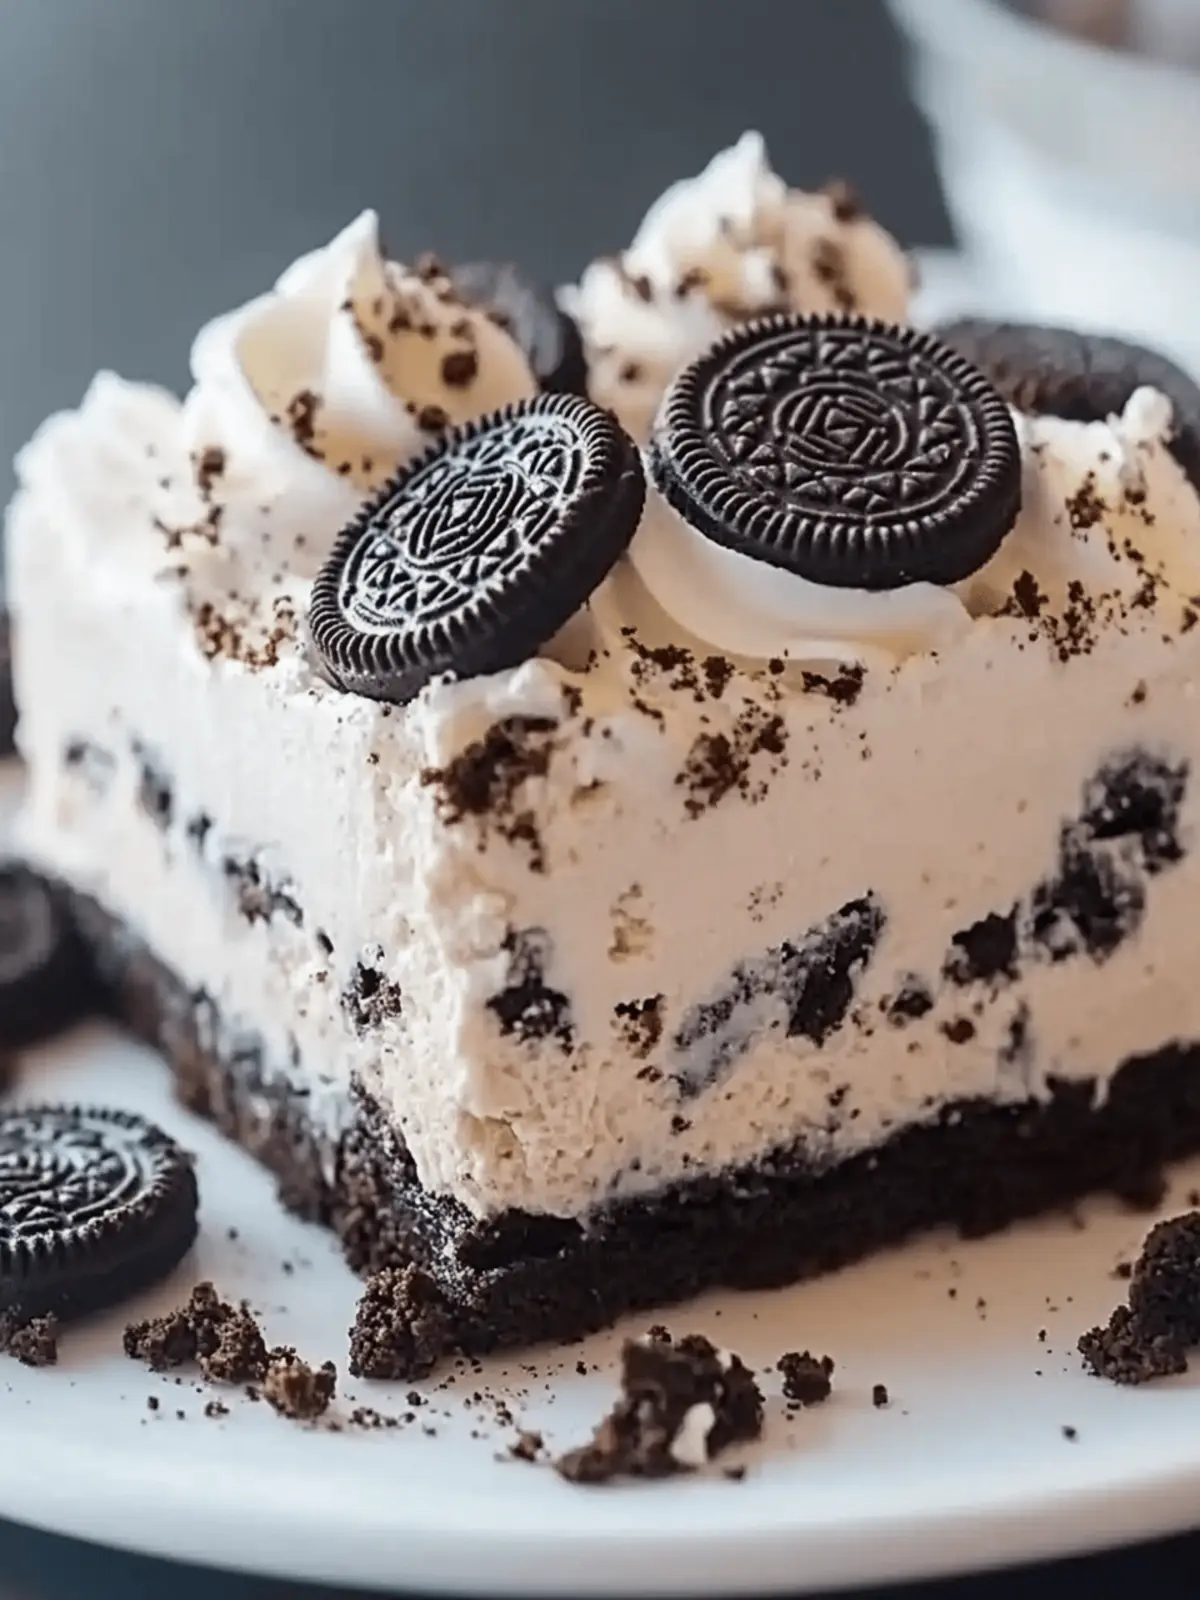
There’s something magical about discovering a recipe that feels like a sweet little secret. That was my experience when I first made the No Bake Heavenly Oreo Dessert—a creamy, indulgent treat that perfectly marries the lusciousness of whipped topping with the satisfying crunch of Oreos. Picture this: the delightful crunch of chocolate cookies creating a rich crust, followed by layers of velvety cream cheese and cool pudding that just melt in your mouth.
Preparation is a breeze—no oven needed! Whether you’re hosting a gathering, surprising the family for dessert night, or craving something sweet after a long day, this recipe is your go-to. Even better, it’s effortlessly adaptable, inviting you to bring your personal touch, whether by adding fresh fruit or switching up the pudding flavor. As someone who appreciates homemade goodness over fast food, I can confidently say this dessert made its way into my regular rotation for a reason: it’s simply heavenly! Let’s dive into the steps to create this delightful treat that’s bound to impress.
Why Choose the No Bake Heavenly Oreo Dessert?
Simplicity at its finest: Nothing beats a dessert that requires zero baking—perfect for those warm days when you want to avoid the oven.
Decadent Layers: Each spoonful is a heavenly blend of silky cream cheese and rich chocolate, harmonizing beautifully with the Oreo crust.
Versatile & Fun: This dessert can be customized with different flavors or toppings, allowing you to get creative every time you make it.
Crowd-Pleaser: Whether it’s a party or a family dinner, expect compliments all around—this one is a guaranteed hit!
Quick & Easy: With just a handful of ingredients and minimal prep time, you can whip this up in no time—a sweet solution for those late-night cravings!
No Bake Heavenly Oreo Dessert Ingredients
For the Crust
- Oreo cookies – These create a deliciously crunchy base; feel free to swap them for your favorite chocolate sandwich cookies.
- Unsalted butter – This helps bind the crust together; margarine can be a suitable dairy-free alternative.
For the Creamy Filling
- Cream cheese – Provides a rich, creamy texture; make sure it’s softened for easy mixing, or opt for Neufchâtel for a lighter version.
- Powdered sugar – Adds just the right sweetness to the filling; brown sugar can give it a deeper flavor profile.
- Whipped topping (Cool Whip) – Lightens the creamy filling up; consider replacing it with homemade whipped cream for extra richness.
For the Pudding Layer
- Milk – Activates the instant pudding mix and helps achieve a smooth consistency; any type of milk (dairy or non-dairy) will work just fine.
- Instant vanilla pudding mix – Thickens this dessert’s heavenly layers; feel free to use chocolate pudding for a different twist.
This No Bake Heavenly Oreo Dessert is sure to become a favorite in your home, delighting each palate with its creamy layers and delightful Oreo crust!
How to Make No Bake Heavenly Oreo Dessert
-
Prepare the Oreo Crust:
Start by crushing the Oreo cookies into fine crumbs. Mix these crumbs with melted butter until evenly coated, then firmly press the mixture into the bottom of a 9″x9″ baking dish to create your crust. -
Make the Creamy Filling:
In a mixing bowl, beat the softened cream cheese and powdered sugar together until smooth and creamy. Gently fold in the whipped topping until everything is beautifully combined for a light, fluffy texture. -
Prepare the Pudding Layer:
In another bowl, whisk the instant pudding mix with milk for about 2 minutes until it thickens nicely. This will give your dessert that lovely, creamy layer! -
Layer the Dessert:
Spread half of the cream cheese mixture over the prepared crust. Next, add the pudding layer on top, followed by the remaining cream cheese mixture for that perfect layered look. -
Chill the Dessert:
Once layered, cover the dish with plastic wrap and refrigerate the dessert for at least 4 hours, but preferably overnight. This chilling time allows the layers to set and meld together beautifully. -
Serve:
After chilling, cut the dessert into squares. For an extra touch, you can sprinkle crushed Oreos on top before serving for a gorgeous presentation.
Optional: Garnish each square with a dollop of whipped cream for added indulgence.
Exact quantities are listed in the recipe card below.
Storage Tips for No Bake Heavenly Oreo Dessert
-
Fridge: Store covered in the refrigerator for up to 3 days. This keeps the dessert fresh and ensures the layers remain creamy and delightful.
-
Freezer: If you want to keep it longer, freeze the cut squares in an airtight container for up to 2 months. Thaw in the fridge before serving to enjoy the No Bake Heavenly Oreo Dessert at its best.
-
Reheating: There’s no need to reheat this dessert! Simply serve chilled directly from the fridge or after thawing from the freezer for a refreshingly cool treat.
-
Wrapping: Always ensure to wrap tightly with plastic wrap or store in an airtight container to prevent absorbing any odors from the refrigerator.
No Bake Heavenly Oreo Dessert Variations & Substitutions
Feel free to get creative with this dessert that invites your own twist!
-
Gluten-Free: Substitute Oreo cookies with gluten-free chocolate sandwich cookies to make this dessert accessible for those with gluten sensitivities.
-
Dairy-Free: Use coconut cream instead of cream cheese and plant-based whipped topping to create a deliciously creamy filling that is dairy-free.
-
Chocolate Lovers: Swap the vanilla pudding mix for chocolate pudding mix for an extra chocolatey treat that will satisfy any sweet tooth.
-
Fruity Freshness: Layer in fresh strawberries or raspberries between the cream cheese and pudding layers for a burst of color and flavor.
-
Nutty Crunch: Add crushed nuts, like pecans or almonds, on top of the cream cheese layer before chilling for extra crunch and flavor.
-
Caramel Delight: Drizzle caramel sauce over the top layer before chilling for a sweet, gooey finish that takes this dessert to a whole new level.
-
Minty Cool: Mix in mint extract to the cream cheese filling or use mint Oreos for a refreshing twist that pairs beautifully with chocolate.
-
Decadent Layer: For an adult-only twist, add a splash of your favorite liqueur (like Bailey’s or Kahlua) to the cream cheese mixture for a delightful, boozy dessert.
Expert Tips for the No Bake Heavenly Oreo Dessert
-
Softened Cream Cheese: Ensure your cream cheese is fully softened at room temperature. This prevents lumps in your filling and guarantees a smooth texture.
-
Chill Time is Key: Don’t rush the chilling process! Allowing the dessert to chill for at least 4 hours ensures the layers set properly, enhancing the flavor and structure.
-
Oreo Crust Texture: When pressing the Oreo crust into the dish, make it compact for a sturdy base. A loose crust may crumble when cutting the dessert into squares.
-
Garnish for Appeal: Don’t skip the crushed Oreos on top! It not only elevates the presentation but also brings a delightful crunch to each bite of the No Bake Heavenly Oreo Dessert.
-
Variations Galore: Feel free to switch up the pudding flavor or add fresh fruit layers—this dessert welcomes creativity, so have fun experimenting with flavors!
Make Ahead Options
You can easily prepare the No Bake Heavenly Oreo Dessert ahead of time, making it a fantastic option for busy weeknights or parties! Start by preparing the Oreo crust and creamy filling, and these components can be stored up to 24 hours in the refrigerator before combining them. Just remember to keep them covered to maintain their freshness. When you’re ready to assemble, simply layer the crust with the creamy filling and pudding mixture as directed. After chilling the assembled dessert for at least 4 hours (overnight is best!), it will be just as delicious and ready to impress your family or guests. This make-ahead approach not only saves time, but it also allows the flavors to meld beautifully!
What to Serve with No Bake Heavenly Oreo Dessert?
Picture a delightful gathering filled with laughter and warmth, where the sweet finale is sure to leave everyone smiling.
- Fresh Berries: Juicy strawberries or raspberries add a refreshing burst of flavor and vibrant color to each slice of creamy dessert.
- Chocolate Sauce: A drizzle of rich chocolate sauce enhances the dessert’s indulgence, making every bite even more decadent.
- Coffee: A warm cup of coffee pairs beautifully, balancing the sweet richness with its bold flavor.
- Homemade Whipped Cream: This fluffy topping complements the creamy layers, elevating the dessert experience with added texture and sweetness.
- Ice Cream: Vanilla or mint chocolate chip ice cream alongside your slice brings an extra cool, creamy element and deliciousness.
- Macaron Cookies: These delicate treats provide a delightful crunch and an elegant touch, perfect for special occasions.
- Margaritas: For a fun twist, serve refreshing margaritas that bring a lively contrast to the dessert’s rich flavors.
- Lemon Sorbet: The citrusy flavor cuts through the creaminess, offering a refreshing palate cleanser after each rich bite.
- Nutty Biscotti: Crunchy and flavorful, biscotti adds a lovely texture that complements the smooth and creamy dessert perfectly.
- Fruit Tart: A light fruit tart can serve as a contrast, providing a zesty element that brightens the overall dessert experience.
No Bake Heavenly Oreo Dessert Recipe FAQs
How do I choose ripe ingredients for the No Bake Heavenly Oreo Dessert?
Absolutely! The main ingredients like cream cheese should be soft but not overly warm, as it mixes better. Look for cream cheese that’s been out of the fridge for at least 30 minutes before using. When selecting whipped topping, check the expiration date and opt for brands that are well-known for quality. Freshness really enhances the flavor of your dessert!
How should I store the No Bake Heavenly Oreo Dessert and for how long?
You can store your No Bake Heavenly Oreo Dessert covered in the refrigerator for up to 3 days. Just make sure to wrap it tightly in plastic wrap or place it in an airtight container to keep it fresh. This helps maintain that lovely creamy texture and prevents the crust from getting soggy.
Can I freeze the No Bake Heavenly Oreo Dessert?
Yes, you can freeze this dessert! Cut it into squares and place them in an airtight container, where it can be stored for up to 2 months. To thaw, simply place it in the fridge for a few hours or overnight before serving. This allows the layers to regain their creamy texture!
What should I do if my dessert isn’t setting properly?
If you notice that your No Bake Heavenly Oreo Dessert hasn’t set as well as you’d like, it may be due to the cream cheese not being soft enough initially. To troubleshoot, simply return it to the refrigerator for additional chilling time. A quick tip: ensure the layers are evenly distributed, and compress the crust well when assembling.
Are there any dietary considerations I should be aware of with this dessert?
Yes, if you’re serving guests or family with specific dietary needs, consider using dairy-free alternatives for the cream cheese and whipped topping. Also, keep in mind that Oreos are typically vegan, but double-check the label if allergies are a concern. For gluten-free options, swap Oreos with gluten-free sandwich cookies, ensuring that everyone can indulge in this yummy treat.
Can I use different flavors of pudding in the No Bake Heavenly Oreo Dessert?
Very! Feel free to experiment with various flavors of instant pudding mix. Chocolate pudding can be a fun twist, or try cheesecake for a tangy variation. Adding fresh fruit layers, like strawberries or bananas, can also elevate the taste, creating a delightful surprise in each bite!
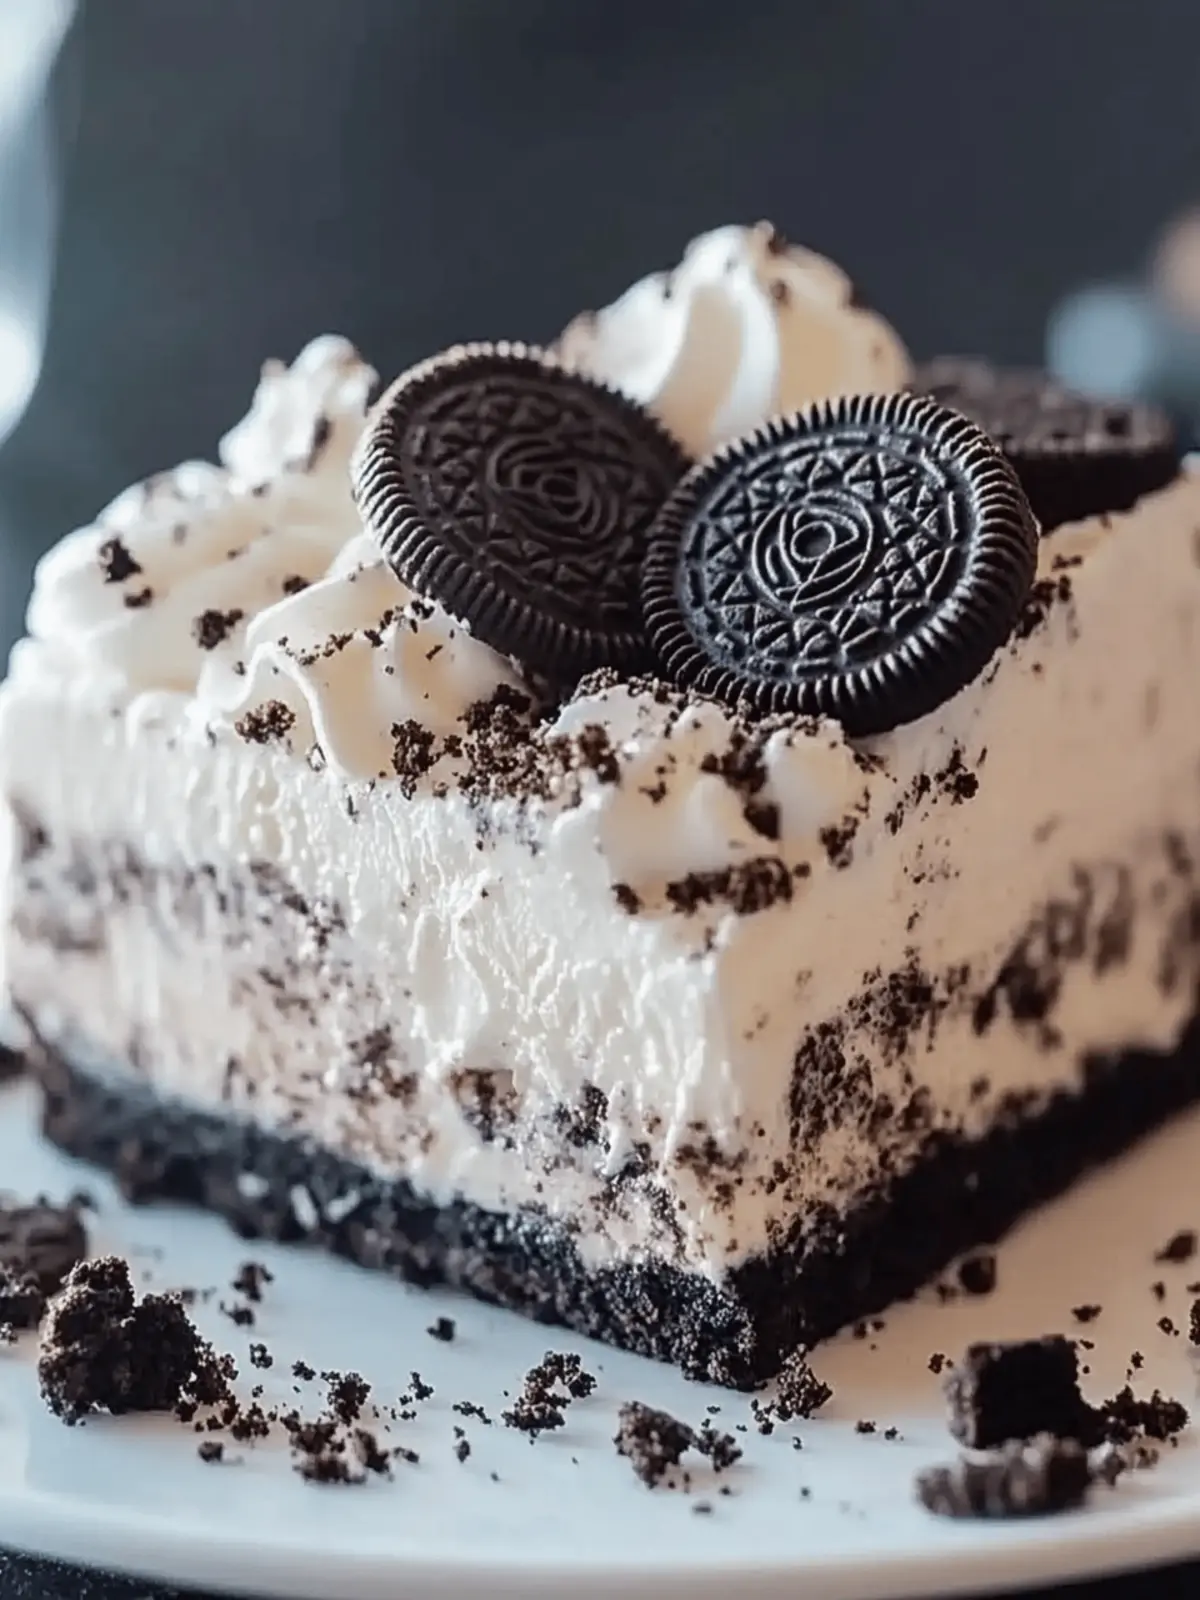
No Bake Heavenly Oreo Dessert: Easy Layers of Bliss
Ingredients
Equipment
Method
- Crush the Oreo cookies into fine crumbs and mix with melted butter until evenly coated. Press mixture into the bottom of a 9"x9" baking dish to create the crust.
- In a mixing bowl, beat the softened cream cheese and powdered sugar together until smooth. Fold in the whipped topping for a light texture.
- In another bowl, whisk the instant pudding mix with milk for about 2 minutes until it thickens.
- Spread half of the cream cheese mixture over the crust, add the pudding layer, and then the remaining cream cheese mixture.
- Cover with plastic wrap and refrigerate for at least 4 hours or overnight.
- Cut into squares and optionally sprinkle crushed Oreos on top before serving.

