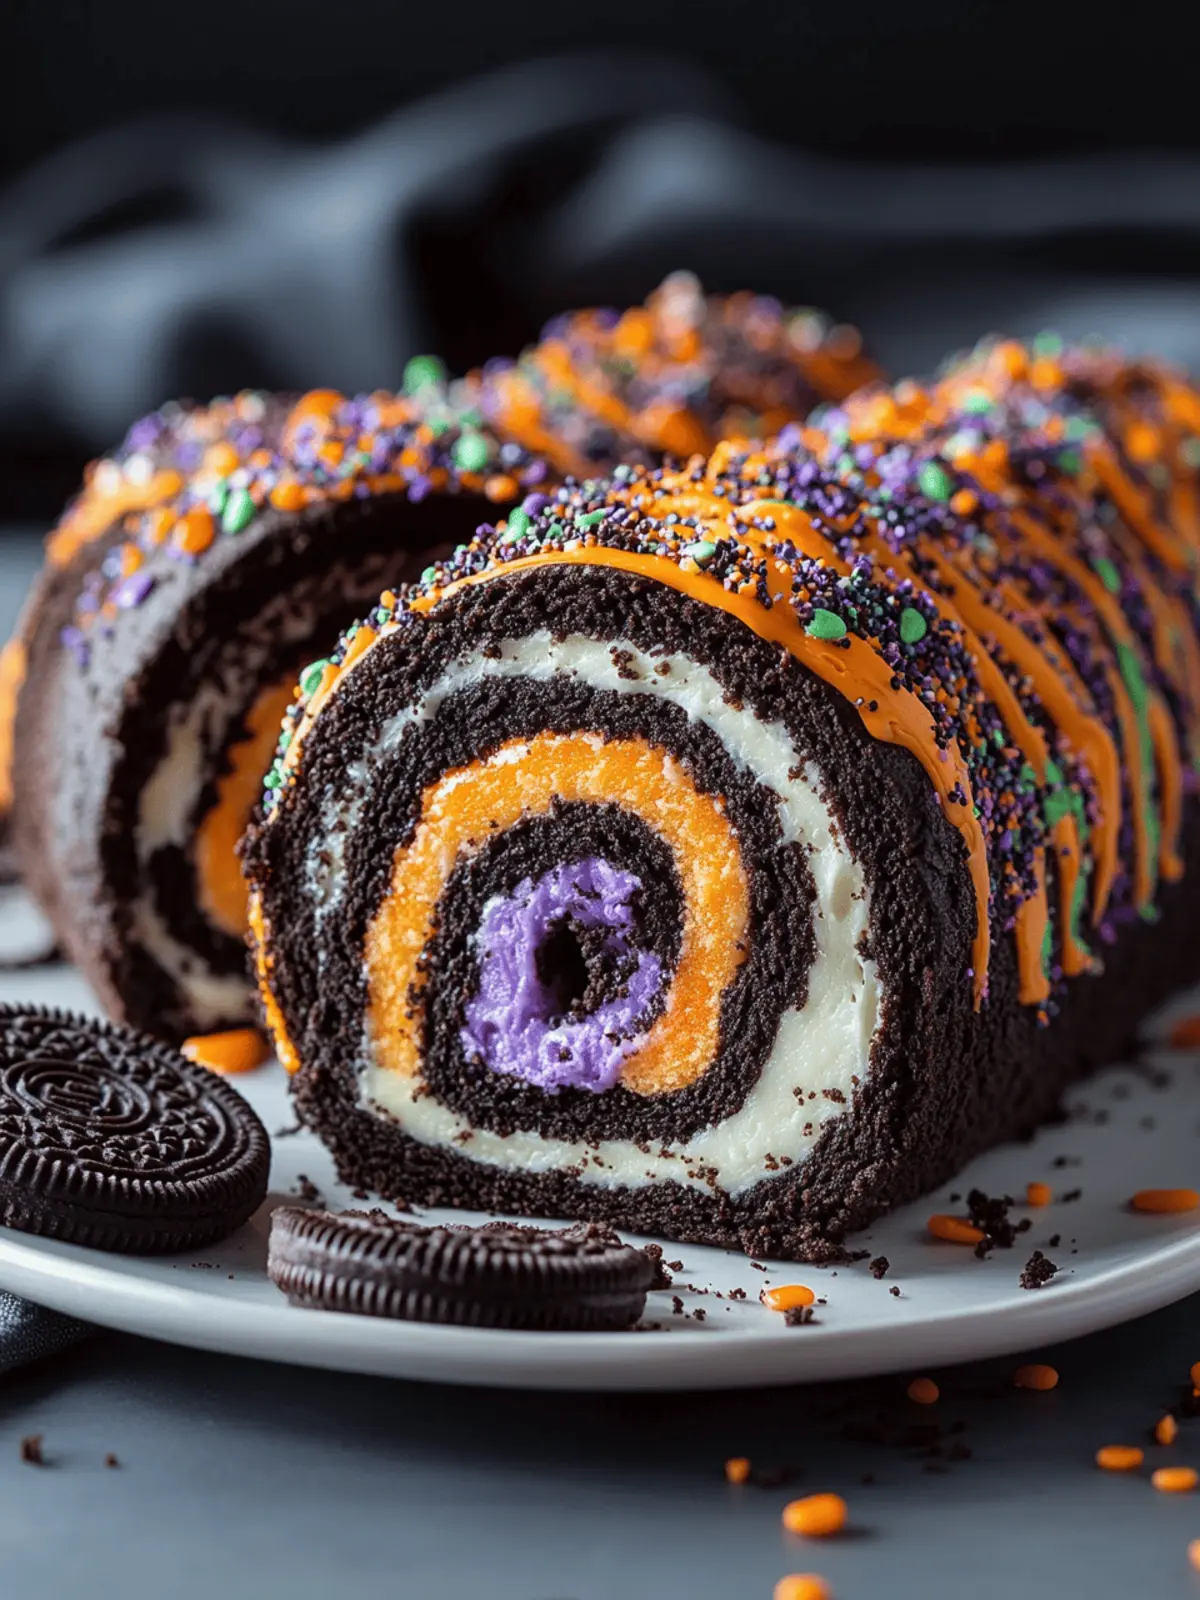
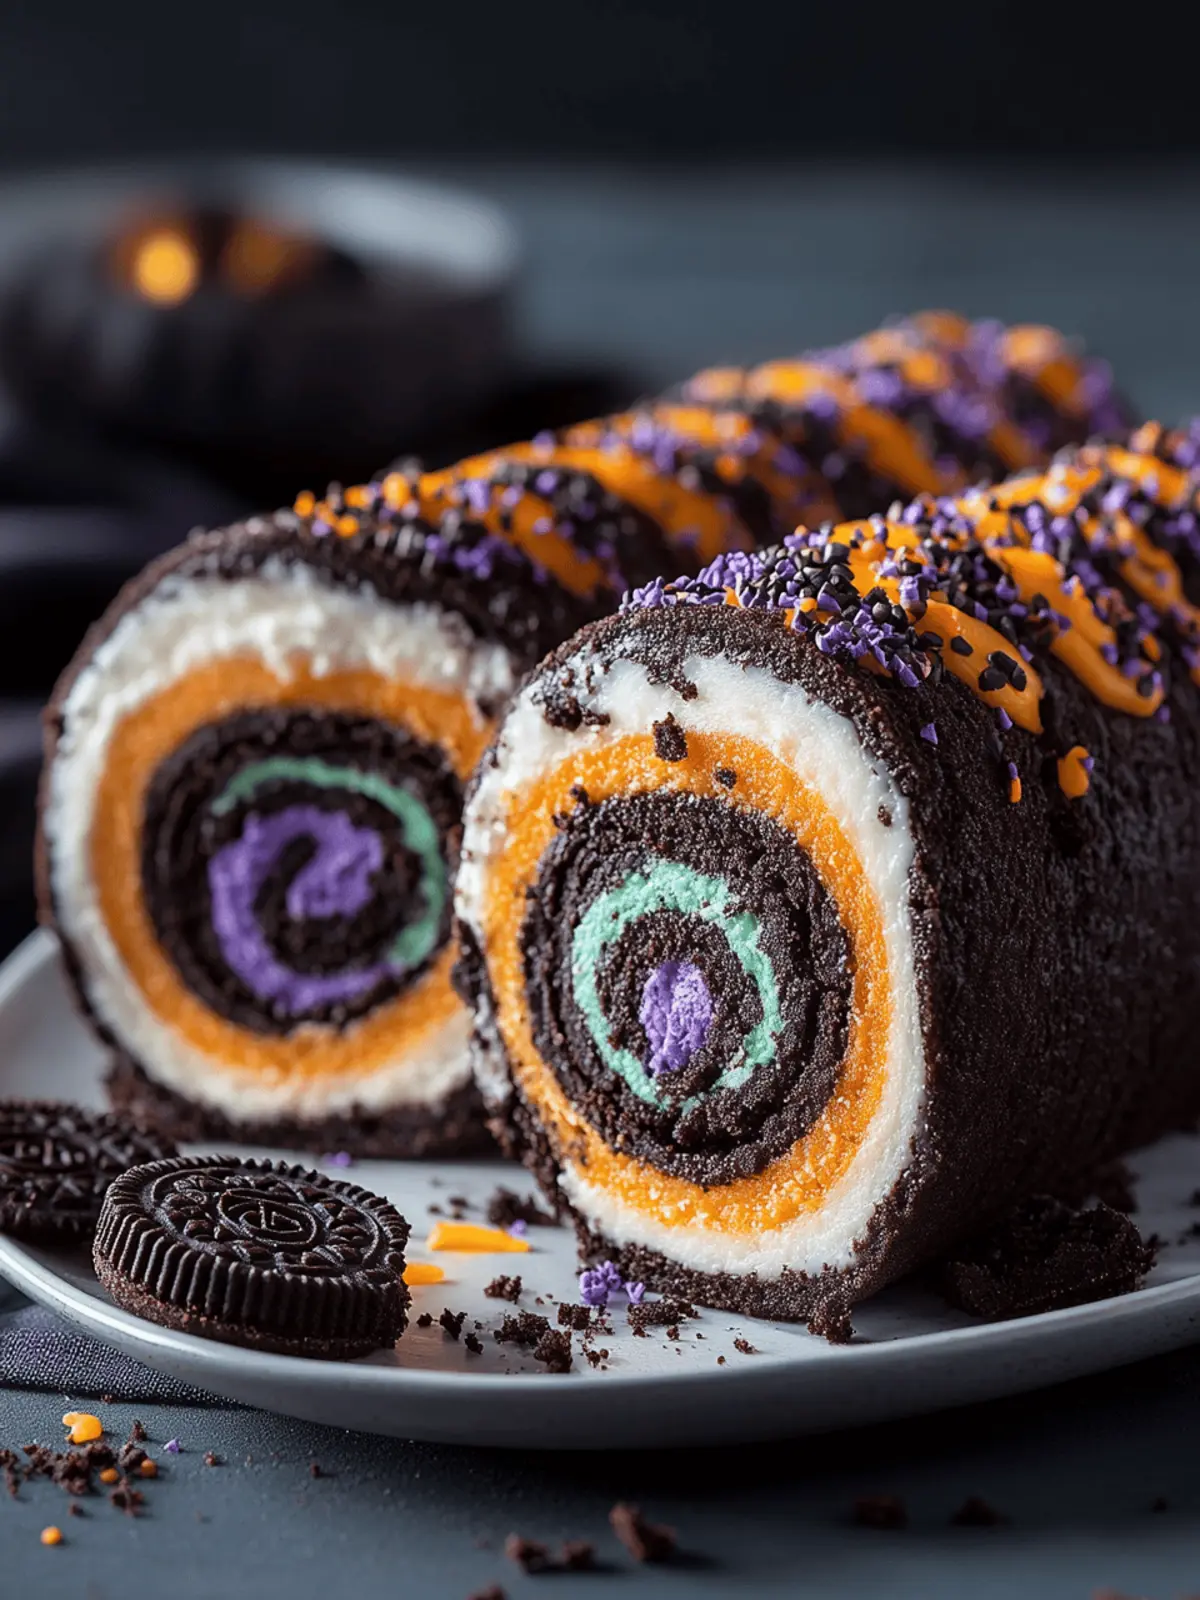
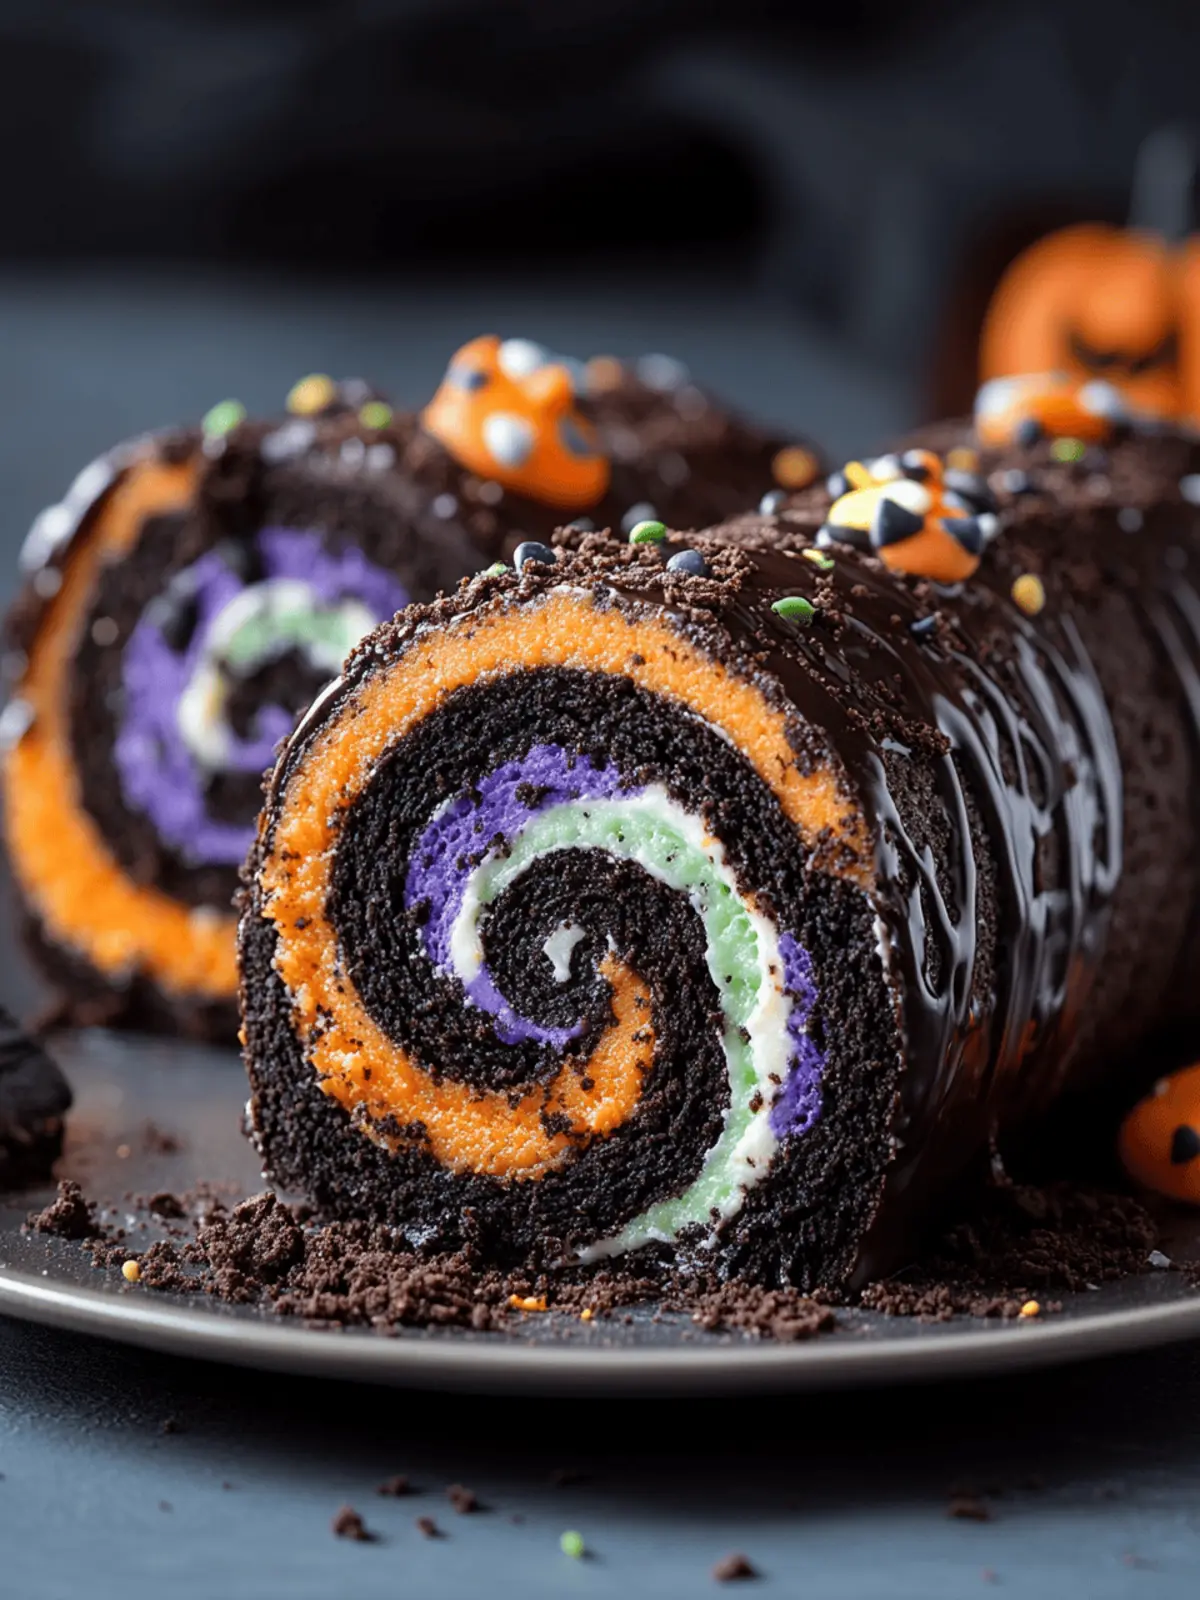
As the sun dips and the air chills, thoughts of spooky treats come to mind. Enter the No-Bake Halloween Oreo Roll, a dessert so delightfully easy, it feels like a playful kitchen trick! With just a handful of ingredients—crushed Halloween Oreos, velvety cream cheese, and a swirl of colorful frosting—you can craft a striking centerpiece for any Halloween gathering. I discovered this recipe while looking for something that would bring joy and a hint of whimsy to my family’s spooky celebrations, and let me tell you, it’s a crowd-pleaser!
Picture this: as you slice through the roll, vibrant black and orange swirls reveal themselves, instantly transporting you to a world of Halloween magic. Not only does it taste divine with a rich oreo flavor, but the simplicity of this no-bake creation means you won’t be stuck in the kitchen when you could be enjoying festive moments with your loved ones. Whether you’re catering to a Halloween get-together or just indulging on a cozy night in, this tasty treat is bound to spark smiles and compliments galore!
Why is the Halloween Oreo Roll a Must-Try?
Irresistibly Fun: This no-bake treat transforms ordinary ingredients into a festive masterpiece that delights both kids and adults.
Easily Customizable: With endless options for frosting colors and toppings, you can personalize it for any spooky occasion.
Quick Preparation: Forget complicated recipes; this roll comes together in a snap—perfect for last-minute parties!
Visually Stunning: Each slice reveals a striking swirl of colors, making it a showstopper on any dessert table.
Shared Joy: Whether you’re entertaining guests or making family smiles wider, this treat invites everyone to gather around and enjoy the festivities!
Kid-Friendly: The fun of rolling and decorating makes it an excellent activity for young chefs to join in the kitchen fun.
Halloween Oreo Roll Ingredients
• Create this delightful no-bake treat with these essential ingredients!
For the Roll
- 36 Halloween Oreos – Choose the version with orange crème for an extra festive flair.
- 6 oz cream cheese, softened – Full-fat cream cheese ensures a rich, creamy texture that binds perfectly.
- ½ tsp vanilla extract – A splash of vanilla elevates the flavors, making it even more irresistible.
For the Frosting
- ½ cup Halloween-colored frosting – Opt for fun colors like purple, green, or orange to enhance the spooky theme.
Optional Toppings
- Sprinkles – Add a pop of color and crunch for an even more joyful presentation.
- Candy eyes – These bring a playful, whimsical touch to your Halloween Oreo Roll.
- Melted chocolate drizzle – A drizzle of chocolate sets off the flavors and creates a fancy finish.
How to Make Halloween Oreo Roll
-
Crush Oreos: Place your 36 Halloween Oreos (filling included) in a food processor and pulse until finely ground. They should resemble coal dust. If you don’t have a processor, place them in a sealed plastic bag and crush with a rolling pin.
-
Mix Dough: In a large mixing bowl, combine the crushed Oreos, 6 oz of softened cream cheese, and ½ tsp vanilla extract. Mix until it resembles wet sand. Knead briefly until it holds together like Play-Doh™.
-
Shape the Roll: Lay a sheet of parchment paper on your counter. Place the dough on it and roll it out into a 10×14-inch rectangle, about ¼-inch thick. Use your palms to smooth the edges.
-
Apply Frosting: Spread ½ cup of Halloween-colored frosting evenly over the surface of the dough, leaving a 1-inch border around the edges for easy rolling.
-
Roll the Dough: Starting from one end, carefully roll the dough jelly-roll style, using the parchment paper to help guide it. Roll tightly but gently to maintain the shape.
-
Seal and Chill: Press the edge of the roll gently to seal. Wrap it tightly in parchment paper and foil, then refrigerate for at least 1 hour or freeze for 20 minutes to firm up.
-
Slice and Serve: Unwrap the roll, placing it seam-side down. Use a warm knife to slice it into 1-inch rounds for clean edges. Decorate each slice with your choice of optional toppings, like sprinkles or candy eyes, just before serving.
Optional: For an extra festive touch, drizzle melted chocolate over the slices before serving.
Exact quantities are listed in the recipe card below.
What to Serve with Halloween Oreo Roll?
As you dive into this delectable Halloween treat, think about how to elevate the experience with satisfying accompaniments that enhance its playful charm.
-
Whipped Cream: Light and airy, it adds a creamy dimension while balancing out the dessert’s sweetness.
-
Pumpkin Spice Latte: The warm spices provide a cozy contrast, making every bite of the roll feel like a warm hug.
-
Chocolate-Dipped Fruit: Fresh strawberries or bananas dipped in chocolate bring sweetness and a refreshing texture to your Halloween spread.
-
Festive Sugar Cookies: Simple, decorated cookies with icing bring a delightful crunch that pairs beautifully with the creamy roll.
-
Caramel Sauce Drizzle: A drizzle of rich caramel amplifies the sweetness and adds a luxurious touch to each slice.
Sharing these treats at your Halloween gathering will invite laughter and joy, making your celebration truly unforgettable!
How to Store and Freeze Halloween Oreo Roll
Fridge: Store the sliced Halloween Oreo Roll in an airtight container for up to 3 days. This keeps them fresh and ready for spontaneous sweet cravings!
Freezer: If you want to save some for later, wrap the un-sliced roll tightly in foil and freeze for up to 2 weeks. Thaw it overnight in the fridge when you’re ready to enjoy!
Reheating: There’s no need to reheat this no-bake delight! Simply slice and serve cold for the best experience, and feel free to decorate afresh with toppings.
Halloween Oreo Roll Variations
Feel free to put your unique spin on this fun dessert and elevate the flavors!
-
Gluten-Free Cookies: Replace Halloween Oreos with gluten-free chocolate cookies for a delicious alternative. Everyone can enjoy this treat, regardless of dietary needs.
-
Cream Cheese Alternatives: Swap the cream cheese for a dairy-free option, like vegan cream cheese, to make it suitable for a vegan crowd. The flavors will still shine!
-
Flavor Boost: Add a pinch of cinnamon or pumpkin spice to the dough for an autumn twist that’ll warm up your heart and home.
-
Frosting Variability: Experiment with different frosting flavors, such as chocolate or peanut butter, to surprise your taste buds and offer a new dimension of sweetness.
-
Crunchy Texture: Mix in chopped nuts or crushed candy bars for added crunch, creating a delightful contrast to the creamy filling that enhances each bite.
-
Heat It Up: Sprinkle in a few drops of chili extract or crushed red pepper flakes for a subtly spicy edge that surprises and delights.
-
Festive Colors: Opt for different frosting colors to match a specific theme. Think pastels for Easter or red and green for Christmas; the possibilities are endless!
-
Mini Roll-ups: Instead of one large roll, create individual bite-sized rolls for easy snacking at parties. Perfect for kids to grab and go!
Make Ahead Options
These Halloween Oreo Rolls are perfect for meal prep enthusiasts, allowing you to prepare a crowd-pleasing dessert in advance! You can make the roll itself up to 3 days ahead of time; just follow the steps to shape and chill it. Once wrapped tightly in parchment and foil, refrigerate until ready to slice. For optimal freshness, avoid topping the slices until right before serving to maintain the texture and appearance. When you’re ready to impress your guests, simply slice the roll into rounds and decorate with your favorite sprinkles or candy eyes for a festive finish. Enjoy the saved time and the delighted smiles around your Halloween table!
Expert Tips for Halloween Oreo Roll
- Room Temperature Cheese: Always soften your cream cheese before mixing. It blends better, creating a smooth texture for your Halloween Oreo Roll.
- Warm Knife Slicing: Use a warm knife to slice the roll; it ensures clean cuts and enhances the visual appeal of each slice. Wipe the knife between cuts to maintain neat edges.
- Embrace Imperfections: Don’t worry about cracks in the roll! They add character and fit the spooky theme of Halloween, making your dessert even more charming.
- Experiment with Flavors: Try using different flavored Oreos or adding a hint of peppermint for a winter holiday twist. This keeps your Halloween Oreo Roll fresh and exciting!
- Storage Savvy: If you need to make it ahead, refrigerate it for up to 3 days or freeze un-sliced rolls for up to 2 weeks. Just remember to thaw it overnight in the fridge.
Halloween Oreo Roll Recipe FAQs
What type of Halloween Oreos should I use?
For a festive look, I recommend using Halloween Oreos with orange crème filling. They not only enhance the visual appeal but also add a delightful seasonal flavor that your guests will love.
How should I store leftover Halloween Oreo Roll?
Store any leftover slices in an airtight container in the refrigerator for up to 3 days. This keeps them fresh and perfect for those late-night sweet cravings. Just remember to separate layers with parchment paper to prevent sticking!
Can I freeze the Halloween Oreo Roll?
Absolutely! To freeze, wrap the un-sliced roll tightly in foil and place it in an airtight container or freezer bag. It can be stored this way for up to 2 weeks. When you’re ready to enjoy, thaw it overnight in the fridge before slicing and serving.
What should I do if my Oreo mixture is too dry?
If your mixture feels too dry when mixing, don’t worry! You can add an extra tablespoon of softened cream cheese or a splash of milk to moisten it. Mix until you achieve a consistency that holds together well but isn’t too sticky.
Is this recipe suitable for kids with food allergies?
It’s important to note that Halloween Oreos contain wheat and may contain traces of milk and nuts. Be sure to check the packaging for allergens if you’re making this for kids with sensitivities. You can substitute with gluten-free cookies and allergy-friendly cream cheese to accommodate different dietary needs.
How can I make the Halloween Oreo Roll ahead of time?
You can prepare the roll a day in advance. Store it in the fridge for up to 3 days before your event. For freezing, make sure to wrap it properly, and it’ll last for up to 2 weeks. Just remember to give it ample time to thaw in the fridge when you’re ready to serve.
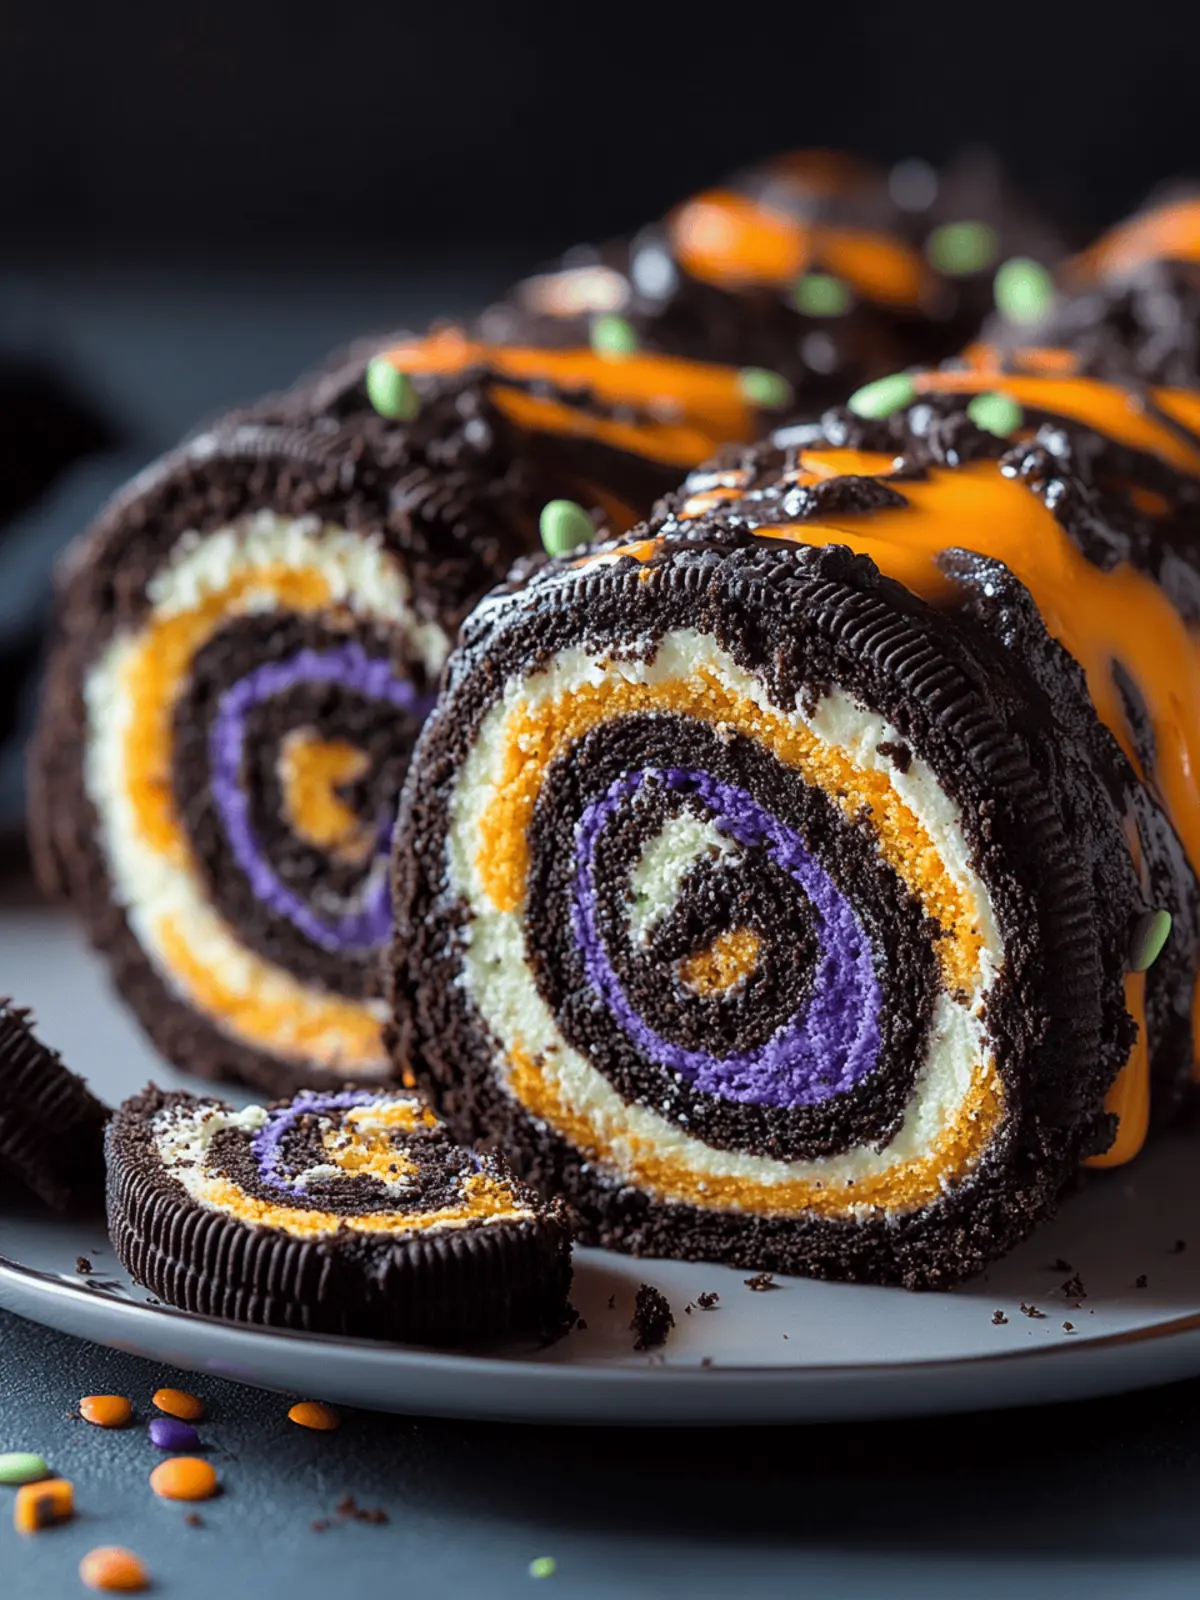
Delight in Halloween with a No-Bake Oreo Roll Treat
Ingredients
Equipment
Method
- Crush Oreos: Place your 36 Halloween Oreos (filling included) in a food processor and pulse until finely ground. They should resemble coal dust.
- Mix Dough: In a large mixing bowl, combine the crushed Oreos, 6 oz of softened cream cheese, and 1/2 tsp vanilla extract. Mix until it resembles wet sand.
- Shape the Roll: Lay a sheet of parchment paper on your counter. Place the dough on it and roll it out into a 10x14-inch rectangle, about 1/4-inch thick.
- Apply Frosting: Spread 1/2 cup of Halloween-colored frosting evenly over the surface of the dough, leaving a 1-inch border around the edges.
- Roll the Dough: Starting from one end, carefully roll the dough jelly-roll style, using the parchment paper to help guide it.
- Seal and Chill: Press the edge of the roll gently to seal. Wrap it tightly in parchment paper and foil, then refrigerate for at least 1 hour or freeze for 20 minutes.
- Slice and Serve: Unwrap the roll, placing it seam-side down. Use a warm knife to slice it into 1-inch rounds for clean edges.

