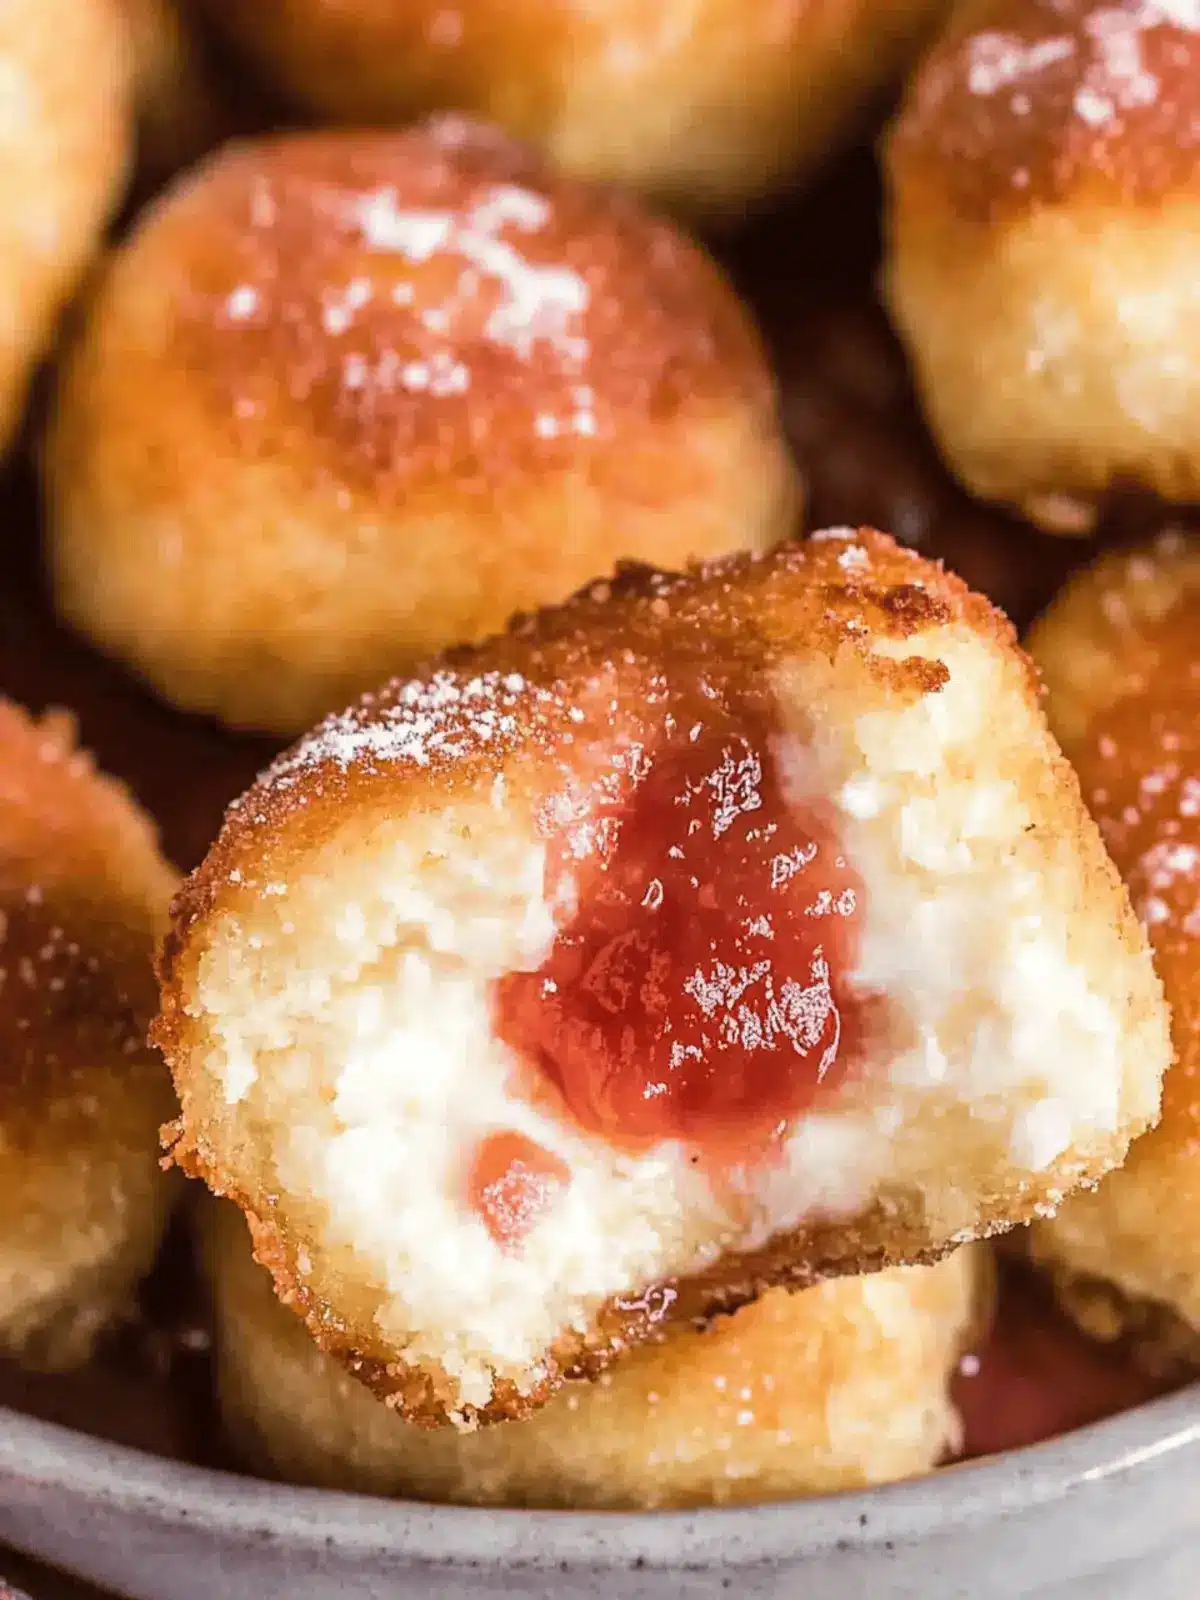
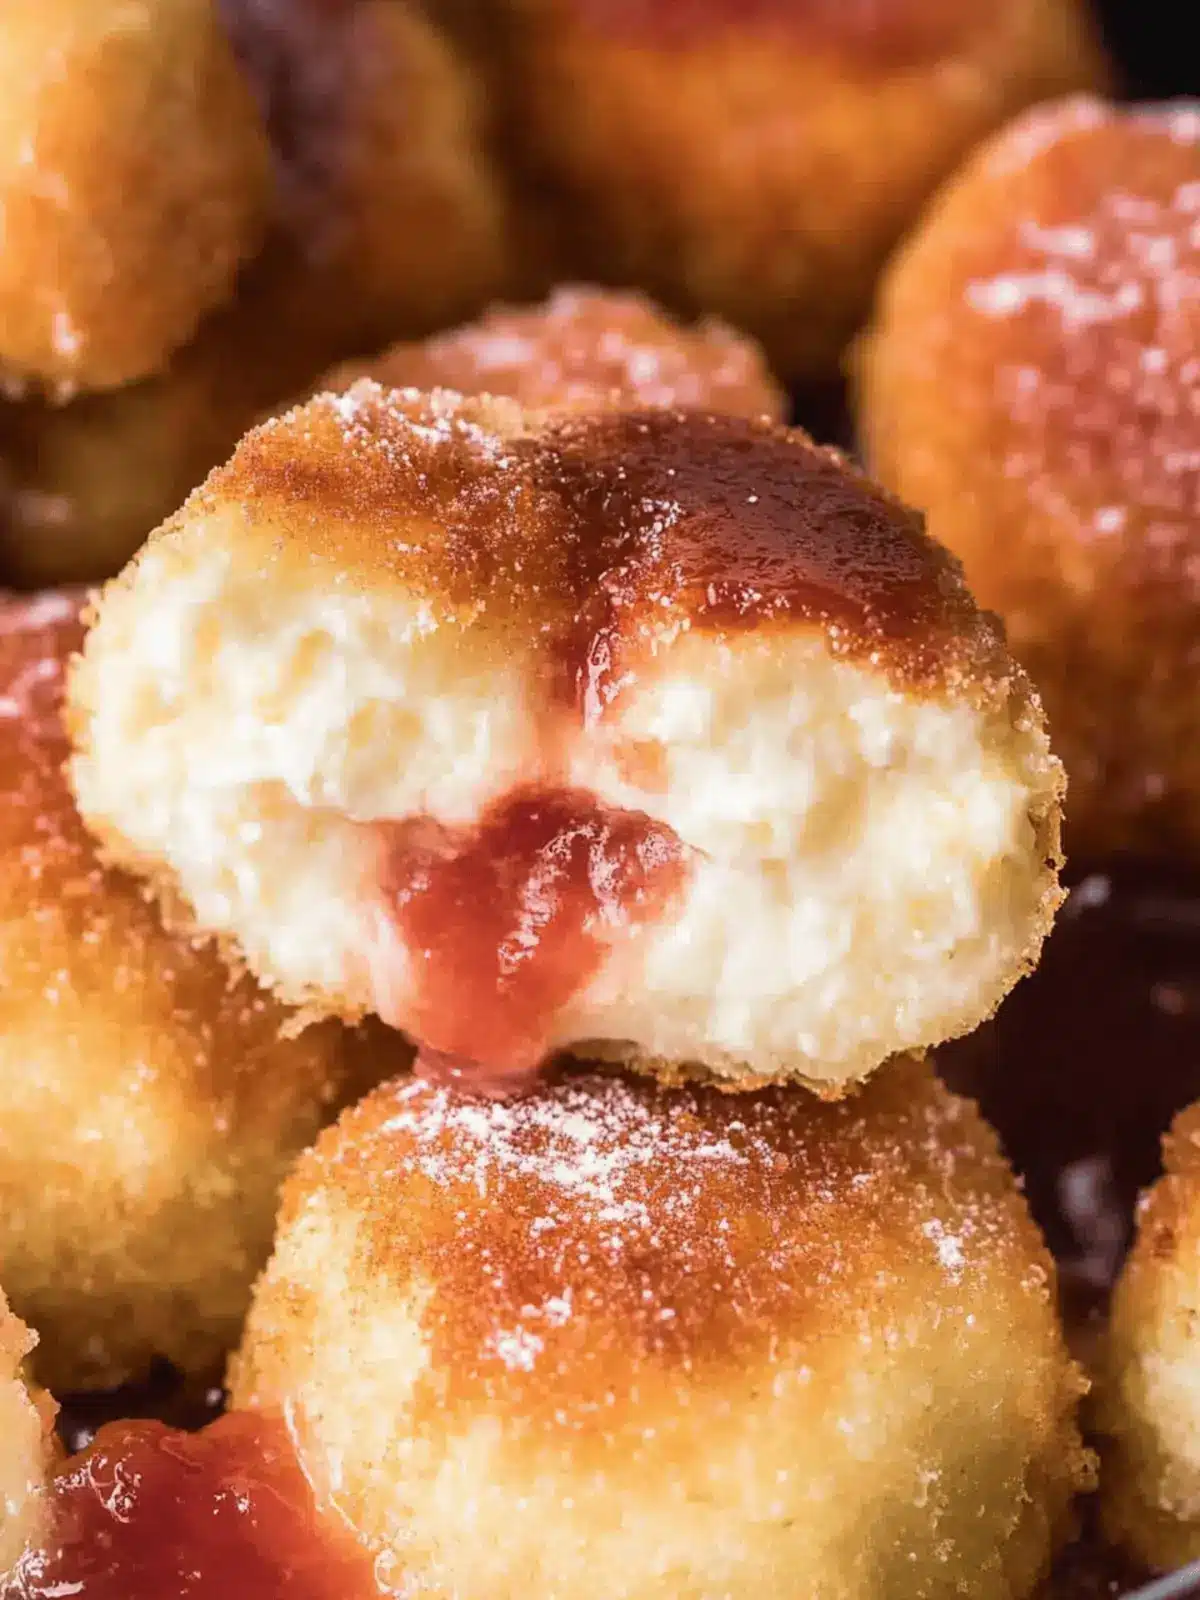
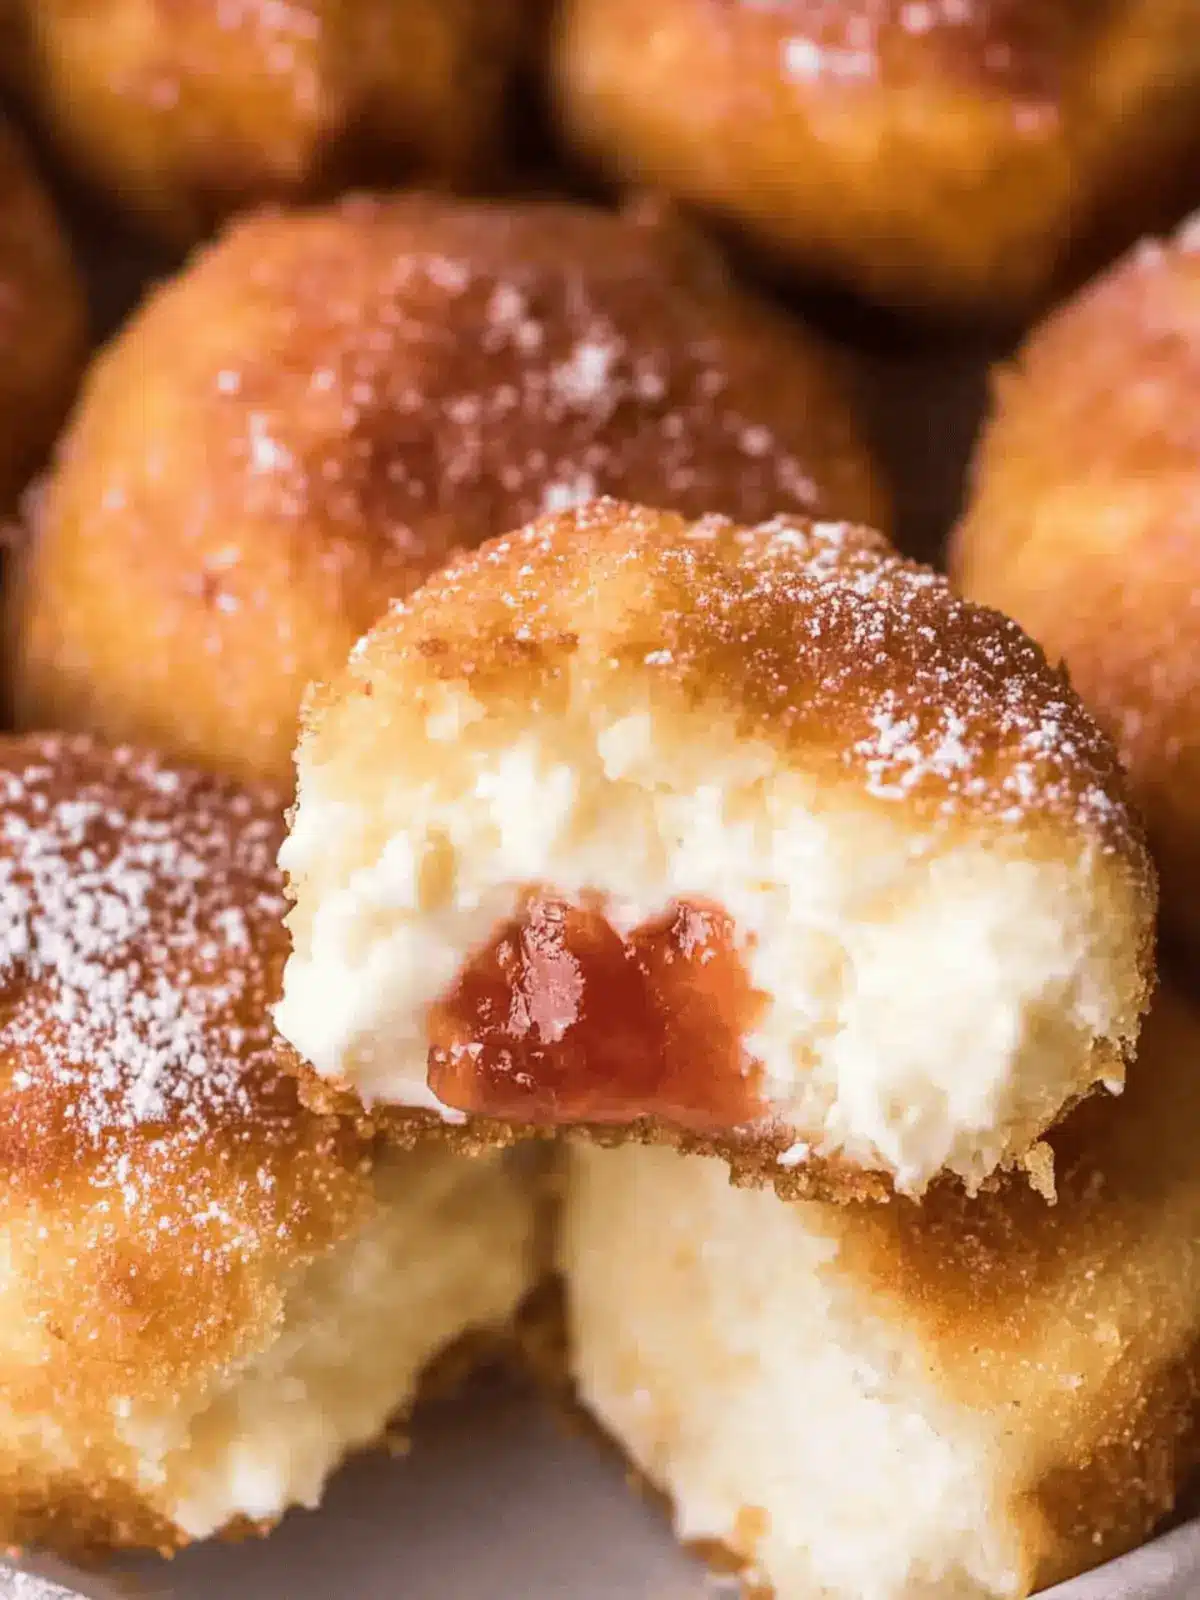
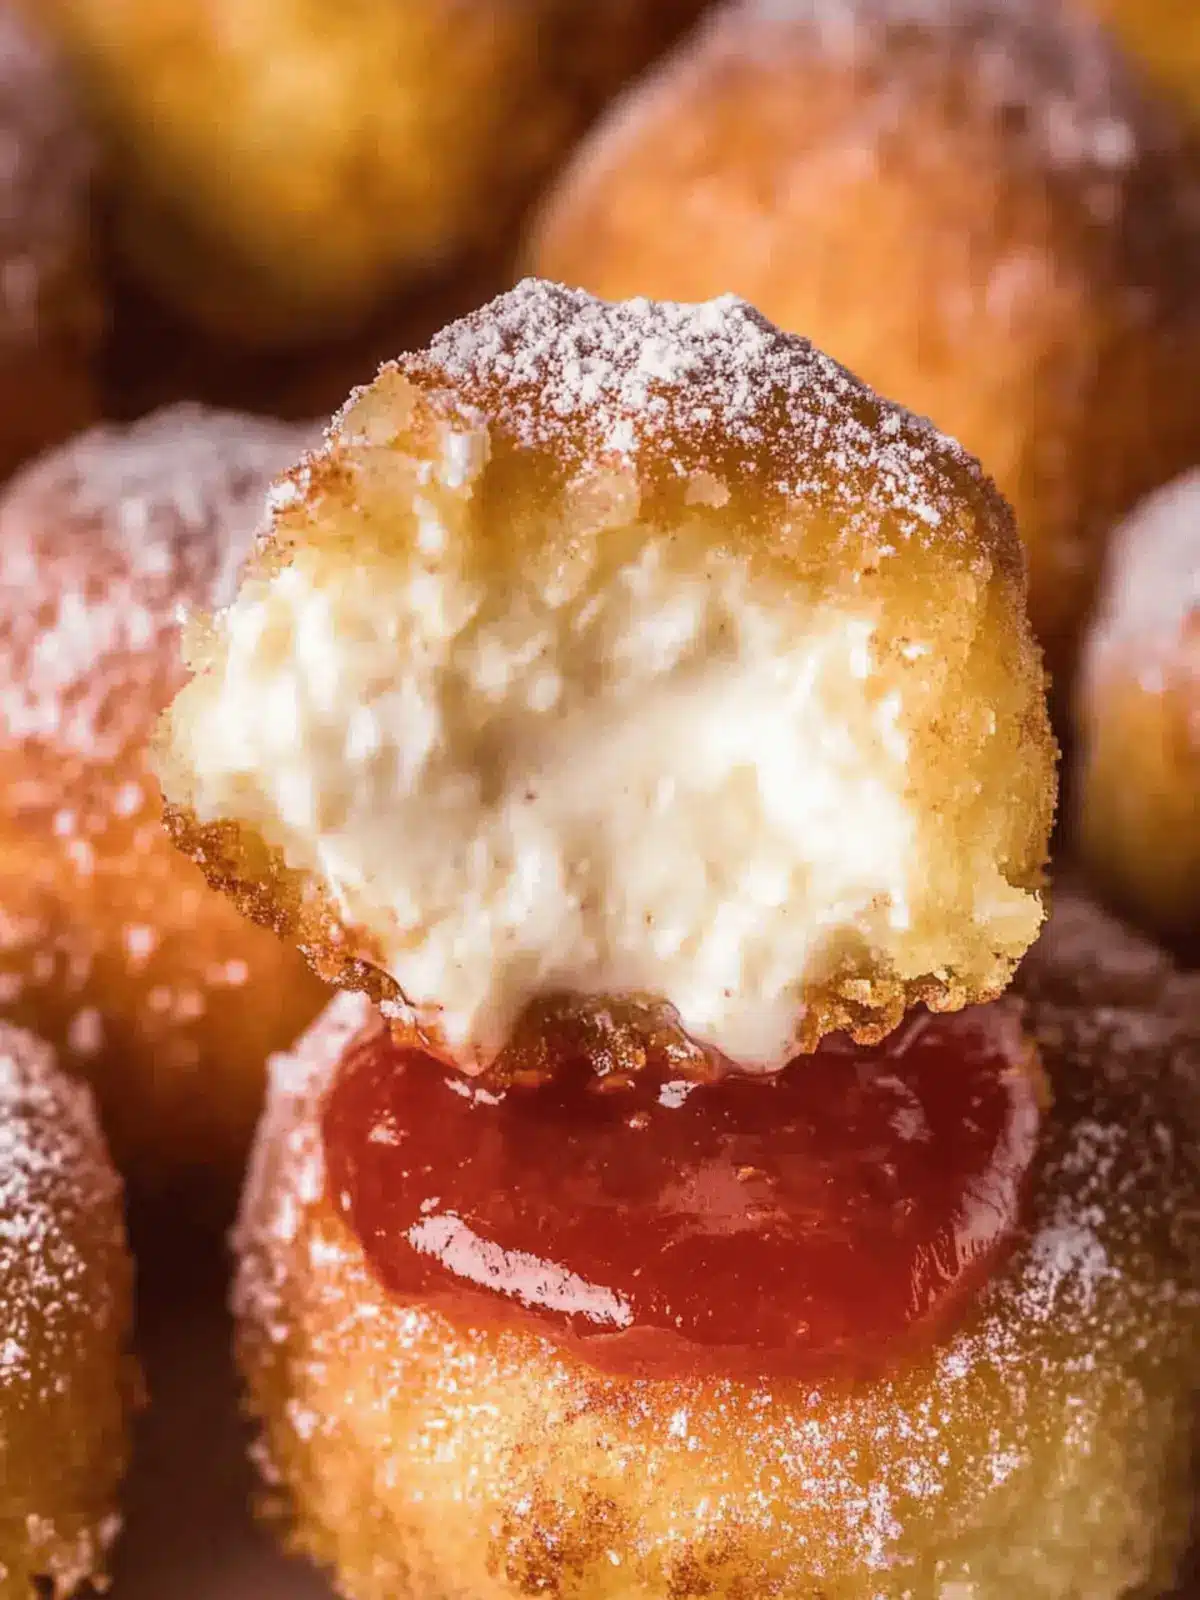
The first bite of Fried Cheesecake is nothing short of transformative. Imagine sinking your teeth into a golden, crispy exterior that gives way to a sumptuous, creamy filling—it’s a dessert lover’s dream! I discovered this delightful treat during a family gathering, where everyone was craving something special to share. With just a few simple ingredients and a dash of creativity, I found the perfect way to turn conventional cheesecake into a decadent fried delicacy.
This Fried Cheesecake recipe is not just about satisfaction; it offers a unique twist on a classic favorite, making it an instant hit at any celebration. Whether you’re impressing guests at a festive feast or enjoying a cozy movie night with loved ones, this delicious dessert brings joy and excitement to the table. Trust me, once you try it, you’ll wonder why you didn’t make it sooner! So gather your ingredients, and let’s dive into making this crunchy, creamy indulgence together!
Why is Fried Cheesecake a Must-Try?
Decadent and delicious, this dish combines the comforting elements of cheesecake with a fun, crispy twist.
Quick to prepare, you can whip this treat up in under 30 minutes, making it perfect for spontaneous gatherings.
Versatile enough to adapt with different cheesecake flavors, you can always surprise your guests with something new.
Crowd-pleaser that caters to all ages, it’s sure to bring smiles to every dessert table and leave everyone asking for seconds.
Unique in presentation, the contrast of crunchy exterior and creamy filling will make it a standout at any event.
Satisfying for both sweet tooth aficionados and casual dessert lovers alike, this Fried Cheesecake is destined to be your new favorite indulgence!
Fried Cheesecake Ingredients
For the Cheesecake
• Frozen Cheesecake – Use any flavor you love to create your creamy filling base for this Fried Cheesecake.
For the Batter
• Pancake Mix – Provides a light coating that fries up crispy; choose a gluten-free version for dietary needs.
• Large Egg – Binds the batter ingredients together for a cohesive coating that clings nicely to the cheesecake.
• Milk – Adjusts the batter’s consistency; consider almond milk for a dairy-free alternative.
For Frying
• Vegetable Oil – Essential for frying, ensuring each piece gets that golden, crispy exterior; can be swapped with canola or sunflower oil.
For Topping
• Powdered Sugar – A light dusting adds sweetness and charm to your Fried Cheesecake, making it irresistible to your guests!
How to Make Fried Cheesecake
-
Prep Frozen Cheesecake: Begin by cutting the frozen cheesecake into bite-sized pieces or squares. Pop them in the freezer for around 30 minutes to help keep their shape during frying.
-
Make Batter: In a mixing bowl, combine pancake mix, egg, milk, and vegetable oil. Whisk until the mixture is smooth and well combined, ensuring a light batter texture.
-
Heat Oil: In a deep skillet or frying pan, heat vegetable oil over medium heat. Aim for a temperature of around 350°F (175°C) for those picture-perfect crispy results.
-
Coat Cheesecake: Gently dip each cheesecake piece into the batter, ensuring they are fully coated. This batter will create that delicious crunch we all love!
-
Fry Cheesecake: Carefully place the coated cheesecake pieces in the hot oil. Fry until they’re golden brown, about 3-4 minutes per side, and then drain on paper towels for any excess oil.
-
Serve Immediately: Dust the fried cheesecake with powdered sugar and serve warm, adding any toppings you desire, like chocolate sauce or fresh fruit for an extra treat!
Optional: Drizzle with caramel sauce for an even sweeter experience.
Exact quantities are listed in the recipe card below.
Expert Tips for Fried Cheesecake
-
Hot Oil Matters: Make sure the oil reaches 350°F (175°C) before adding cheesecake. If it’s too cool, your Fried Cheesecake may turn out soggy instead of crispy.
-
Avoid Overcrowding: Fry in batches to prevent lowering the oil temperature. Overcrowding can lead to uneven frying and less crunchy texture.
-
Freezing Is Key: Always freeze the cheesecake pieces for at least 30 minutes before frying. This allows them to hold their shape during cooking, resulting in a perfectly formed Fried Cheesecake.
-
Batter Consistency: The pancake mix should create a smooth batter that clings to the cheesecake. If it’s too thick, add a little more milk to achieve the right consistency.
-
Serve Fresh: Fried Cheesecake is best enjoyed immediately. If making ahead, keep the cheesecake pieces frozen and fry fresh when you’re ready to serve for ideal taste and texture.
Fried Cheesecake Variations
Let your creativity shine while customizing this delectable treat to suit your taste and dietary needs!
-
Fruit-Filled: Use cheesecake flavors like strawberry or blueberry for a fruity twist that adds sweetness and color.
Sweet, tangy fruit filling enhances the richness, making each bite a delicious surprise! -
Gluten-Free: Swap regular pancake mix with a gluten-free alternative for a crispy coating that everyone can enjoy.
Now, no one has to miss out on this delightful dessert, regardless of dietary restrictions. -
Dairy-Free: Substitute regular milk with almond or oat milk, and use dairy-free cream cheese for a completely dairy-free version.
This option ensures that those with lactose intolerance can indulge without any worries. -
Spicy Twist: Add a pinch of cinnamon or a dash of cayenne pepper to the batter for an unexpected flavor kick.
The contrast between the warm spices and creamy cheesecake is bound to surprise and delight your taste buds. -
Chocolate Lover’s Dream: Use chocolate cheesecake as your base, and serve with a drizzle of melted chocolate or a sprinkle of chocolate chips.
This variation is like a rich, decadent chocolate bar that melts in your mouth! -
S’mores Style: Incorporate crushed graham crackers into the batter and top with mini marshmallows for a fun campfire-inspired treat.
The combination of flavors and textures is reminiscent of cozy evenings around the fire. -
Nutty Crunch: Add chopped nuts like pecans or almonds to the batter for an extra crunch that enhances every bite.
This crunchy addition adds a delightful contrast to the creamy cheesecake, making it even more satisfying. -
Lemon Zest: Mix in some lemon zest to the batter for a refreshing citrus note that brightens up the whole dessert.
This twist transforms the classic cheesecake into a refreshing delight, perfect for warm weather events!
What to Serve with Fried Cheesecake?
Imagine sinking your teeth into the delight of crispy Fried Cheesecake, and now envision building a complete dessert masterpiece around it. The combinations are endless!
- Vanilla Ice Cream: Creamy vanilla perfectly balances the richness of the Fried Cheesecake, providing a soothing contrast to its crunch.
- Chocolate Sauce: A warm drizzle of chocolate adds a luxurious touch, enhancing the dessert’s decadence while making every bite irresistible.
- Fresh Berries: A medley of strawberries, raspberries, or blueberries brings a refreshing burst of flavor and brightens up the plate visually.
- Caramel Sauce: Sweet, gooey caramel adds depth with its buttery flavor, complementing the cheesecake’s sweetness for a truly indulgent experience.
Pairing your Fried Cheesecake with a scoop of creamy vanilla ice cream creates an unforgettable dessert moment. Picture sharing this combination with loved ones on a cozy evening.
- Coffee: A warm cup of rich coffee provides a delightful contrast, enhancing the sweetness while inviting an enjoyable after-dinner experience.
- Whipped Cream: A fluffy dollop on top adds an airy texture that contrasts wonderfully with the crunchy pastry, making every bite a delightful treat!
Make Ahead Options
These Fried Cheesecake treats are perfect for meal prep enthusiasts looking to save time during busy weeknights! You can cut the frozen cheesecake into bite-sized pieces and freeze them for up to 24 hours in advance, ensuring they hold their shape while frying. The batter can also be prepped and stored in the refrigerator for up to 3 days; just give it a quick whisk before using to ensure smooth consistency. When ready to serve, simply heat oil, coat the cheesecake pieces in the batter, and fry them until golden brown. This method allows you to enjoy restaurant-quality Fried Cheesecake with minimal effort, just as delicious as when made fresh!
Storage Tips for Fried Cheesecake
Room Temperature: Fried Cheesecake is best enjoyed fresh, but it can be left out at room temperature for up to 2 hours before it starts to lose its crispy texture.
Fridge: If you have leftovers, store them in an airtight container in the fridge for up to 3 days. Reheat in an oven at 350°F (175°C) for a few minutes to regain crispness.
Freezer: For longer storage, you can freeze individual pieces wrapped in plastic wrap and placed in a freezer-safe bag. They can last up to 2 months; fry them straight from the freezer when you’re ready to indulge!
Reheating: To reheat leftover Fried Cheesecake, place them in a preheated oven at 350°F (175°C) for about 10 minutes, keeping that golden crunch intact while warming the creamy filling inside.
Fried Cheesecake Recipe FAQs
What type of frozen cheesecake should I use?
Absolutely! You can use any flavor of frozen cheesecake you love. If you’re feeling adventurous, try different varieties like strawberry or chocolate to bring a unique twist to your Fried Cheesecake!
How should I store leftover Fried Cheesecake?
If you have any leftovers, store them in an airtight container in the fridge for up to 3 days. To retain some of that delightful crunch, reheat them in a preheated oven at 350°F (175°C) for a few minutes before serving.
Can I freeze Fried Cheesecake?
Very much so! To freeze, wrap individual pieces tightly in plastic wrap and then place them in a freezer-safe bag. They can last up to 2 months. When you’re ready to enjoy, fry them straight from the freezer for a fresh treat!
What temperature should the oil be for frying?
It’s essential to heat the oil to around 350°F (175°C). I like to use a kitchen thermometer to check this. If the oil isn’t hot enough, your Fried Cheesecake will absorb too much oil and lose that perfect crispy texture you’re after!
Is this recipe safe for those with gluten allergies?
Definitely! You can easily make this Fried Cheesecake gluten-free by opting for a gluten-free pancake mix. Just ensure that all ingredients you use are certified gluten-free to keep it safe for those with allergies.
What can I do if my batter is too thick?
If you find that your batter is too thick, don’t worry! Simply add a little more milk—start with a tablespoon at a time—until you reach the desired consistency. You want a smooth batter that clings well but isn’t overly thick to coat your cheesecake pieces perfectly.
Irresistible Fried Cheesecake with Creamy Delight Inside
Ingredients
Equipment
Method
- Begin by cutting the frozen cheesecake into bite-sized pieces or squares. Pop them in the freezer for around 30 minutes to help keep their shape during frying.
- In a mixing bowl, combine pancake mix, egg, milk, and vegetable oil. Whisk until the mixture is smooth and well combined, ensuring a light batter texture.
- In a deep skillet or frying pan, heat vegetable oil over medium heat. Aim for a temperature of around 350°F (175°C) for those picture-perfect crispy results.
- Gently dip each cheesecake piece into the batter, ensuring they are fully coated. This batter will create that delicious crunch we all love!
- Carefully place the coated cheesecake pieces in the hot oil. Fry until they're golden brown, about 3-4 minutes per side, and then drain on paper towels for any excess oil.
- Dust the fried cheesecake with powdered sugar and serve warm, adding any toppings you desire, like chocolate sauce or fresh fruit for an extra treat!

