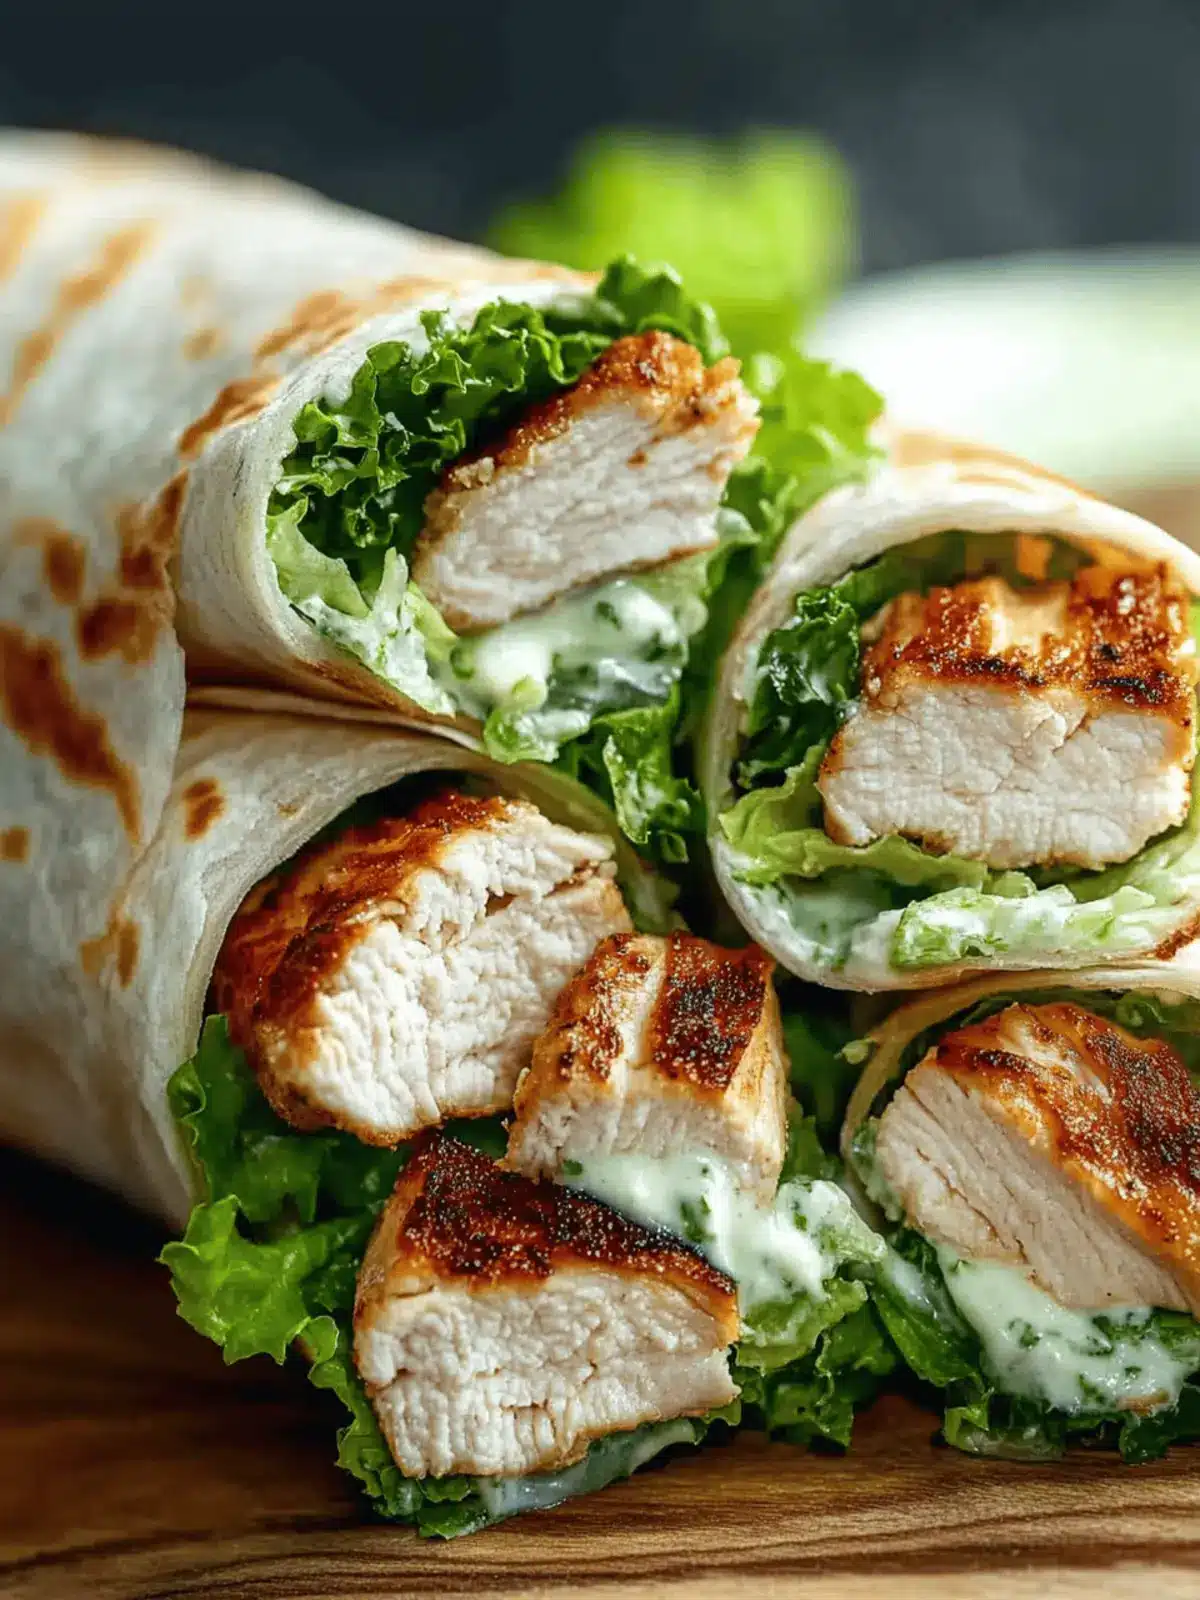
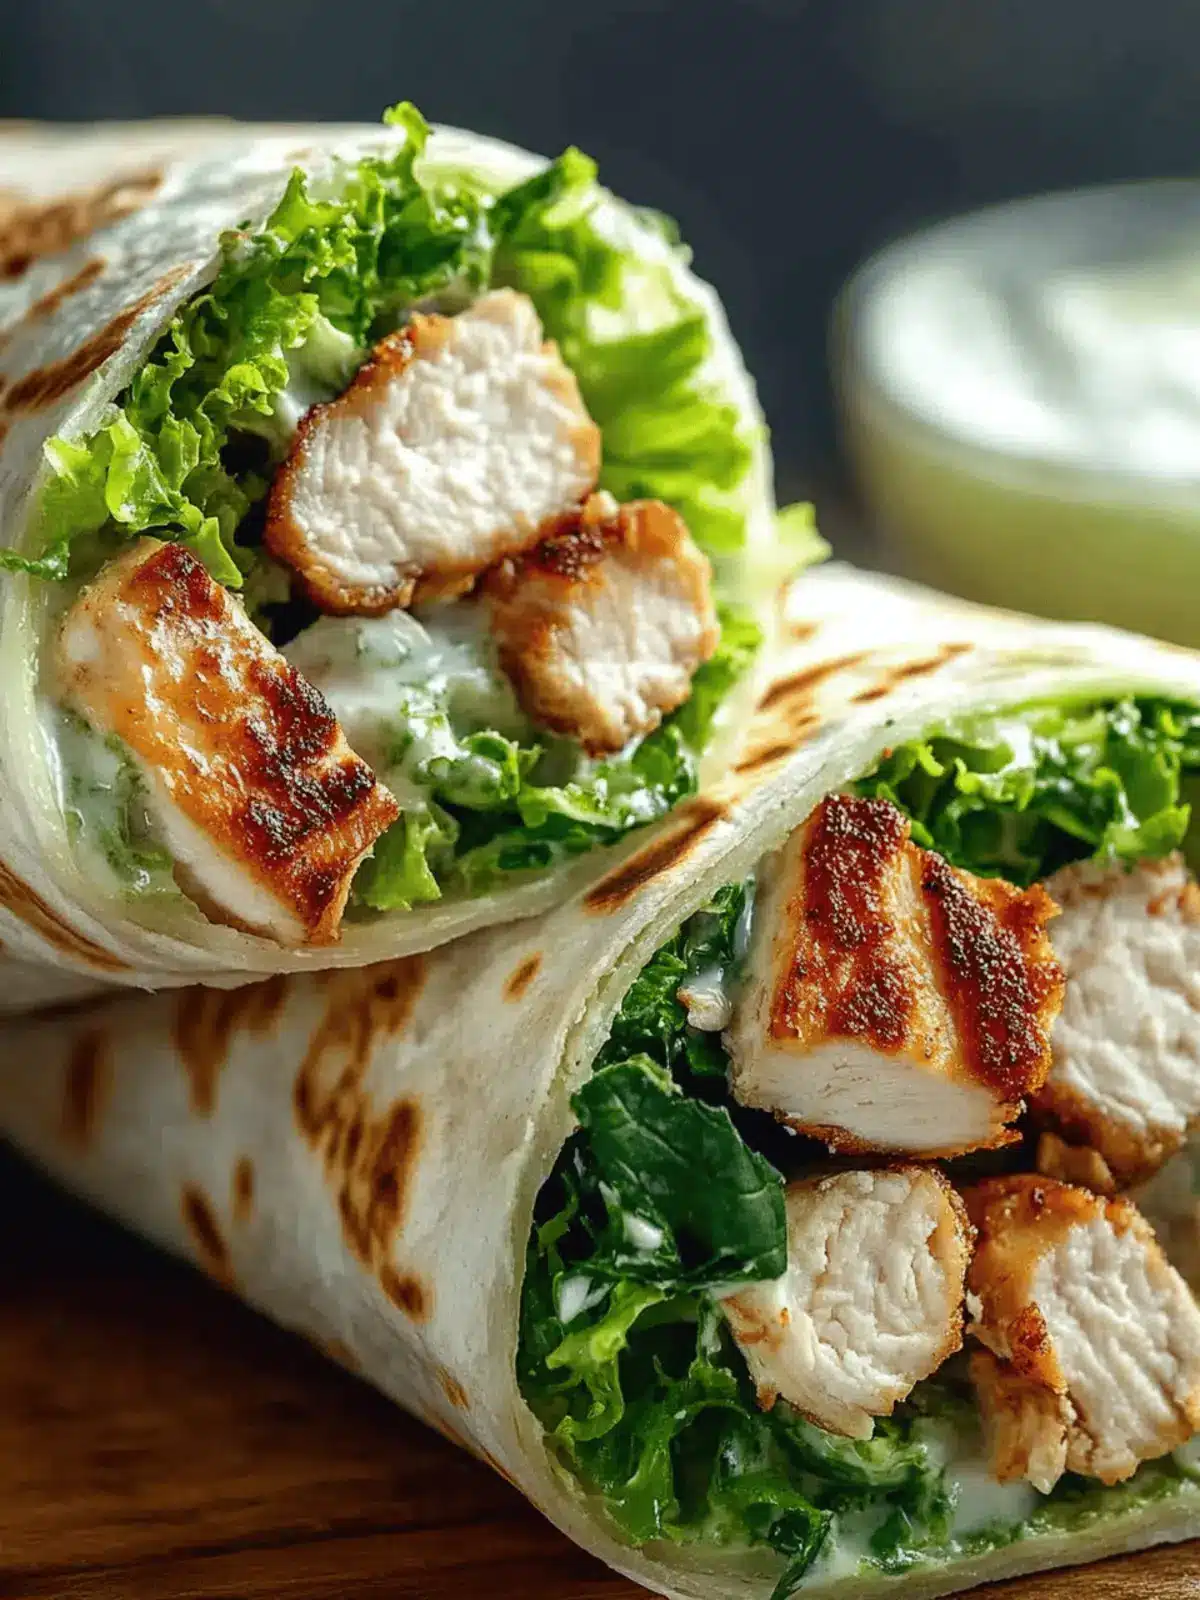
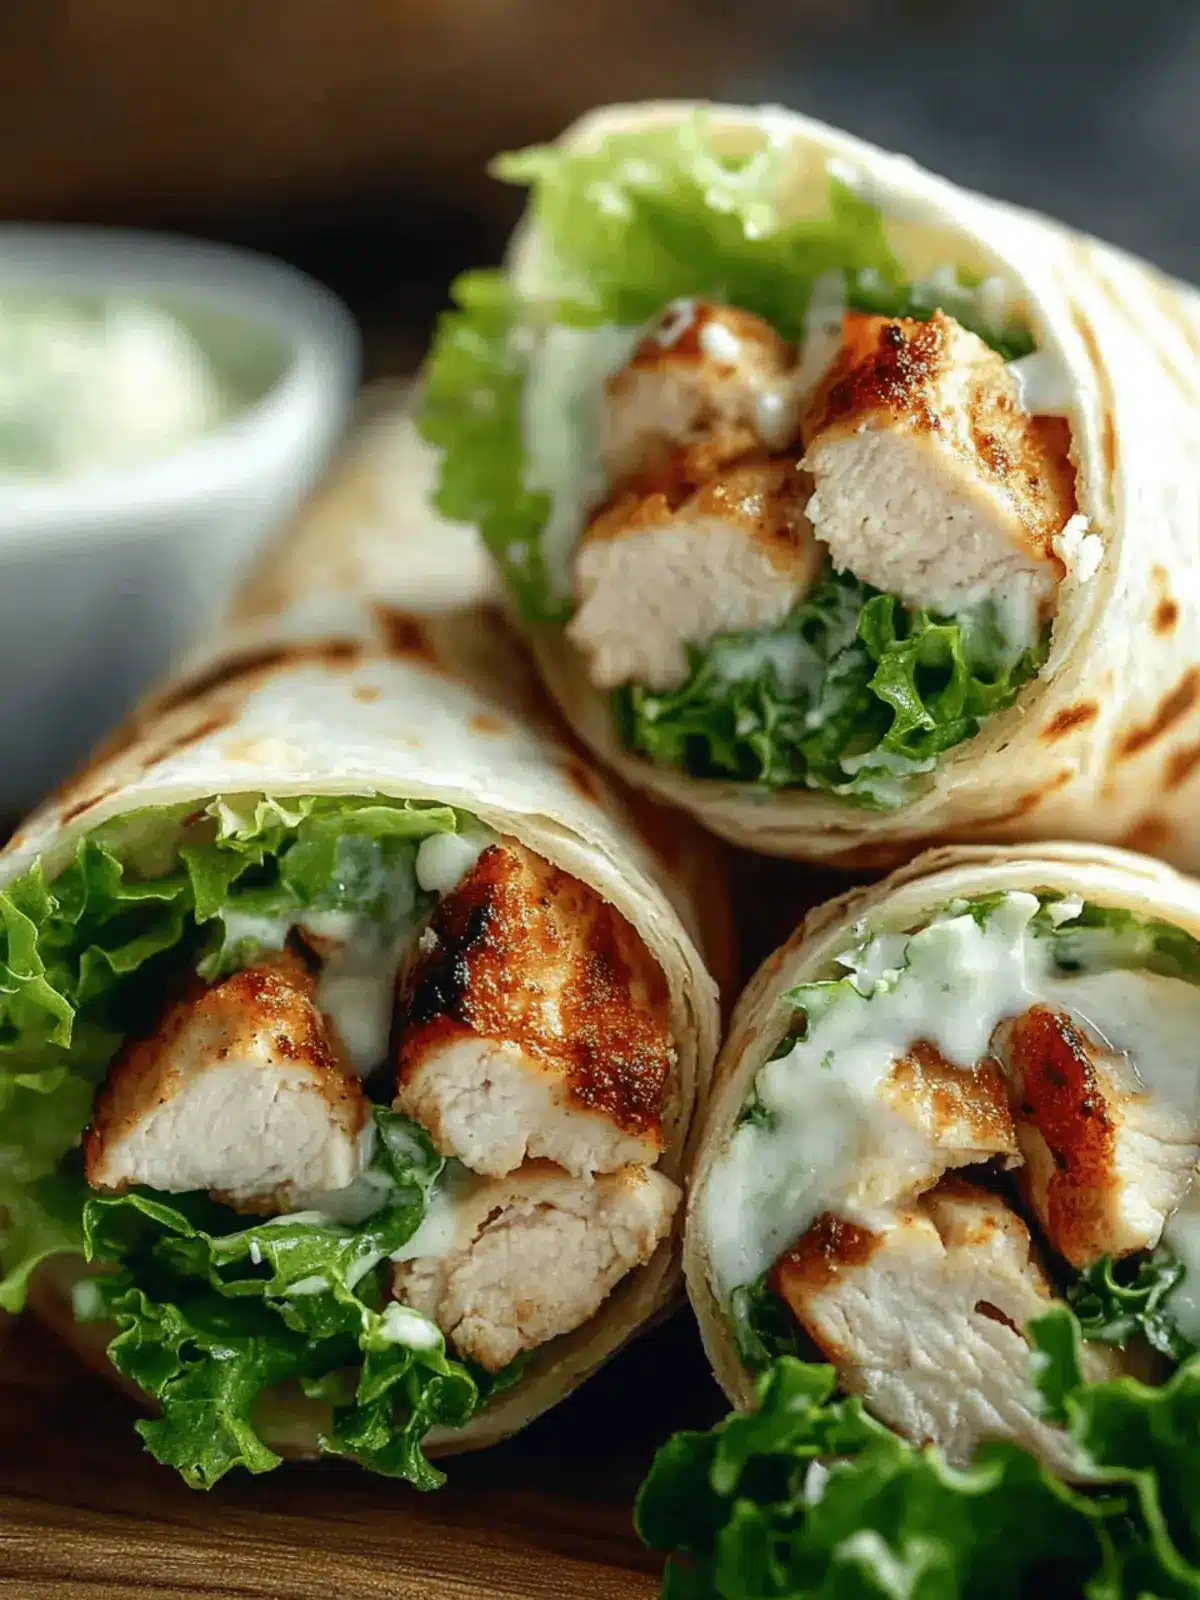
When life gets busy, finding a meal that’s both quick and satisfying can seem like a daunting task. That’s where my Easy Chicken Caesar Wraps come to the rescue! Picture this: fresh romaine lettuce, tender grilled chicken, and creamy Caesar dressing all cozying up in a soft flour tortilla. It’s a delightful contrast of textures, and believe me, the first bite is nothing short of bliss.
I stumbled upon this simple yet oh-so-delicious recipe during a hectic week, desperate for a homemade option that could rival fast food. These wraps aren’t just easy to make; they’re also super versatile, letting you mix and match ingredients for your family’s taste. Plus, they’re perfect for lunchboxes or a breezy picnic!
Whether you’re packing them for work or enjoying them at home after a long day, these wraps promise a flavorful, fuss-free meal. So let’s roll up our sleeves and dive into this crowd-pleaser that the whole family will adore!
Why love this Easy Chicken Caesar Wraps Recipe?
Simplicity makes these wraps a breeze to prepare, ideal for busy days. Versatile options allow you to tailor ingredients to your taste, whether it’s a Buffalo twist or a Mediterranean flair. Portable and convenient, they’re perfect for lunchboxes or picnics. With fresh flavors and a satisfying crunch, they cater to the whole family’s cravings. And most importantly, crowd-pleasing deliciousness means you can skip the fast food—your loved ones will be asking for seconds!
Easy Chicken Caesar Wraps Ingredients
• For a fresh and satisfying meal!
For the Wrap
• Large Flour Tortillas – The base of this Easy Chicken Caesar Wraps recipe; choose whole grain for added nutrition.
• Fresh Romaine Lettuce – Adds a delightful crunch; ensure it’s washed and dried thoroughly to keep your wraps fresh.
For the Filling
• Grilled Chicken Breasts – A lean protein that keeps you energized; consider using leftover chicken for a quick prep.
• Garlic Powder – Infuses flavor into your wraps; fresh garlic can provide an even bolder taste.
• Fresh Lemon Juice – A splash brightens the wrap’s flavor; it enhances the freshness beautifully.
• Parmesan Cheese – Adds a rich, creamy texture; opt for freshly grated for the best taste.
Optional Add-Ins
• Croutons – Introduce crunch to your wraps; homemade versions add superior quality.
• Cherry Tomatoes – Bring a burst of color and juice; feel free to swap with diced bell peppers for variety.
• Bacon Bits – Add a smoky touch; skip this ingredient for a lighter wrap.
For Assembly
• Caesar Dressing – This holds everything together; use a thicker dressing to prevent any sogginess.
• Black Pepper – Adjust to taste for an extra kick; it complements all the flavors perfectly.
How to Make Easy Chicken Caesar Wraps
-
Cook the chicken breasts thoroughly. If you’re starting with raw chicken, grill or bake at 375°F for 20-25 minutes. Allow to cool, then slice into strips.
-
Wash and dry the romaine lettuce. Gently rinse under cold water and use a salad spinner or paper towels to ensure it’s completely dry to avoid soggy wraps.
-
Spread a thin layer of Caesar dressing on each tortilla. Lay the tortillas flat on a clean surface to make assembling easier.
-
Layer the romaine leaves in the center of the tortilla. Make sure to layer these generously to give your wraps that satisfying crunch.
-
Add the sliced chicken on top of the romaine. This will create a beautiful, protein-packed base for your wrap.
-
Sprinkle grated Parmesan cheese. Don’t shy away from it—this adds a delicious richness that complements everything beautifully.
-
Fold the bottom edge of the tortilla up over the filling. Next, fold the sides in tightly to secure everything inside.
-
Roll the wrap from bottom to top. Make sure to keep it compact and secure with plastic wrap or a toothpick to hold it together.
-
Refrigerate for at least 10 minutes before serving. This helps the flavors meld and keeps the wrap fresh. Slicing diagonally enhances its presentation!
Optional: Serve with a side of crispy baked chips for extra crunch.
Exact quantities are listed in the recipe card below.
Make Ahead Options
These Easy Chicken Caesar Wraps are perfect for meal prep enthusiasts! You can prepare the fillings (grilled chicken, romaine, and dressing) up to 3 days in advance, storing them separately in airtight containers in the refrigerator to keep everything fresh. When you’re ready to enjoy, simply lay out the tortillas, add your fillings, and wrap them up. To prevent the tortillas from becoming soggy, use thicker Caesar dressing and ensure the romaine is completely dry before assembly. By prepping ahead, you’ll save valuable time on busy weeknights while still serving up a delicious, family-friendly meal that feels just as fresh as if it were made in the moment!
Expert Tips for Easy Chicken Caesar Wraps
-
Dry Ingredients Well: Ensure the romaine lettuce and other fresh ingredients are completely dry before assembling. This prevents sogginess and keeps your Easy Chicken Caesar Wraps crisp and fresh.
-
Customize Your Filling: Feel free to experiment with various add-ins like olives or feta for a Mediterranean twist, or switch to shredded buffalo chicken for a spicy kick.
-
Don’t Overstuff: Avoid the temptation to fill your wraps too much. Overstuffing can lead to messy handling and help your wraps maintain their shape while eating.
-
Thicker Dressing: For a creamier bite, mix mayonnaise with Parmesan and garlic, along with a splash of lemon juice. This creates a dressing that adheres better and adds flavor.
-
Prep Ahead: You can make these wraps in advance and store them in the refrigerator. They keep fresh for up to 2 days, making them ideal for lunchboxes or convenient dinners.
Easy Chicken Caesar Wraps Variations
Feel free to get creative and personalize your wraps with these fun twists that elevate the flavor and texture!
-
Mediterranean Style: Add marinated olives and crumbled feta cheese for a zesty Greek-inspired flavor. The combination of salty and creamy elements will transport you to the sunny shores of the Mediterranean.
-
Buffalo Chicken: Use shredded buffalo chicken in place of grilled for a spicy kick. This fiery version is perfect for those who crave heat and bold flavors, making each bite unforgettable!
-
Bacon Ranch: Swap the Caesar dressing for ranch and mix in crispy bacon bits. This variation combines smoky goodness with a rich, tangy dressing for a creamy delight that the kids will love.
-
Asian Fusion: Replace the dressing with sesame ginger and toss in shredded carrots and scallions. This fresh, crunchy twist will awaken your taste buds with a burst of delightful flavor reminiscent of springtime!
-
Vegan Delight: Think beyond meat by opting for grilled portobello mushrooms and a creamy vegan Caesar dressing. Add sunflower seeds and avocado for richness; it’s a guilt-free option that won’t compromise on flavor!
-
Fiesta Wrap: Incorporate salsa and black beans, along with diced avocado for a fiesta vibe. These additions offer both freshness and a satisfying heartiness packed with fiber and taste.
-
Herb-Infused: Mix in chopped fresh herbs like basil or cilantro into the wrap for an aromatic twist. This not only adds color but also a burst of freshness that elevates the classic Caesar flavor.
-
Tex-Mex Style: Use a spicy chipotle dressing and top with corn and diced red onion. This fusion of flavors will give your chicken wrap a beautiful smoky undertone, perfect for any taco lover!
How to Store and Freeze Easy Chicken Caesar Wraps
-
Room Temperature: Keep your Easy Chicken Caesar Wraps at room temperature for no more than 2 hours to ensure food safety and freshness.
-
Fridge: Store wraps wrapped in plastic wrap or foil in the fridge for up to 2 days. This helps maintain their flavor and prevents sogginess.
-
Freezer: Freeze individual wraps tightly in plastic wrap or a freezer-safe bag for up to 3 months. Thaw in the fridge overnight before enjoying.
-
Reheating: If you prefer warm wraps, reheat in a skillet over medium heat for 2-3 minutes on each side, ensuring the filling is heated through without getting soggy.
What to Serve with Easy Chicken Caesar Wraps?
Looking to create a complete meal that satisfies and delights? Pair your wraps with these mouthwatering sides!
-
Crispy Baked Chips: The perfect crunchy complement, these chips add texture and pairs beautifully with the soft wrap. Enjoying them together is a classic combo!
-
Fresh Fruit Salad: A light, fruity side balances the rich flavors of the wrap, offering a refreshing bite with every forkful. Plus, the vibrant colors are sure to please!
-
Caesar Salad: Reinforce those flavors with a side salad. The extra romaine and dressing make for a delightful overlap, keeping it cohesive and delicious.
-
Vegetable Soup: A warm, comforting bowl of light soup is a wonderful pairing. Its soothing nature provides contrast while being easy on the palate.
-
Sparkling Water with Lemon: A refreshing drink that enhances the flavors of the meal; the citrus notes elevate every bite. It’s an elegant touch that keeps it light!
-
Chocolate Chip Cookies: End on a sweet note! These classic cookies provide a scrumptious treat after the savory wrap and are sure to be a family favorite.
Create your own perfect spread with these pairings, and turn lunch into a celebration of flavors and textures!
Easy Chicken Caesar Wraps Recipe FAQs
What ripeness or quality should I look for when selecting Romaine lettuce?
Absolutely! When choosing romaine lettuce for your Easy Chicken Caesar Wraps, look for crisp leaves that are bright green, without any brown edges or dark spots. Freshness is key, as wilting can lead to a soggy wrap. I recommend checking for a firm head with no signs of decay—this ensures the crunch will hold up beautifully in your wraps!
How should I store my Easy Chicken Caesar Wraps to keep them fresh?
To keep your wraps fresh, wrap them individually in plastic wrap or foil before placing them in an airtight container. They can be stored in the fridge for up to 2 days. Just remember to give them a quick check before serving—if they seem soggy due to moisture, a few mins of refrigeration will help perk them up!
Can I freeze Easy Chicken Caesar Wraps, and if so, how?
Of course! To freeze your wraps, tightly wrap each one in plastic wrap, then place them in a freezer-safe bag. They can be stored in the freezer for up to 3 months. When you’re ready to enjoy them, simply thaw in the fridge overnight. If you’d like to warm them up, a quick reheat in a skillet for 2-3 minutes on each side works wonders!
What if I don’t have grilled chicken on hand? Is there an alternative?
Very! If you don’t have grilled chicken available, shredded rotisserie chicken is a fantastic substitute. It’s quick, provides the same rich flavor, and saves you cooking time. Alternatively, for a vegetarian option, you can use chickpeas or grilled tofu for added protein while still enjoying that satisfying texture in your wraps!
Are there any dietary considerations I should be aware of with this recipe?
Definitely! If you’re catering to specific dietary restrictions, it’s important to note that Caesar dressing can contain anchovies, making it unsuitable for vegetarians or vegans. For a vegan option, you can use a plant-based Caesar dressing or simply swap for a tangy tahini-lemon dressing. Additionally, if allergies are a concern, always check your ingredients for common allergens like dairy or gluten in the tortillas!

Delicious Easy Chicken Caesar Wraps Recipe for Busy Days
Ingredients
Equipment
Method
- Cook the chicken breasts thoroughly. Grill or bake at 375°F for 20-25 minutes. Allow to cool, then slice into strips.
- Wash and dry the romaine lettuce. Rinse gently under cold water and use a salad spinner or paper towels to ensure it's completely dry.
- Spread a thin layer of Caesar dressing on each tortilla laid flat on a clean surface.
- Layer romaine leaves in the center of the tortilla generously.
- Add sliced chicken on top of the romaine.
- Sprinkle grated Parmesan cheese.
- Fold the bottom edge of the tortilla up over the filling. Fold the sides in tightly.
- Roll the wrap from bottom to top, keeping it compact and secure with plastic wrap or a toothpick.
- Refrigerate for at least 10 minutes before serving to help the flavors meld.
- Slice diagonally before serving. Optional: Serve with a side of crispy baked chips.


