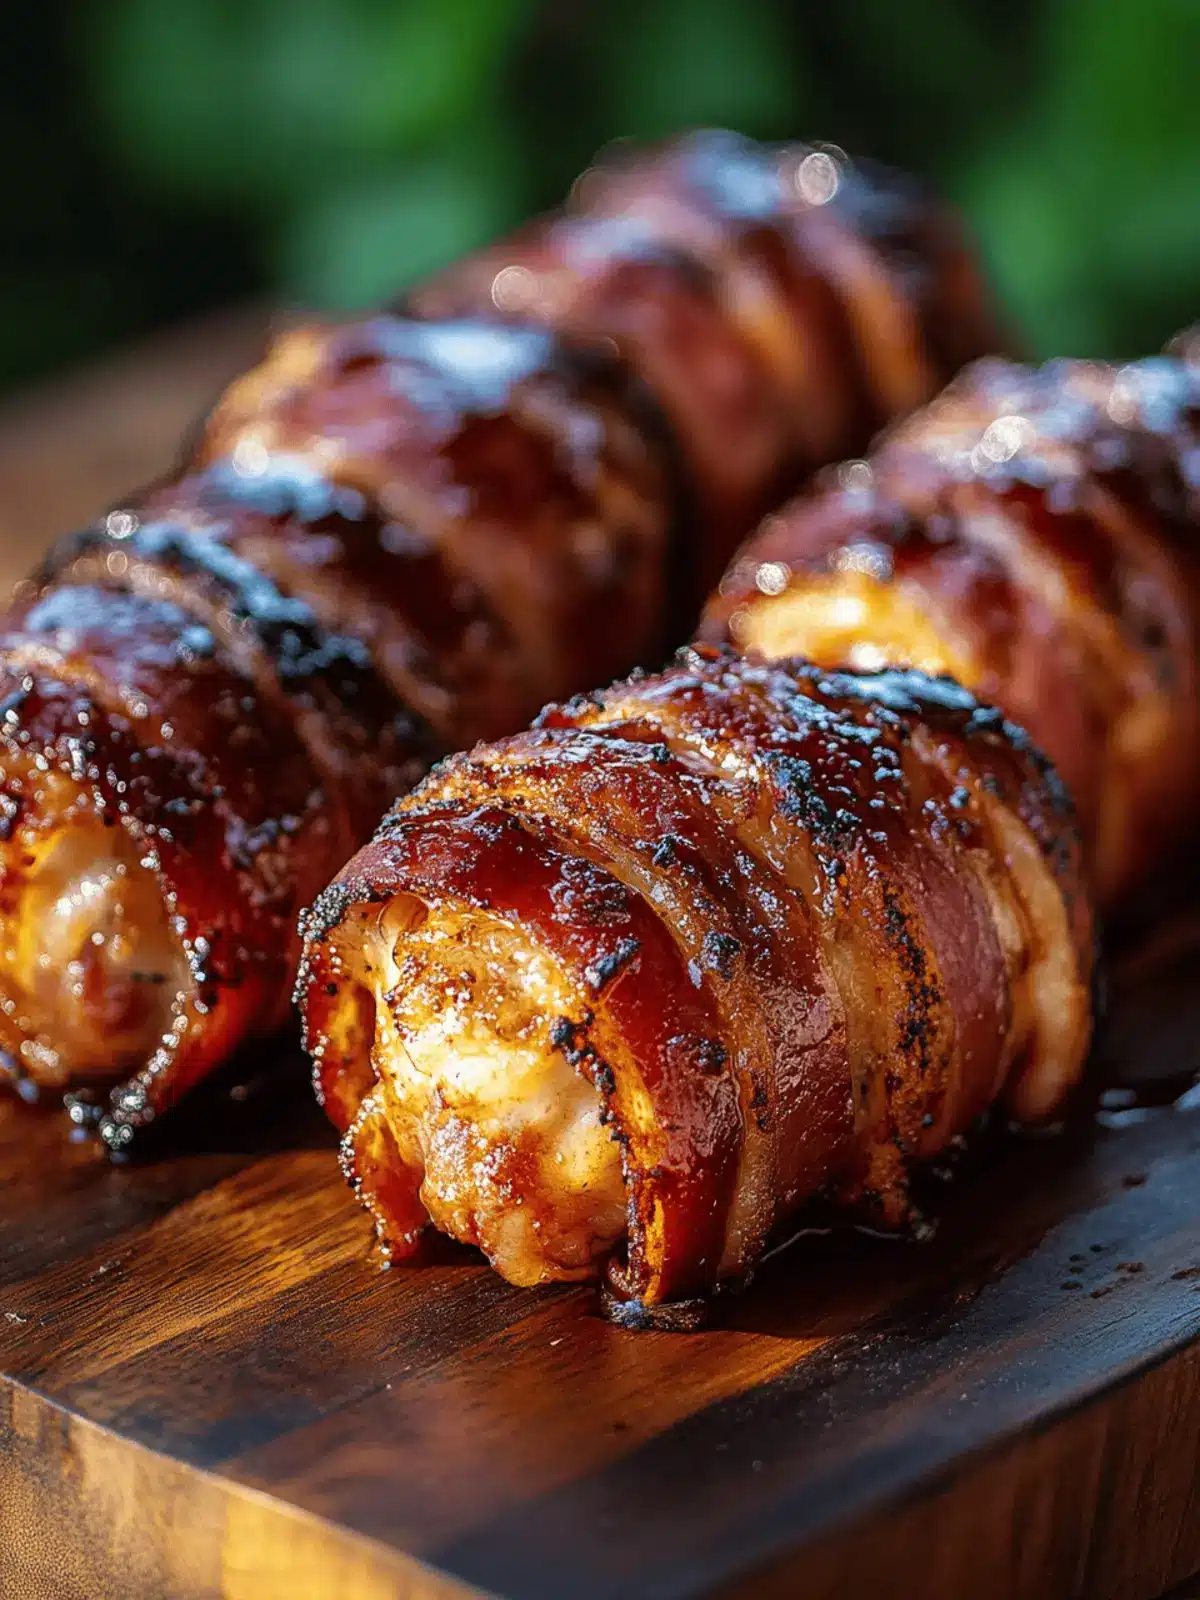
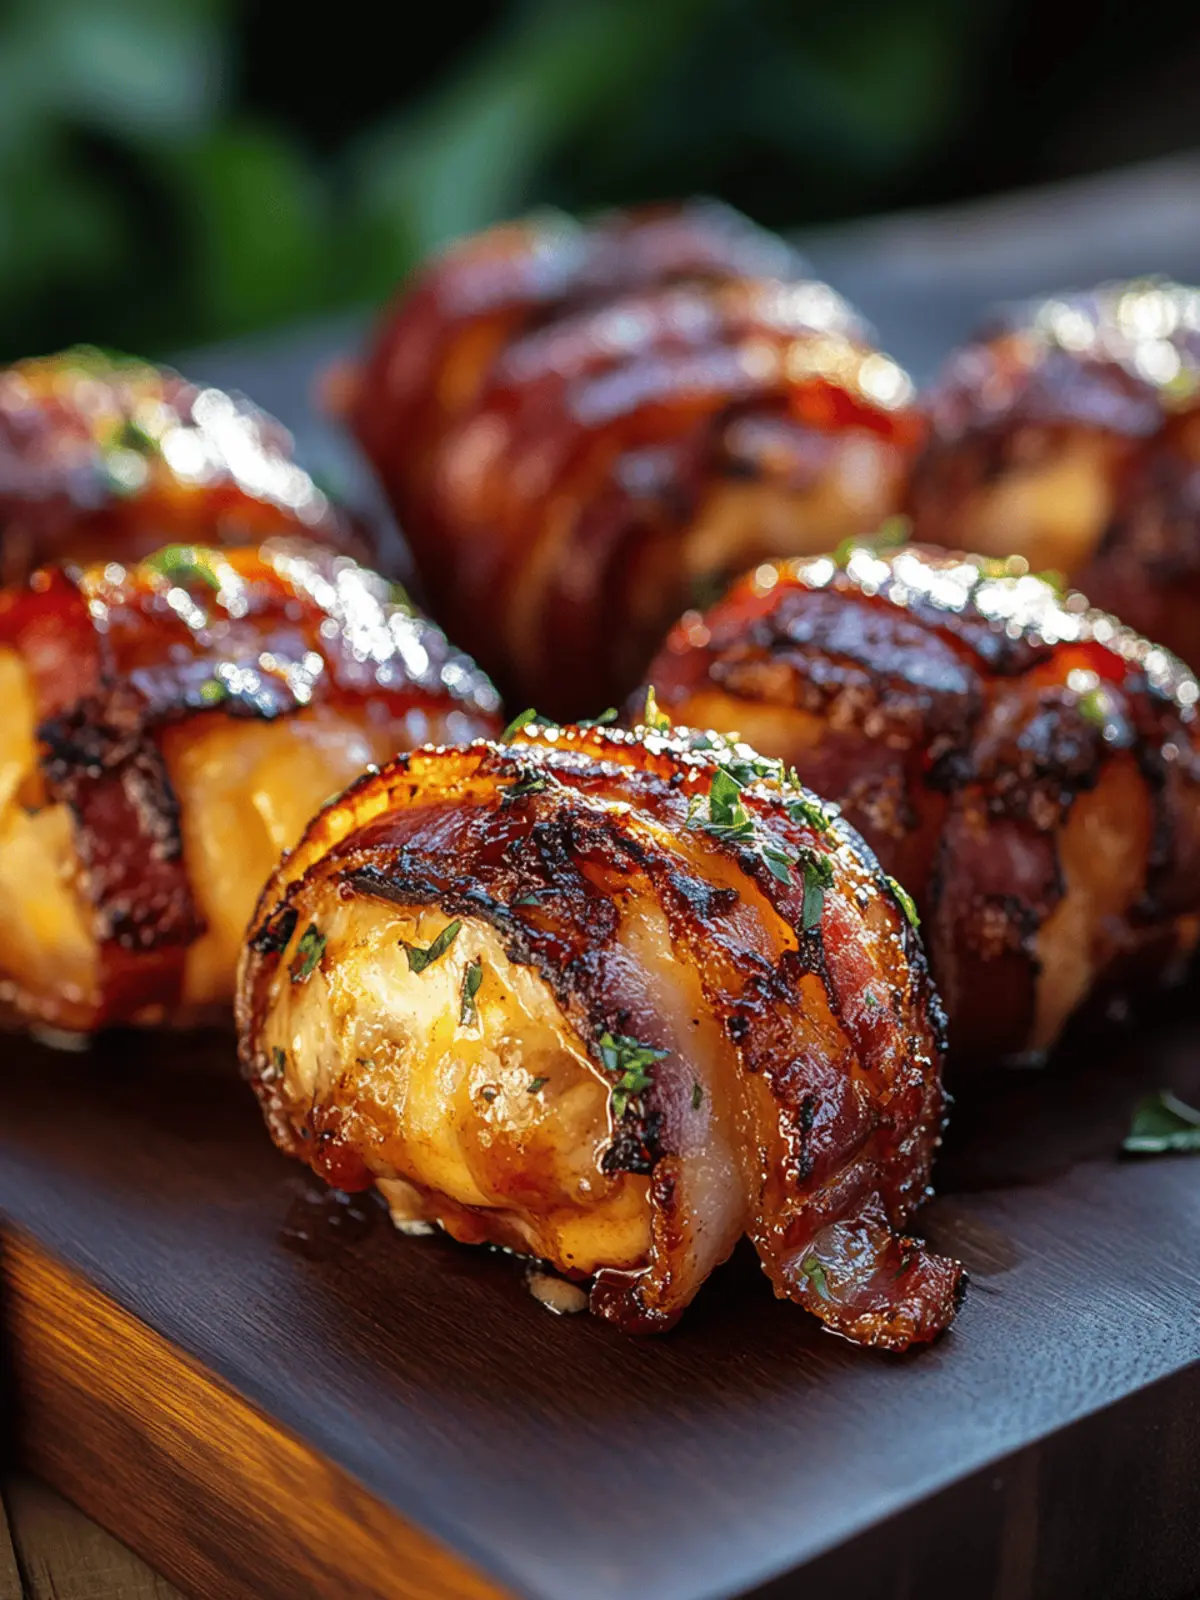
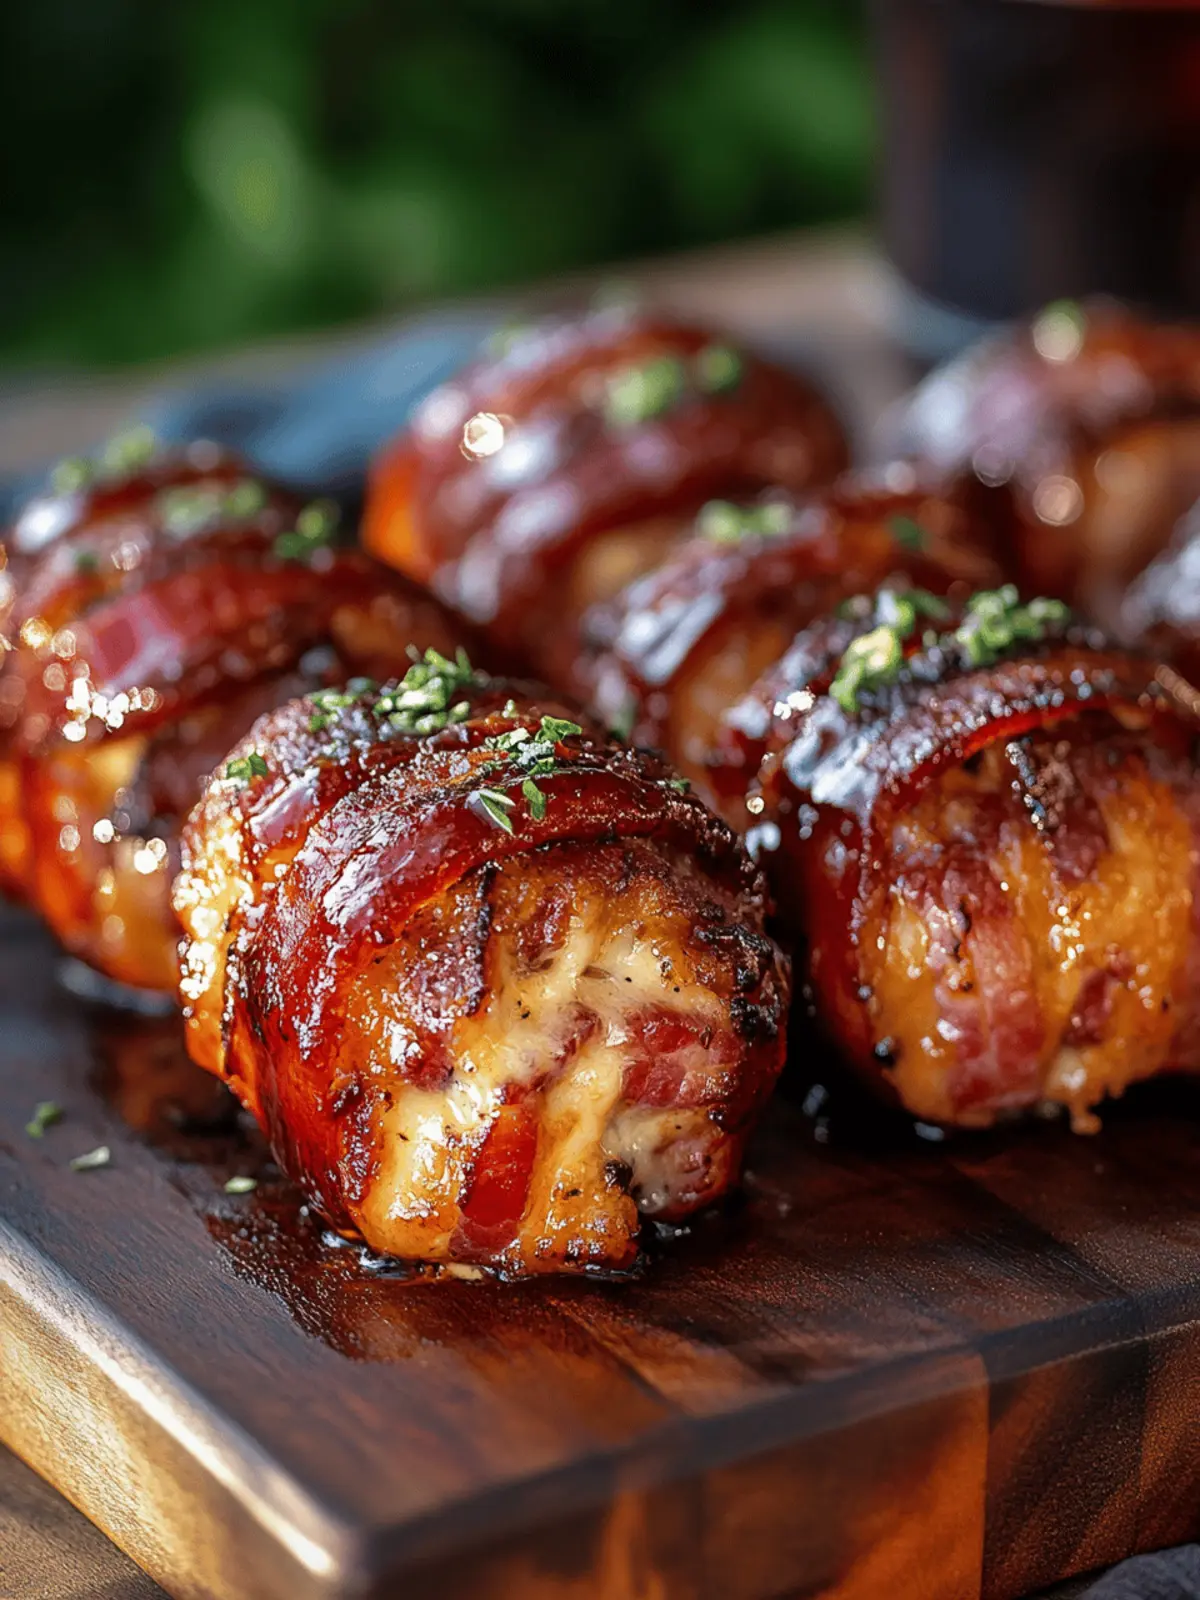
Imagine the sizzle of bacon transforming from a humble strip into a crispy cocoon, wrapping around juicy ground beef and a molten center of cheddar cheese. This is the magic of Cheddar-Stuffed BBQ Bacon Bombs, a recipe I stumbled upon during a spontaneous kitchen experiment one weekend. The smoky aroma that fills the air is nothing short of intoxicating, instantly lifting spirits and making your home feel cozy and inviting.
As someone who enjoys quick and flavorful homemade meals, I’ve found these delicious bites to be the ultimate comfort snack—perfect for gatherings or a simple weeknight treat. With just 45 minutes from prep to plate, you’ll have a crowd-pleasing dish that satisfies both cravings and the need for convenience. Whether you’re looking to impress your friends or simply elevate your dinner game, these bombs are a fun way to elevate traditional American barbecue flavors into something extraordinary. So, fire up the oven or grill, because you’re about to embark on a savory journey that will have everyone coming back for seconds!
Why are Cheddar-Stuffed BBQ Bacon Bombs so irresistible?
Bold flavors: Each bite delivers a burst of smoky BBQ paired with cheesy goodness.
Crowd-pleaser: Perfect for parties, they’re guaranteed to be a hit!
Quick fix: Ready in just 45 minutes, they fit busy schedules.
Versatile: Easily customize with different cheeses or dips to suit preferences.
Comforting texture: Crispy bacon wrapped around juicy beef creates a mouthwatering crunch.
Fun presentation: Shape them into bites or sliders for a playful twist!
Cheddar-Stuffed BBQ Bacon Bombs Ingredients
For the Meat Mixture
• Ground Beef – Provides the main protein for these delightful BBQ bombs; choose lean ground beef for a lighter dish.
• Breadcrumbs – Helps bind the beef mixture; opt for gluten-free breadcrumbs if needed.
• BBQ Sauce – Adds moisture and a tangy sweetness; consider homemade sauce to control sugar content.
• Garlic Powder – Brings seasoning depth; fresh minced garlic offers a stronger flavor.
• Onion Powder – Enhances flavor with a subtle sweetness; if using fresh onion, adjust the quantity to avoid overpowering the dish.
• Salt and Black Pepper – Essential for seasoning; personalize according to your taste preferences.
For the Cheesy Center
• Cheddar Cheese – The gooey star of the show; feel free to swap this with mozzarella or pepper jack for a spicy kick!
For Wrapping
• Bacon – This crispy layer adds flavor and richness; turkey bacon is a great substitute for a healthier option.
These Cheddar-Stuffed BBQ Bacon Bombs are not just easy to prepare; they promise to be a delightful surprise for your taste buds at every bite.
How to Make Cheddar-Stuffed BBQ Bacon Bombs
-
Preheat the oven to 400°F (200°C) or fire up your grill to medium heat. This ensures your bacon bombs cook evenly and thoroughly, giving them that perfect crispy finish.
-
Combine ground beef, breadcrumbs, BBQ sauce, garlic powder, onion powder, salt, and pepper in a mixing bowl. Mix until well incorporated, creating a flavorful foundation that brings out the best of each ingredient.
-
Flatten about 2 ounces of the beef mixture in your palm, then place a cube of cheddar cheese in the center. Form this into a ball by wrapping the beef around the cheese, ensuring it’s completely covered for that gooey surprise inside.
-
Wrap each ball with a slice of bacon, securing them with a toothpick if needed. This crispy layer will create a delightful contrast to the juicy beef and creamy cheese.
-
Place the bombs on a parchment-lined baking sheet, ensuring they are spaced apart. This helps them cook evenly and prevents sticking.
-
Bake for 20-25 minutes, or until the bacon is crispy and the internal temperature of the bombs reaches 160°F (70°C). This step is crucial for achieving that perfect golden-brown exterior!
-
Let rest briefly before serving, allowing the flavors to meld together. If you’d like an extra kick, brush with more BBQ sauce during the last 5 minutes of baking for added moisture and flavor.
Optional: Serve with a side of your favorite dipping sauce for an extra layer of deliciousness.
Exact quantities are listed in the recipe card below.
Cheddar-Stuffed BBQ Bacon Bombs Variations & Substitutions
Feel free to get creative with these Cheddar-Stuffed BBQ Bacon Bombs! Enhancing flavors and textures will take these bites to the next level.
-
Turkey Bacon: Swap out traditional bacon for turkey bacon for a lighter twist that still delivers deliciousness.
-
Different Cheeses: Use mozzarella, pepper jack, or even gouda for a unique cheese experience—each brings its own delightful richness!
-
BBQ Sauce Alternatives: Try a spicy buffalo sauce or a sweeter honey BBQ to change the flavor profile dramatically.
-
Gluten-Free Option: Substitute regular breadcrumbs with gluten-free bread crumbs or crushed gluten-free crackers for everyone to enjoy.
-
Add Vegetables: Incorporate finely chopped vegetables like bell peppers or jalapeños into the meat mixture for extra flavor and a crunch.
-
Spicy Variation: Mix in some crushed red pepper flakes or a few dashes of hot sauce for added heat that’ll have your taste buds dancing.
-
Herb Infusion: Add fresh chopped herbs like parsley or cilantro for a pop of freshness that elevates the overall taste experience.
-
Tortilla Wraps: For a fun twist, serve these bacon bombs wrapped in warm tortillas with your favorite dipping sauce for a portable snack.
How to Store and Freeze Cheddar-Stuffed BBQ Bacon Bombs
- Room Temperature: Enjoy your Cheddar-Stuffed BBQ Bacon Bombs fresh and warm, but if left out, consume within 2 hours to ensure safety.
- Fridge: Store leftovers in an airtight container for up to 2 days. Reheat slowly in the oven to maintain crispness.
- Freezer: Wrap individual bombs tightly in plastic wrap, then foil. Freeze for up to 2 months; thaw overnight in the fridge before reheating.
- Reheating: For best results, reheat in the oven at 350°F (175°C) for about 15-20 minutes, allowing the bacon to regain its crunch while the cheese melts.
Expert Tips for Cheddar-Stuffed BBQ Bacon Bombs
-
Meat Temperature: Always use a meat thermometer to ensure internal cooking reaches 160°F (70°C). Undercooked beef can lead to food safety issues.
-
Cheese Variations: Experiment with different cheeses like mozzarella or pepper jack for unique flavors. Just keep the cheddar cheese as the core for that gooey center.
-
Bacon Secure: If your bacon tends to unravel, use toothpicks to secure the wrap around the bombs. This ensures everything stays together while cooking.
-
Cook on the Grill: For an extra layer of flavor, grill the bombs instead of baking. The smoky heat enhances the BBQ taste, making them even more irresistible!
-
Avoid Overpacking: Don’t overpack your beef mixture when forming the bombs; this helps prevent cracking and leaking during cooking, ensuring the melted cheese stays inside.
-
Rest Before Serving: Let the bombs rest for a few minutes after baking. This makes them easier to handle and allows the flavors to meld beautifully.
Make Ahead Options
These Cheddar-Stuffed BBQ Bacon Bombs are perfect for meal prep enthusiasts seeking to save time on busy nights! You can prepare the meat mixture and form the bombs up to 24 hours in advance; simply refrigerate them in an airtight container to maintain flavor and moisture. To ensure the bacon stays crispy, wrap the bombs shortly before cooking. When you’re ready to serve, place them directly on a parchment-lined baking sheet and bake at 400°F (200°C) for 20-25 minutes until the bacon is crispy and the internal temperature reaches 160°F (70°C). This thoughtful prep helps you enjoy a delicious, crowd-pleasing treat with minimal last-minute effort!
What to Serve with Cheddar-Stuffed BBQ Bacon Bombs?
Creating a delicious meal is all about combining flavors and textures that enhance your main dish.
-
Creamy Coleslaw: A refreshing crunchy contrast that balances the savory richness of the bombs. The creamy dressing complements the barbecue flavors beautifully.
-
Loaded Nachos: Add layers of melted cheese, jalapeños, and guacamole for a delightful and indulgent side. The crunch and warmth perfectly match the hearty bomb.
-
Grilled Corn on the Cob: Its sweet, slightly smoky flavor pairs well with the savory meat bombs. Smothered in butter, it brings a burst of summer to your plate.
-
Tater Tots: Crunchy and crispy, these golden bites add a playful texture that kids and adults love alike. Dip them in BBQ sauce for extra flavor.
-
Pickle Chips: Their tangy crunch cuts through the richness of the bacon bombs, adding a burst of flavor that brightens every bite.
-
Sweet Tea: A classic American beverage, it offers refreshing sweetness that contrasts nicely with the savory snacks.
-
Chocolate Chip Cookies: End the meal on a sweet note with soft, gooey cookies. Their nostalgic flavors will delight everyone gathered around the table.
-
Beer or Lemonade: A cool beverage option that pairs perfectly with the smoky flavors of the bombs, enhancing the overall experience.
These delightful accompaniments will ensure your Cheddar-Stuffed BBQ Bacon Bombs take center stage while creating a memorable spread!
Cheddar-Stuffed BBQ Bacon Bombs Recipe FAQs
What is the best way to select ground beef for this recipe?
Absolutely! When choosing ground beef, opt for lean ground beef, aiming for an 80/20 or 85/15 blend to minimize grease while still maintaining flavor. If you’re looking for a lighter option, ground turkey or chicken can also be great substitutes without sacrificing taste.
How do I store leftover Cheddar-Stuffed BBQ Bacon Bombs?
Very easy! To store, place any leftovers in an airtight container and refrigerate for up to 2 days. When you’re ready to enjoy them again, I recommend reheating them slowly in the oven at 350°F (175°C) for about 15-20 minutes to retain that crispy bacon texture.
Can I freeze the Cheddar-Stuffed BBQ Bacon Bombs?
Of course! To freeze, wrap each cooled bomb tightly in plastic wrap, then cover them in aluminum foil. They can be stored in the freezer for up to 2 months. When you’re ready to eat, thaw them overnight in the fridge and reheat them as mentioned above for delicious results!
What should I do if the bacon isn’t staying wrapped around the bombs?
If you notice your bacon begins to unravel, use toothpicks to secure each piece. If the bacon is still not staying put, consider cooking them seam-side down, which helps hold everything together. Additionally, it’s crucial not to overpack the beef mixture, as loose balls will hold together better.
Are there any dietary considerations for these BBQ bacon bombs?
Definitely! If you’re cooking for someone with dietary restrictions, swap ingredients where necessary. Turkey bacon is a wonderful alternative for anyone avoiding pork, and you can use gluten-free breadcrumbs for a gluten-free version. Always check the BBQ sauce labels for allergens or make your homemade mix to control the ingredient list.
How can I tell when the Cheddar-Stuffed BBQ Bacon Bombs are fully cooked?
Use a meat thermometer to ensure your bacon bombs are cooked to a safe internal temperature of 160°F (70°C). This not only ensures safety but also guarantees that your ground beef is juicy and flavorful. If you don’t have a thermometer, ensuring the bacon is crispy and the meat is no longer pink in the center typically indicates they’re done!
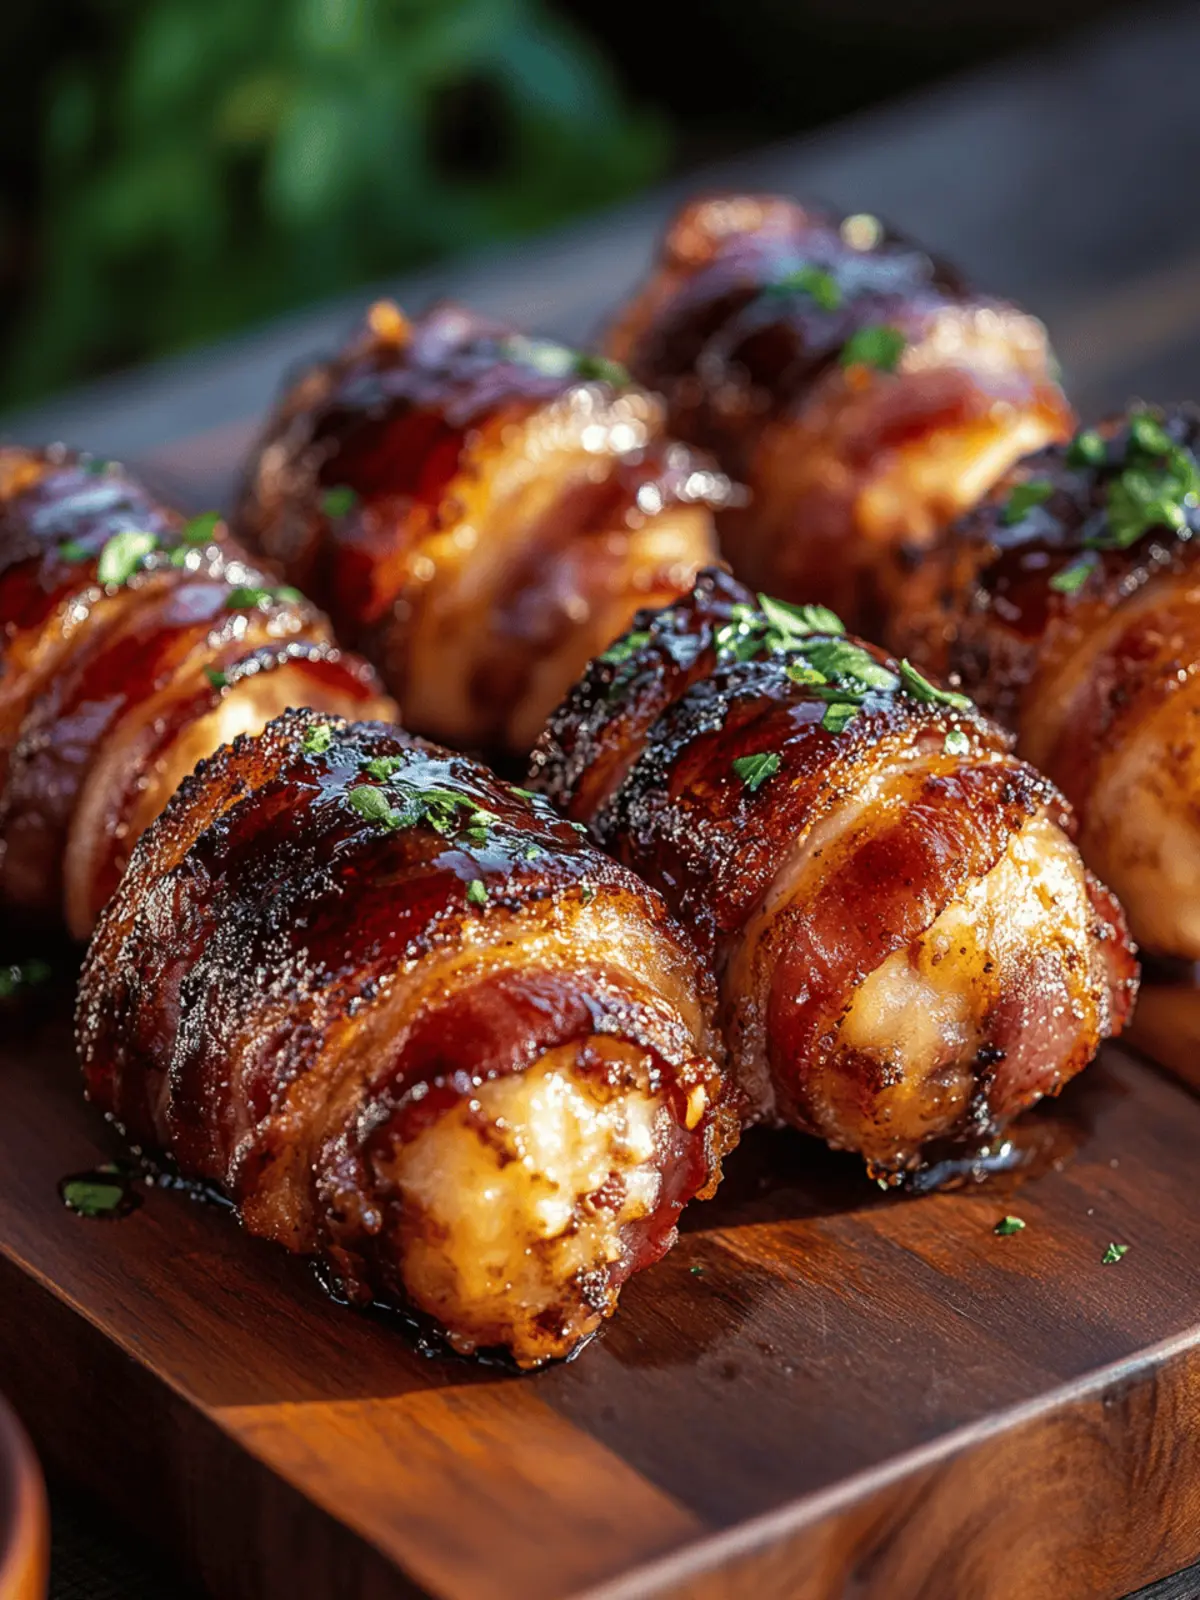
Cheddar-Stuffed BBQ Bacon Bombs: Irresistibly Juicy Treats
Ingredients
Equipment
Method
- Preheat the oven to 400°F (200°C) or fire up your grill to medium heat.
- Combine ground beef, breadcrumbs, BBQ sauce, garlic powder, onion powder, salt, and pepper in a mixing bowl.
- Flatten about 2 ounces of the beef mixture in your palm, then place a cube of cheddar cheese in the center. Form this into a ball.
- Wrap each ball with a slice of bacon, securing them with a toothpick if needed.
- Place the bombs on a parchment-lined baking sheet, ensuring they are spaced apart.
- Bake for 20-25 minutes, or until the bacon is crispy and the internal temperature of the bombs reaches 160°F (70°C).
- Let rest briefly before serving.

