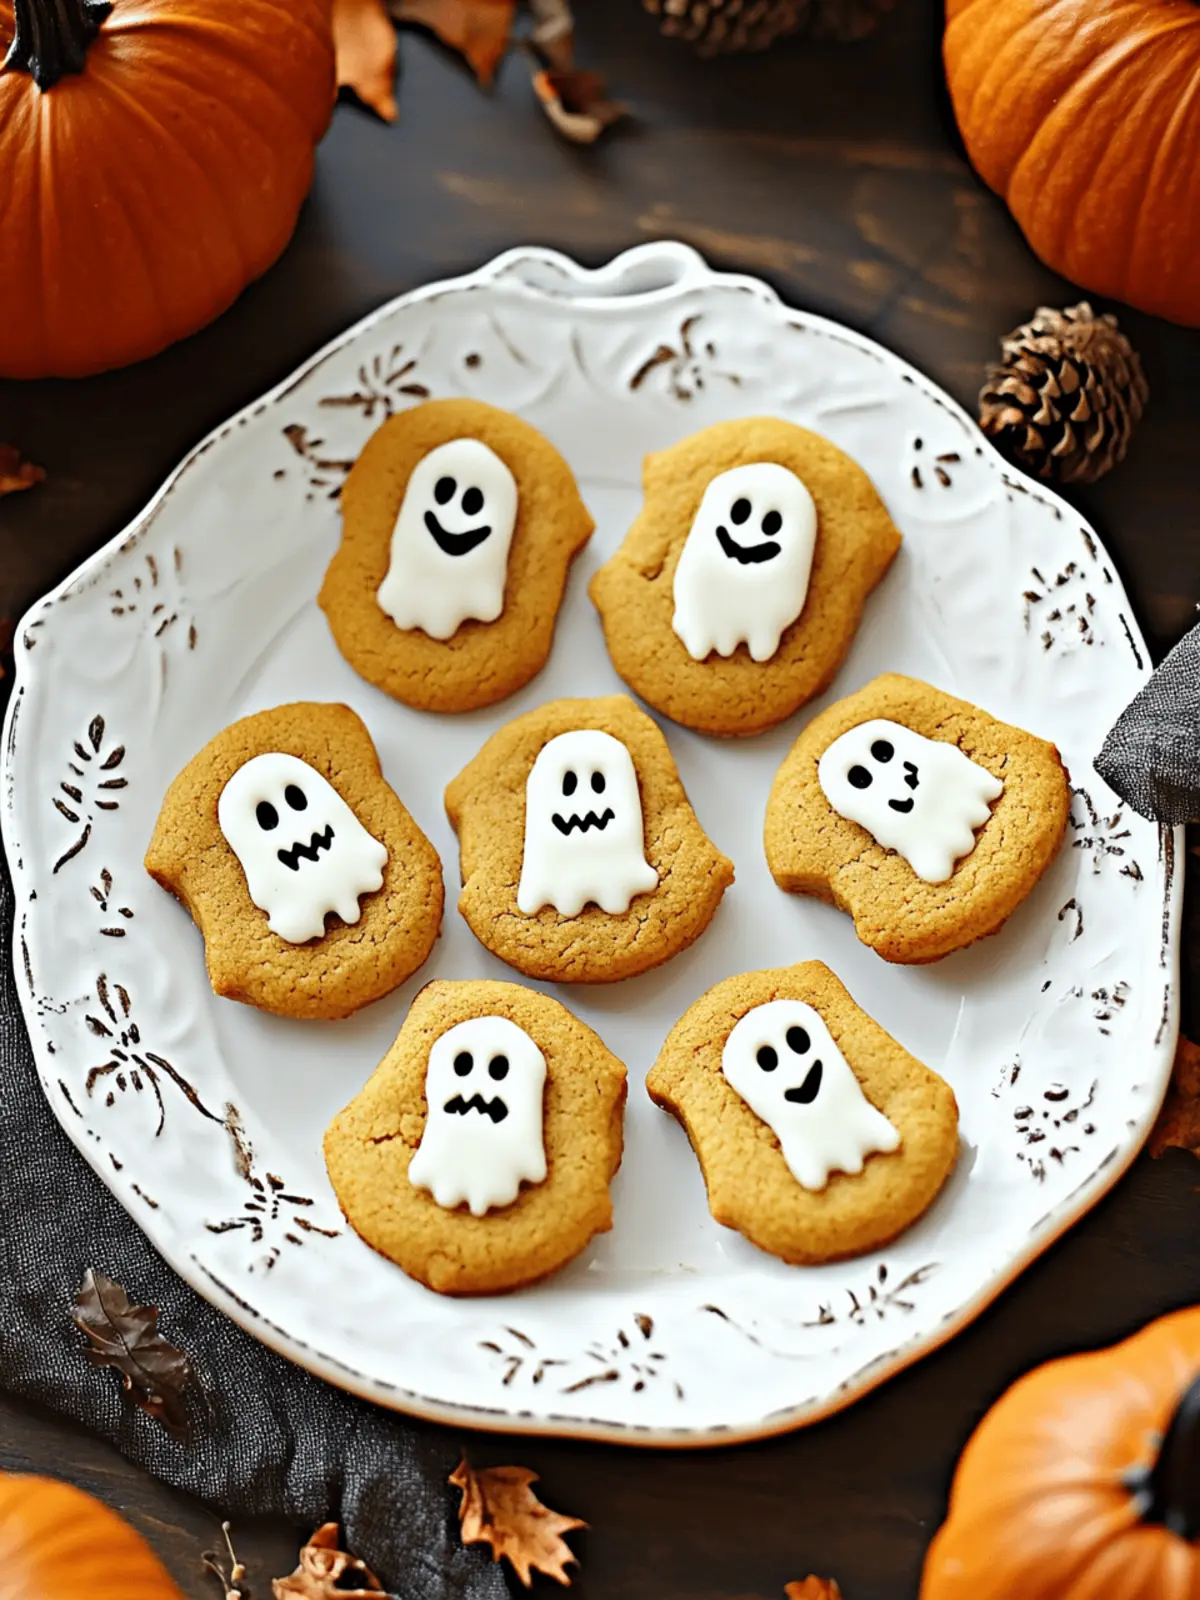
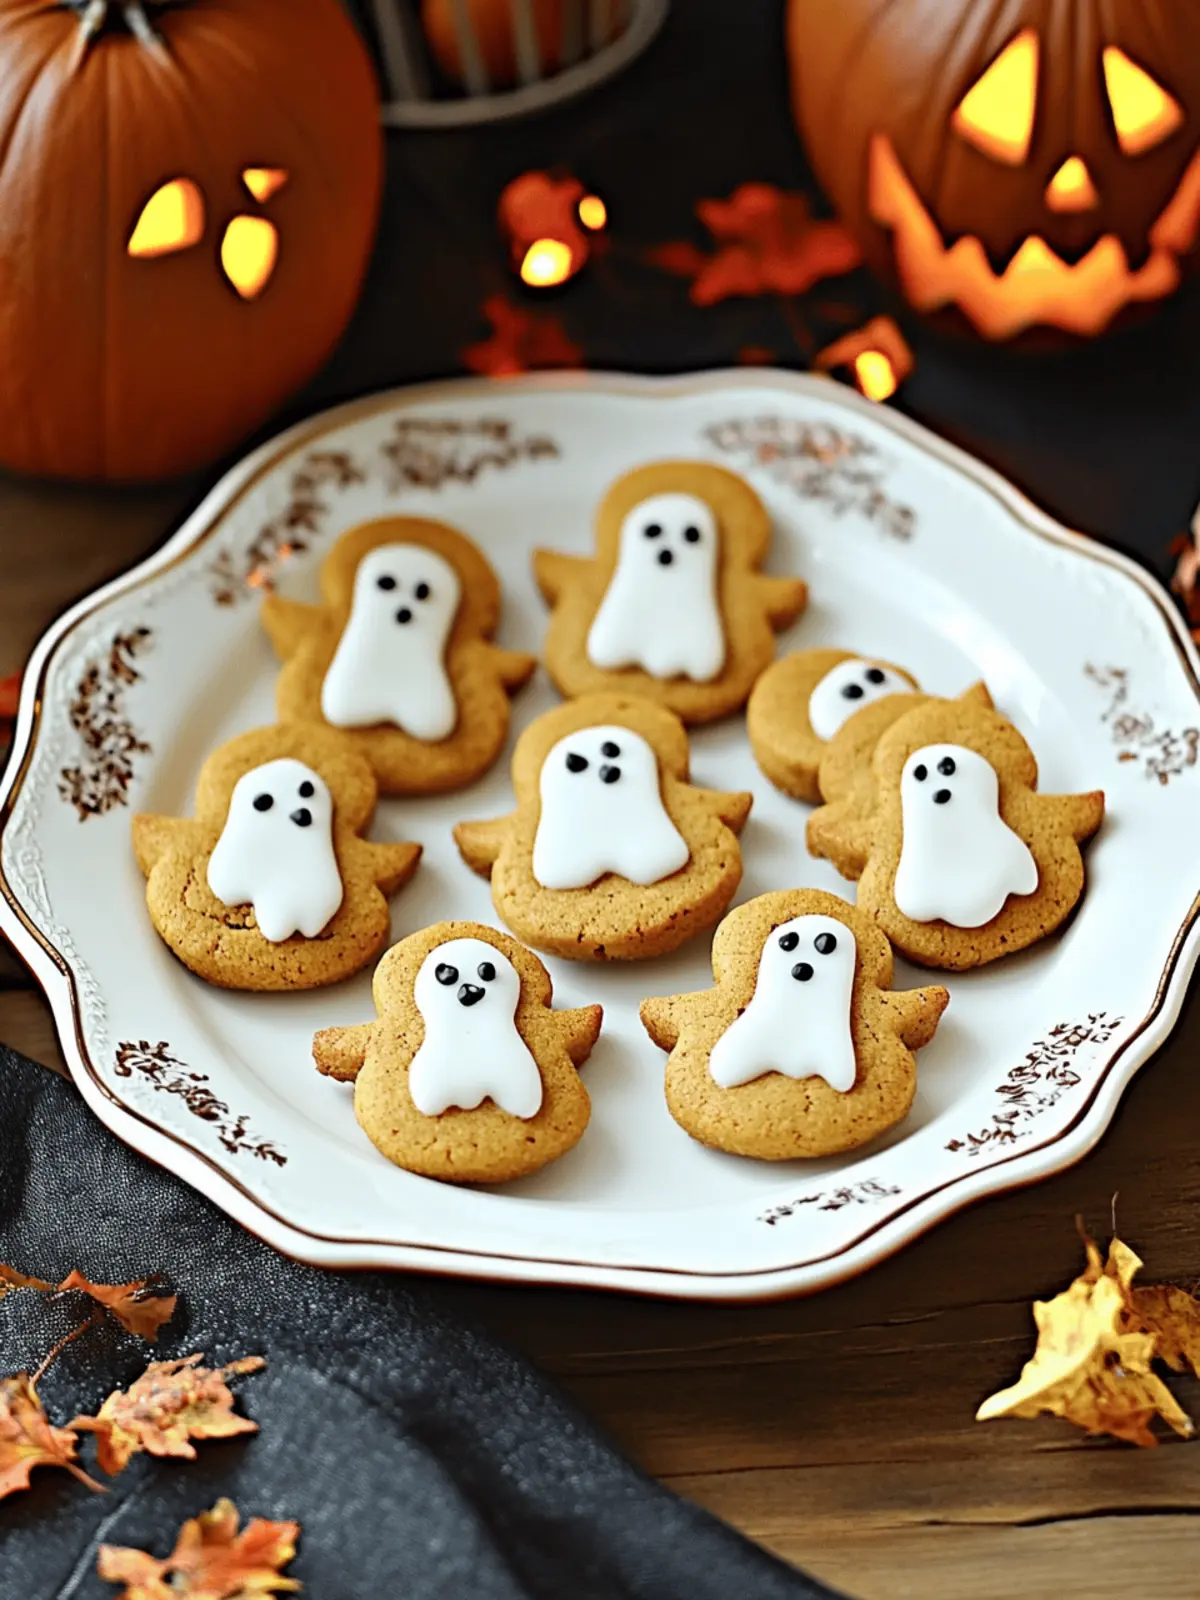
As the days grow shorter and the air turns crisp, I find myself drawn into the kitchen, ready to embrace the magic of the season. This is the time of year when spooky decorations adorn doorsteps, and the sweet scents of baking fill the air. Picture this: the rich aroma of brown butter mingling with warm pumpkin spice, creating cookies that not only look adorable but taste divine. My Haunted Harvest: Spooky Ghost Brown Butter Pumpkin Cookies are just what you need for Halloween gatherings or cozy fall nights. With their delightful soft texture and whimsical ghostly faces, these cookies aren’t just treats; they’re an invitation to create joyful moments with friends and family. So grab your apron, and let’s turn that pumpkin puree into something truly spook-tacular this season!
Why You’ll Love These Haunted Harvest Cookies?
Delightfully Fun: These cookies are not just delicious; their ghostly designs make baking a joyful experience that’s perfect for all ages.
Irresistible Aroma: Imagine filling your home with the inviting scent of brown butter and warm spices, setting the mood for the season.
Quick Prep Time: With straightforward steps and minimal ingredients, you’ll have these spook-tastic treats ready in no time.
Versatile Treats: Customize your cookies by swapping in different decorations or flavors, making each batch uniquely yours.
Crowd-Pleasing: Whether for Halloween parties or cozy family nights, these cookies will be the highlight, sure to enchant your guests.
Haunted Harvest Cookie Ingredients
For the Cookies
• Unsalted Butter – Adds a rich flavor; browning it enhances the cookies’ nutty taste.
• Pumpkin Puree – Provides moisture and natural sweetness; you can use canned for convenience or make your own.
• Brown Sugar – Gives it a caramel-like sweetness; feel free to use white sugar, but adjust moisture accordingly.
• All-Purpose Flour – Provides essential structure; consider using a gluten-free blend if needed.
• Baking Soda – This leavening agent helps give the cookies a light texture.
• Spices (Cinnamon, Nutmeg, etc.) – Elevates the flavor profile; adjust based on your spice preference.
For the Ghost Decorations
• White Chocolate/Candy – Perfect for creating adorable ghost faces; royal icing can be a fun alternative for decoration.
• Chocolate Chips – Ideal for spooky eyes; they make decorating easy and add a touch of sweetness.
These Haunted Harvest: Spooky Ghost Brown Butter Pumpkin Cookies are not just tasty treats; they’re a delightful way to spread joy this Halloween season!
How to Make Haunted Harvest Cookies
-
Prepare brown butter: Melt the unsalted butter in a saucepan over medium heat, stirring frequently until it turns golden brown and releases a nutty aroma. Remove from heat and let it cool slightly.
-
Mix batter: In a mixing bowl, combine the cooled brown butter with pumpkin puree, brown sugar, all-purpose flour, baking soda, and your choice of spices. Stir until everything is well integrated and forms a smooth batter.
-
Shape cookies: Using a cookie scoop or tablespoon, portion the dough onto a baking sheet lined with parchment paper. Shape the mounds into oval forms to create your ghost cookie bases.
-
Bake: Preheat your oven to 350°F (175°C) and bake the cookies for approximately 12 minutes, or until they are lightly golden around the edges.
-
Cool and decorate: Once baked, let the cookies cool on the baking sheet for a few minutes before transferring them to a wire rack. After they have cooled completely, decorate them with melted white chocolate or frosting to create delightful ghost faces.
-
Serve: Arrange your spooky cookies on a dark platter for a striking presentation and enjoy with your favorite seasonal drinks!
Optional: Drizzle extra white chocolate over the cookies for additional flair.
Exact quantities are listed in the recipe card below.
Haunted Harvest Variations & Substitutions
Feel free to mix things up and create your own version of these delightful cookies with these fun ideas!
-
Sweet Potato: Substitute pumpkin puree with sweet potato puree for a subtly different flavor and a lovely orange hue.
-
Apple Sauce: Use unsweetened apple sauce in place of pumpkin for a lighter, fruitier twist that still keeps the cookies moist.
-
Spice Mix: Instead of individual spices, reach for a store-bought pumpkin pie spice mix for a quick and convenient flavor boost.
-
Nutty Crunch: Add a ½ cup of chopped nuts like walnuts or pecans for added texture and a delicious crunch in each bite.
-
Chocolate Delight: Stir in chocolate chips into the dough before baking for extra sweetness that balances the pumpkin’s earthiness.
-
Coconut Flour: For a gluten-free option, substitute all-purpose flour with a gluten-free flour blend or coconut flour—just adjust the liquid as needed.
-
Spicy Kick: Toss in a pinch of cayenne or black pepper to give your cookies a surprising hint of heat, perfect for adventurous palates!
-
Decorative Icing: Try using colored icing instead of white chocolate for more vibrant ghost decorations that can match your Halloween theme.
Make Ahead Options
These Haunted Harvest: Spooky Ghost Brown Butter Pumpkin Cookies are perfect for busy home cooks wanting to save time! You can prepare the cookie dough up to 24 hours in advance; simply shape the dough into mounds and refrigerate them on the baking sheet covered with plastic wrap to keep them fresh. This helps the flavors develop beautifully and prevents spreading during baking. If you’d like to bake them later, simply pop the chilled dough directly into the oven without thawing. Once baked, the cookies can be decorated up to 3 days in advance—just store them in an airtight container to maintain their delightful softness. Enjoy your festive baking without the last-minute rush!
How to Store and Freeze Haunted Harvest Cookies
Room Temperature: Keep cookies in an airtight container at room temperature for up to one week to retain their delightful softness and flavor.
Fridge: For longer freshness, store cookies in the fridge for up to 10 days. Just be sure to let them come back to room temperature before serving for the best texture.
Freezer: Freeze cookies in a single layer, wrapped tightly or in a freezer-safe bag, for up to three months. Thaw at room temperature before enjoying to maintain softness.
Reheating: To enjoy warm cookies, microwave them for 10-15 seconds; this will refresh the cookie’s soft texture perfectly, making your Haunted Harvest cookies taste like they just came out of the oven!
What to Serve with Haunted Harvest: Spooky Ghost Brown Butter Pumpkin Cookies?
As you prepare to indulge in these charming pumpkin cookies, consider these delightful pairings to create a festive feast.
- Warm Apple Cider: The sweet, spiced notes of cider echo the cookies’ flavors and add coziness to your autumn gathering.
- Vanilla Ice Cream: Creamy ice cream is a delightful contrast to the chewy cookies, making every bite even more decadent.
- Pumpkin Spice Latte: Enhance the autumn vibe with this warm, spiced drink that complements the flavors of pumpkin beautifully.
- Chocolate Milk: A classic pairing that adds a playful sweetness, making it an instant favorite, especially among kids.
- Maple Pecan Pie: The nutty crunch and rich sweetness add depth to your dessert table, perfect for a Halloween-themed feast.
- Seasonal Fruit Salad: Fresh apples, pears, and pomegranate seeds provide a refreshing counterpoint to the rich cookies, balancing flavors.
- Hot Chocolate: Warm and rich, hot chocolate makes for a cozy drink choice that pairs wonderfully with the cookies’ warm spices.
- Caramel Drizzle: A drizzle of caramel over the cookies enhances their flavor and makes for a visually stunning presentation.
- Ghostly Marshmallow Pops: Create fun ghost-shaped marshmallow pops to match the cookie theme and add a whimsical touch to your dessert spread.
Expert Tips for Haunted Harvest Cookies
- Cool Your Butter: Allow the butter to cool slightly after browning; hot butter can lead to overly spread cookies, ruining their ghostly shape.
- Cookie Scoop: Use a cookie scoop for uniform cookie sizes; this ensures even baking and makes decorating easier.
- Quick Decoration: Decorate the cookies while they’re still slightly warm to ensure the white chocolate or frosting adheres well, enhancing the ghostly faces.
- Storage Solution: Keep your cookies in an airtight container at room temperature for up to a week to maintain their soft, chewy texture.
- Variations Galore: Feel free to experiment! Substitute the pumpkin puree with sweet potato for a delicious twist on these Haunted Harvest cookies.
Haunted Harvest: Spooky Ghost Brown Butter Pumpkin Cookies Recipe FAQs
How do I choose the right pumpkin puree?
Absolutely! You can use either canned pumpkin puree for convenience or make your own from fresh pumpkins. When choosing canned puree, look for 100% pumpkin without any added sugar or spices for the best flavor. If using fresh pumpkins, look for sugar pumpkins, as they have a sweeter and finer texture, which is perfect for baking.
How should I store my cookies?
To keep your Haunted Harvest cookies fresh, store them in an airtight container at room temperature for up to one week. If you want to enjoy them a little later, you can keep them in the fridge for up to 10 days. Let them come to room temperature before serving for that delightful softness!
Can I freeze these cookies?
Yes! For longer storage, freeze your cookies by placing them in a single layer on a baking sheet until solid. Then, transfer them to a freezer-safe bag or container, ensuring they are well wrapped, for up to three months. When you’re ready to enjoy, simply thaw them at room temperature or warm them in the microwave for 10-15 seconds to bring back their soft texture.
What if my cookies spread too much while baking?
Very! If your cookies spread too much, it might be due to the butter being too hot when mixed. To avoid this, let your browned butter cool down slightly before adding it to the batter. Also, make sure to measure your flour properly; too little can also cause spreading. Using a cookie scoop for even portions can help maintain their shape!
Are there any allergy concerns with these ingredients?
Absolutely! If you or anyone you’re serving has dietary restrictions, you can make adjustments. For a gluten-free option, swap in a gluten-free flour blend. If there are nut allergies, avoid using any nut-based ingredients. Always read labels for any pre-made decorations to check for allergens, ensuring safety for everyone enjoying your Haunted Harvest cookies.
Can I customize the decorations for the ghosts?
Very! You can certainly customize the ghostly faces on your cookies. While white chocolate works wonderfully for a classic look, using royal icing or even mini chocolate chips for the eyes can be a fun twist. Get creative with different candies or sprinkles to make each batch uniquely yours!

Haunted Harvest: Irresistible Spooky Ghost Pumpkin Cookies
Ingredients
Equipment
Method
- Melt the unsalted butter in a saucepan over medium heat until it turns golden brown and releases a nutty aroma. Remove from heat and let it cool slightly.
- In a mixing bowl, combine the cooled brown butter with pumpkin puree, brown sugar, all-purpose flour, baking soda, and your choice of spices. Stir until integrated.
- Using a cookie scoop or tablespoon, portion the dough onto a baking sheet lined with parchment paper, shaping into oval forms.
- Preheat your oven to 350°F (175°C) and bake for approximately 12 minutes until lightly golden around the edges.
- Once baked, let the cookies cool on the baking sheet for a few minutes before transferring them to a wire rack. Decorate them with melted white chocolate or frosting.
- Arrange cookies on a dark platter and enjoy with your favorite seasonal drinks!

